
Description
Once you have created a Campaign, you can configure the rules and settings to apply that Campaign using the Manage screen. The Manage tabs for a Campaign work in the same way as the options available in the Manage screen for signatures, allowing you to configure rules to apply your Campaign in certain ways, such as targeting or excluding specific senders and/or recipients.
How to access it
To open the configuration options for a Campaign:
- Select Campaigns from the menu sidebar.
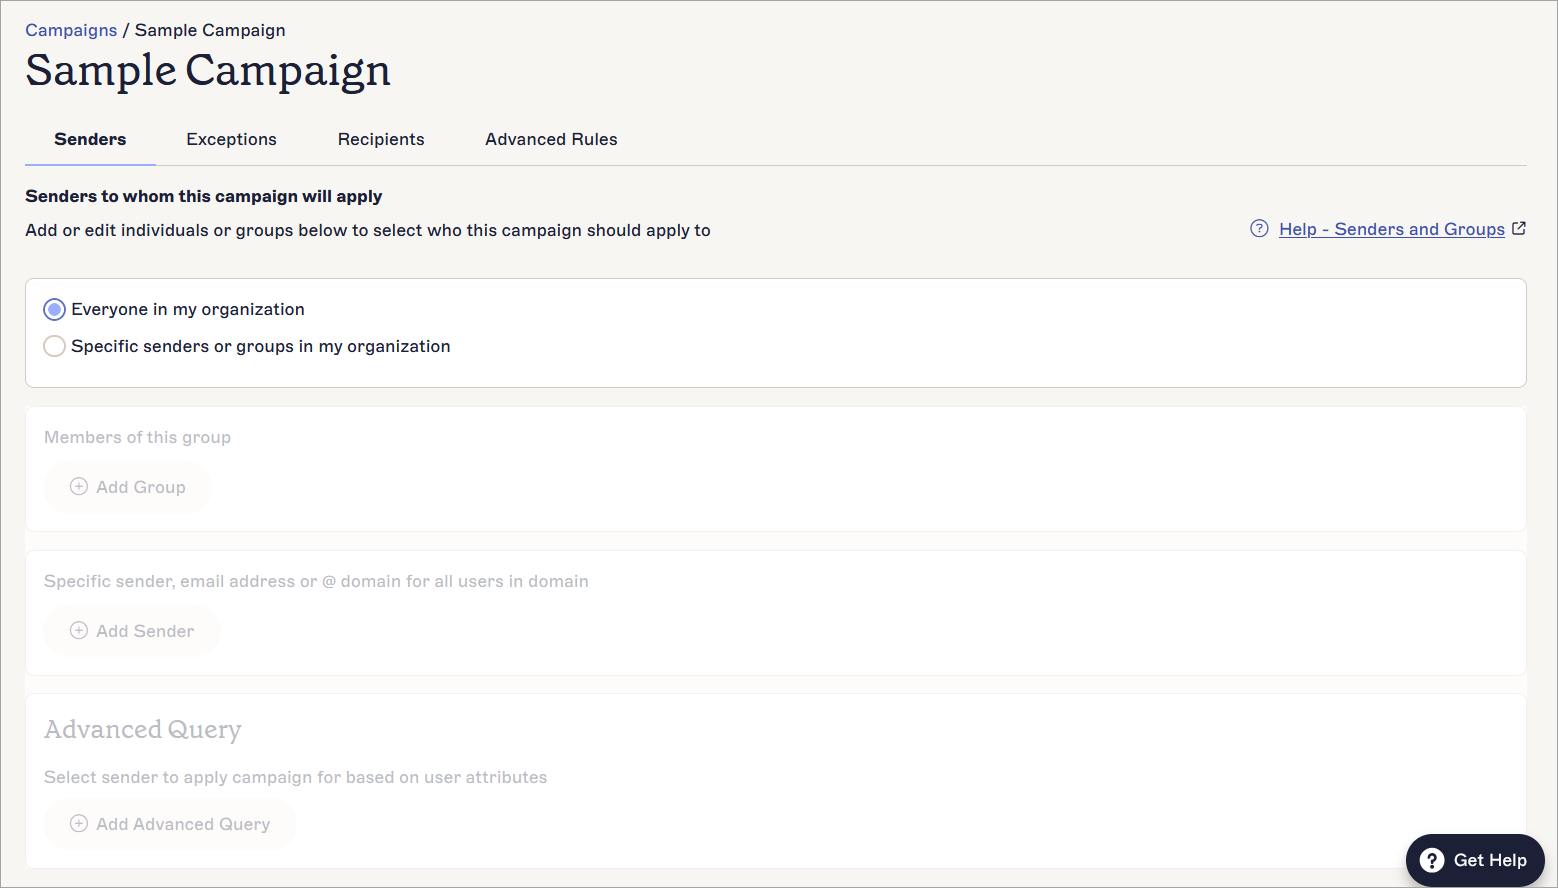
- Find your Campaign and select Manage. This opens the Manage screen, which has four tabs: Senders, Exceptions, Recipients, and Advanced Rules.

Select Manage on your Campaign.
Using the Manage options
Each tab in the Manage screen contains different rules to control how your Campaign is applied. For more information on using rules, see the Manage Signature Rules section of this knowledgebase or follow the links in the table below.
Select a tab to configure your Campaign.
The following table outlines the functionality available in each tab:
| Manage tab | Configuration available |
|---|---|
| Senders | Apply the Campaign to specific senders, such as via specific domains or user attributes. |
| Exceptions | Exclude specific senders from using the Campaign. |
| Recipients | Apply the Campaign to specific recipients, such as Internal or External or on Salesforce lists, or by excluding recipients. |
| Advanced Rules |
NOTE: Advanced Rules in Campaigns is for server-side deployment only.
Apply or prevent a Campaign using trigger text in the subject or body text of the email. |
When you make changes across any tabs, the unsaved changes banner appears. Select Save to save your changes, or Cancel to revert any changes made.
The Save/Cancel banner appears on the screen when you have any unsaved changes.
Once you have configured your Campaign and selected Save, it will be automatically appended to your email when the send conditions are met. It appears in the emails you send after your email signature(s).