
Scenario
You want to use different signatures for different regions, and sort them by region. You also want only regional users to have access to the signatures for each region.
Resolution
You can sort your signatures into folders to keep them separated. You can then apply folder security rules to each folder to restrict access to certain users, and sender rules to all signatures in the folder to apply the signatures based on the sender's region.
NOTE: You must be an Admin or Owner to create folders and manage folder security. For more information on user roles, see User Management.
To set up folders, security, and sender rules for multiple regions:
- Log into your Exclaimer account and select Signatures from the menu sidebar.
-
Create a folder for each region you want to use. Your folders are displayed in the All Signatures list.

An example of three folders created for different regions. The folders are named for their region to help organization.
- To restrict access to each folder, select Open to open the first folder, then select the Security tab.
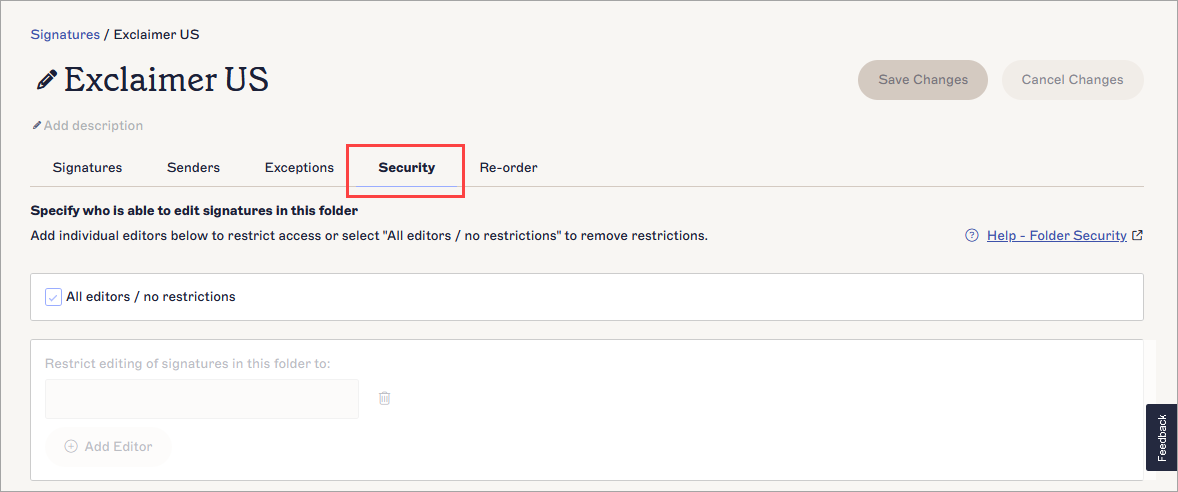
Select Security to access folder security options.
- Deselect the All editors/no restrictions checkbox to enable the user-specific options.
-
In the entry field, enter the email address of a user to grant them access to this folder. To add more users, either enter their email address(es) separated by a comma, or select
 Add Editor.NOTE: The user role of each user you grant folder access to will affect what that user can do to signatures and folders:
Users with the Editor or Designer role will only be able to see the folder you have granted access to in the All Signatures list. They also cannot access folder security or delete signatures.
Users with the Designer role can only create, edit, and import/export signatures in the folder they have been granted access to.
Fore more information on what each user role can do with signatures and folders, see User Management. - To remove access for a user, select the bin icon
 .
.
- To apply signatures in the folder based on region, select the Senders tab.
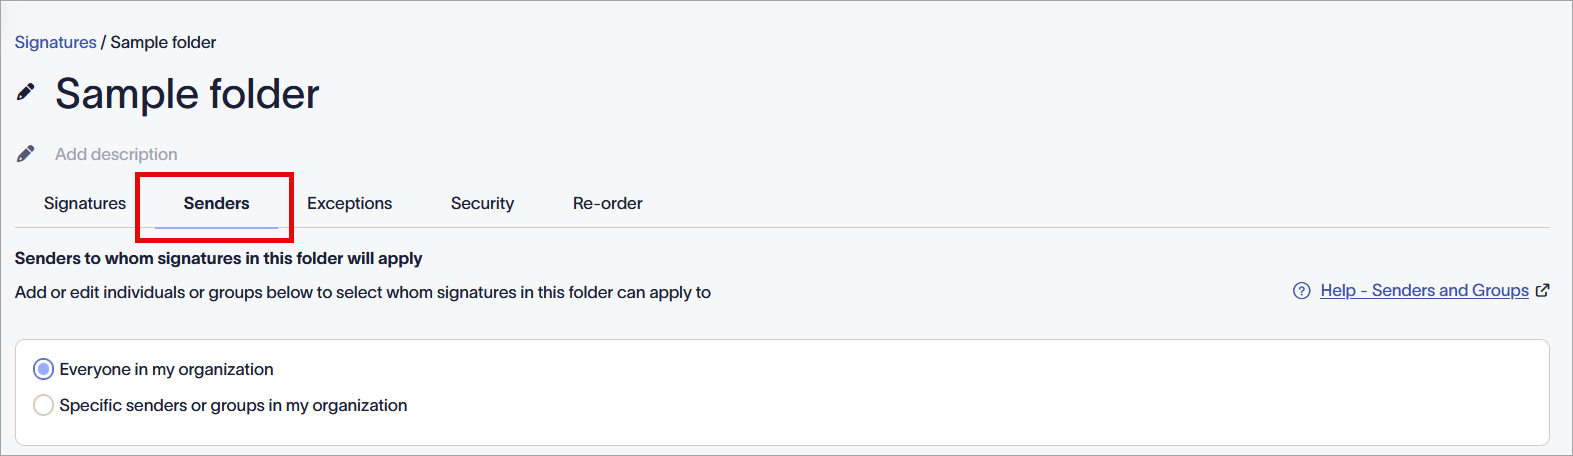
Select the Senders tab to manage senders by region.
- Select the Specific senders or groups in my organization radio button to enable the sender-specific options.
- Use the sender options to apply the signatures in the folder to senders based on region. The method you use may depend on how your users and user data are organized.
EITHER:
Select Add Group and enter the name of the mail-enabled security group containing your users.
OR
Select Add Sender and enter the sender name, email address, or @ domain of the user(s).
OR
Select Add Advanced Query to apply the signatures in this folder based on user attributes, including Country, City, or Postal Code, to define your region.
For more information on how to use each of these methods, see Signature Senders.
- In the unsaved changes banner, select Save.
- Repeat steps 3-10 for each of your region-specific folders to apply the settings for each region.
Next steps: Populate your folders, or allow the users with appropriate security access to do so, with the signature(s) you wish to use for each region by moving them, importing them, or creating them in the respective folders. All signatures in each folder are applied to the specific region using your Senders tab settings.