
Description
A signature must be enabled before it can be used. Enabling is done on a per-signature basis via a toggle in the Manage screen for the selected signature and depends on whether you have configured Client-Side, Server-Side, or both.
You can also disable a signature to stop it applying instead of deleting it. Any signature that is not set to Enabled is not applied to emails, but is still available in your list of signatures.
How to access it
To access the Enable toggle:
- Select Signatures from the menu sidebar.
-
From the All Signatures tab, locate your signature and select Manage Rules.
This opens the Manage screen.
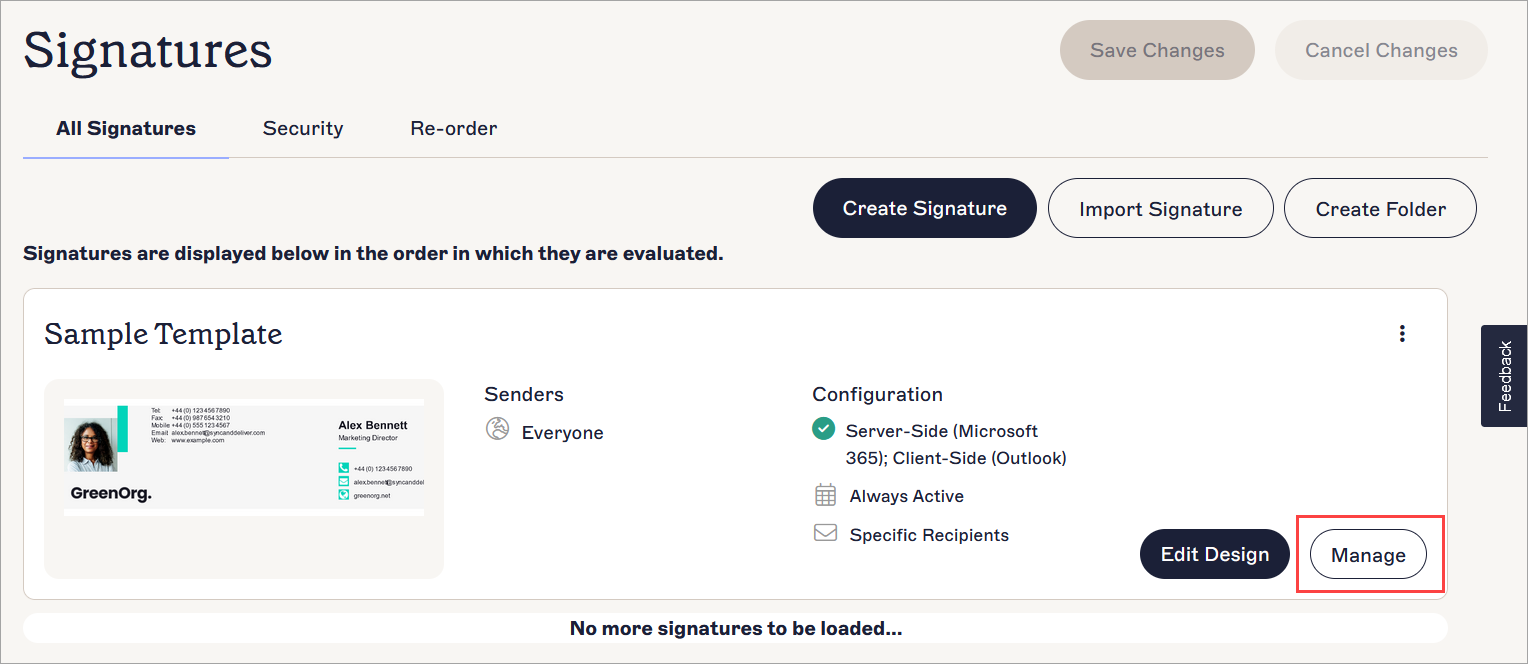
The Manage Rules button is found with the Edit Design button next to your signature.
- To enable the signature for all configured deployments, use the Enable toggle. To manage individual deployments, select the Enable tab.
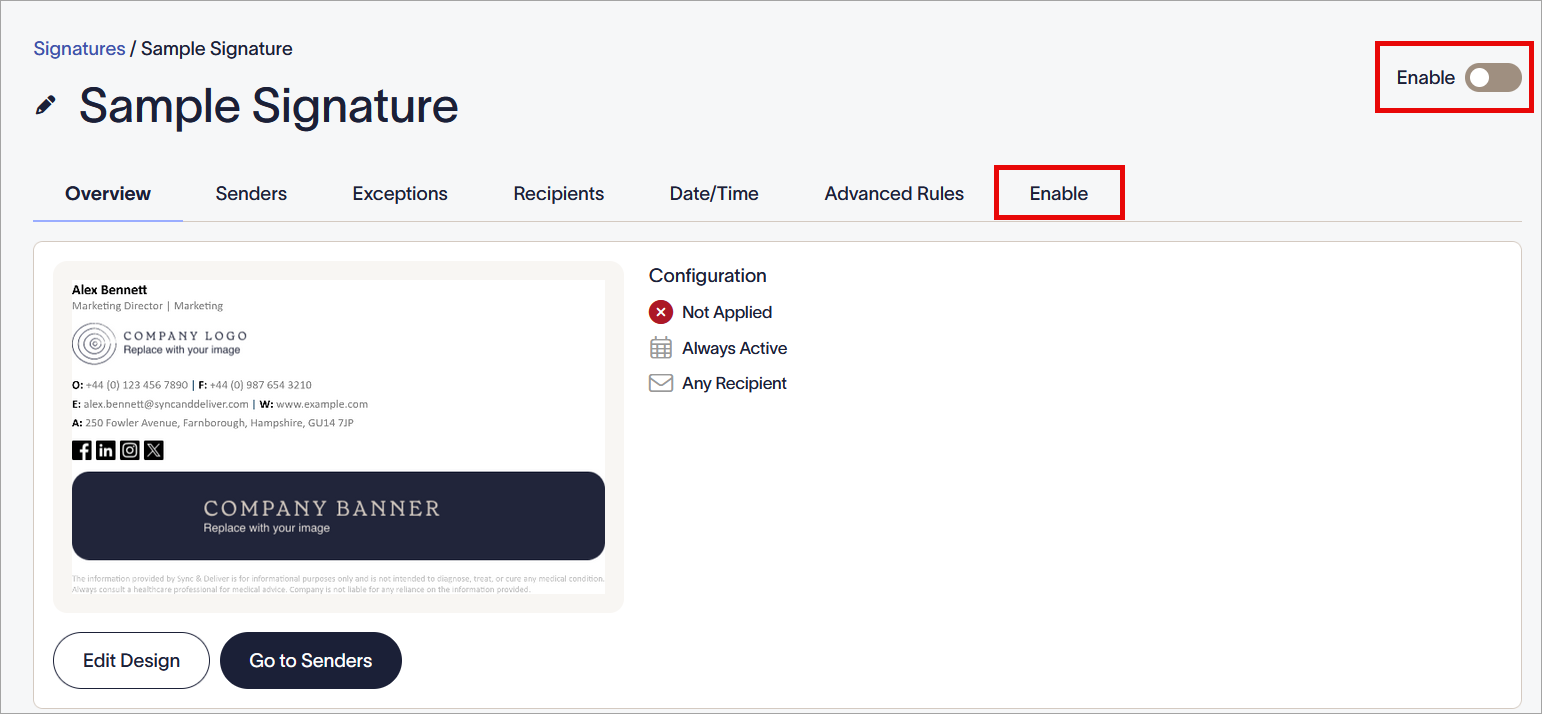
The Enable toggle controls both Client-Side and Sever-Side at once. The Enable tab has individual options.
Enabling a signature
You can enable a signature for Client-Side, Server-Side, or both. You must enable the signature for the type of deployment you want to use - for example, if you enable the signature for Client-Side but not Server-Side, the signature will apply to Client-Side emails but will not apply to Server-Side emails.
To enable the signature:
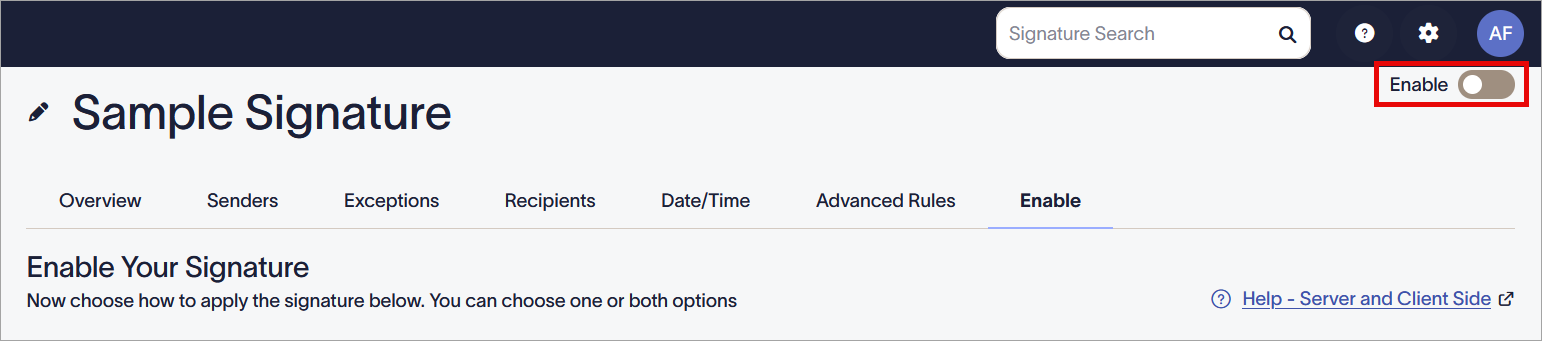
- In the Enable tab, check that you have configured your subscription for the type(s) of deployment you want to use. If you have not configured either Client-Side or Server-Side deployment, the appropriate section does not display enable options. Select Connect to begin configuration. For more information, see How to configure Client-Side signatures after the initial onboarding and/or Connect to Microsoft 365 (Server-Side instructions).
-
Select which deployment you want to enable the signature for:
- To enable the signature for both Client-Side and Server-Side, select the Enable toggle.
The Enable toggle is located above the row of tabs.
- To enable the signature for Server-side, select the Apply to emails from all devices, including Mobiles checkbox.

Select the checkbox in the Server-Side section.
- To enable the signature for Client-Side, select the See before you send in Outlook (Windows, Web and MacOS) checkbox.
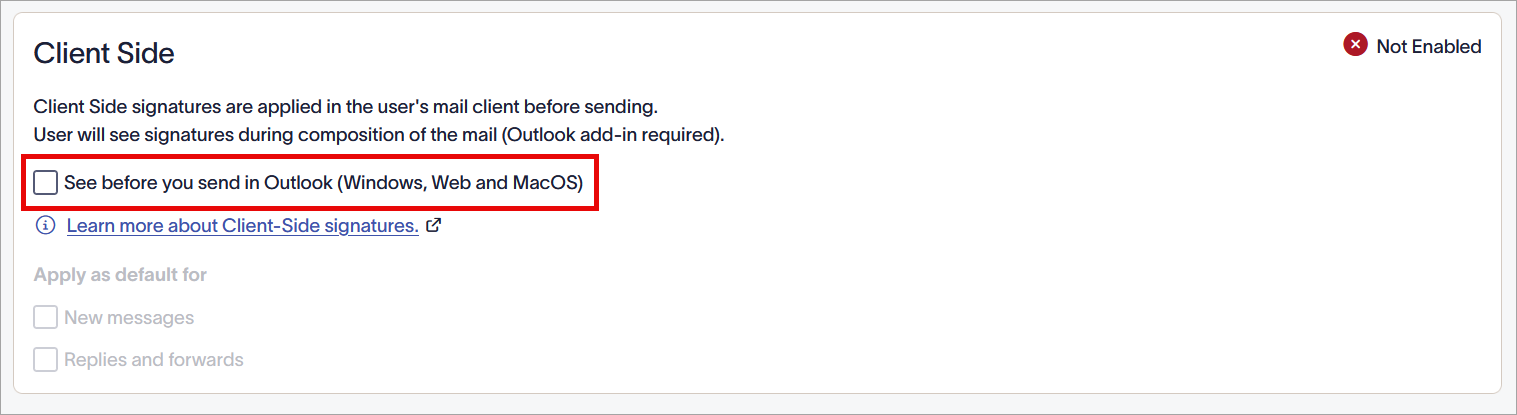
Select the checkbox in the Client-Side section.
When a signature is enabled, the appropriate section displays the Enabled status.
NOTE: The Enable toggle does not configure your deployment. The signature is only enabled for the type(s) of deployment you have previously configured. - To enable the signature for both Client-Side and Server-Side, select the Enable toggle.
- In the unsaved changes banner, select Save.
- To disable the signature, deselect the appropriate toggle or checkbox.