
Description
If you have completed the initial onboarding for Microsoft 365 and the dashboard configuration options are no longer available, you can still configure Client-Side signatures if you have not done so before.
In Client-Side signatures, signatures are synchronized to the users' computers for use in Microsoft Outlook. When messages are sent from Outlook, they are sent directly via Microsoft 365 and are not routed to Exclaimer for processing.
Select an option below to view the related instructions:
To Client Side after the initial onboarding:
- From the menu sidebar, select Signatures.
- Select Manage Rules next to the template you wish to configure for client-side.
- Select the Enable tab.
- In the Client Side section, select Connect.

In the Client Side section, select Connect.
To configure Client-Side signatures:
- Within the Client Side section, select Connect.
You are directed to the onboarding section, where you can configure Client-Side signatures.
- If you have not already connected Users and Groups, you are prompted to sign in to Microsoft 365 as a Global Administrator - be sure that you are entering the credentials for the correct Microsoft 365 tenant.
- Once you sign in, a prompt will appear asking you to accept a permissions request for Exclaimer to read your Entra ID (formerly Azure AD) data. Select Accept.
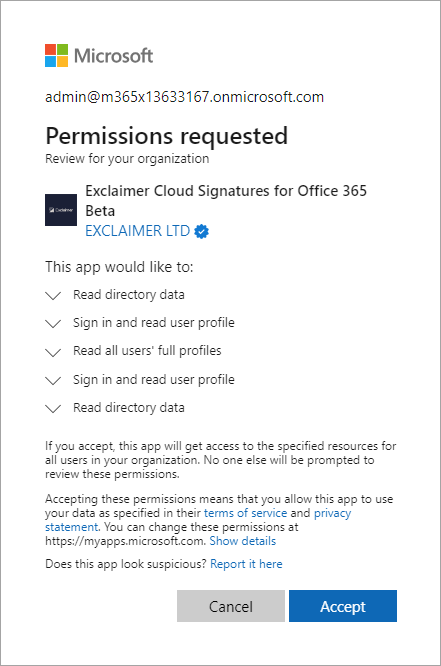
Permission requested window for Exclaimer to read your Azure AD data.
-
If you have previously connected Users and Groups for Server-Side, you can select Change to edit the connected users for Client-Side.
EITHER:
Select Full to synchronize the contact details of all members of your organization with Exclaimer.
OR
Select Limited, and enter the mail-enabled security group name (from the existing Entra ID groups); this is a predictive text field, so any matched groups will be shown as you start to type. Select the group whose user contact details you want to sync with Exclaimer.NOTES:
- Only mail-enabled security groups are supported for this option. For more information on creating groups, see How to create a mail-enabled security group.WARNING! Enabling the Limited option will remove all user data for people outside this group from the database.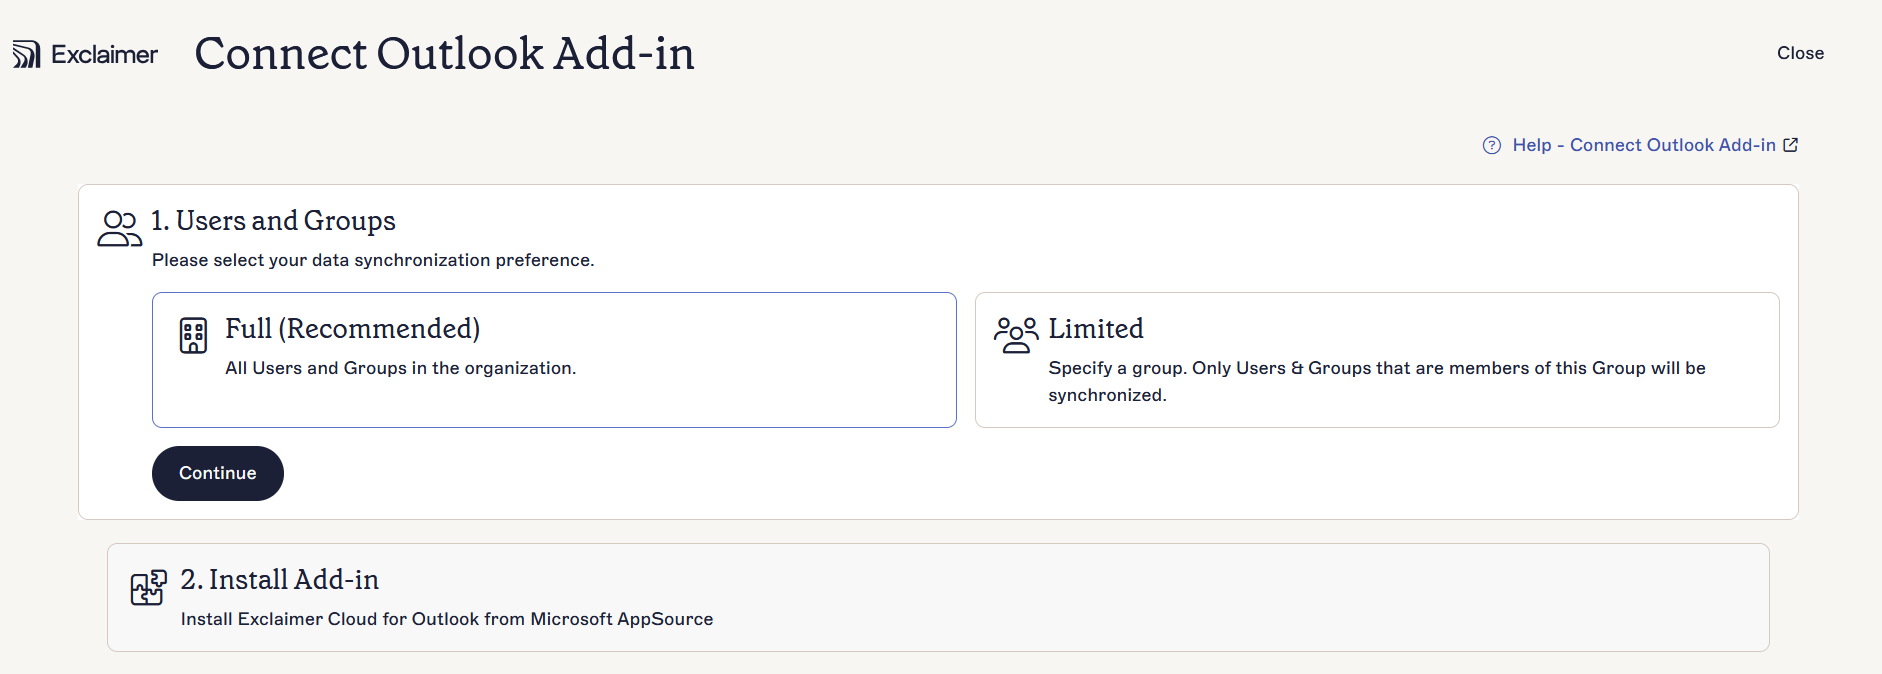
Synchronize options.
- Select Continue.
- You may be prompted to sign in to Microsoft 365 as a Global Administrator - be sure that you are entering the credentials for the correct Microsoft 365 tenant.
- Select Accept to accept the permissions request.
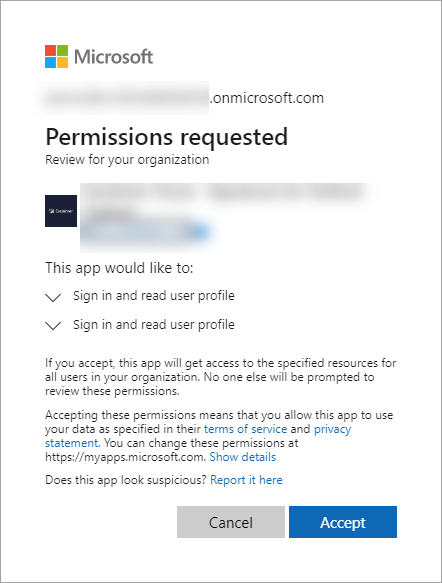
Permissions requested window.
- Once the Users and Groups configuration is complete, the Install Add-in section is accessible. Select Launch Appsource. The Exclaimer Signatures page is displayed. Download the option best suited to your environment:
- Outlook Add-in (Recommended): This is centrally deployed to Microsoft Outlook and allows any user to add signatures created within Exclaimer to their emails while composing the email.
- Desktop Agent (Windows): This synchronizes signatures directly with the user's Outlook on Windows only.
For more information, see the differences between Exclaimer Outlook Add-in and Exclaimer Signature Update Agent.