
Scenario
You have multiple elements of signature content that you want to apply in different scenarios to different recipients without building multiple complete signatures with duplicate content.
Resolution
You can create different combinations of signature content by stacking available signatures. Stacking signatures allows you to customize which elements are applied to which recipients without creating high volumes of variable signatures. For example, you can stack a legal disclaimer that pertains to multiple groups of users with a header that pertains to an overlapping group of other users.
We recommend: Create your signature with each variable element as separate signature templates. For example: a header in one signature template, main content in another, and a disclaimer in another. This will reduce the time required to edit their content in the future. You can apply rules to a specific signature template without affecting the main signature.
NOTE: If you stack templates to form a complete signature, they are counted as separate templates. To maximize the use of the signature stacking functionality, upgrade your plan. For more information on pricing plans, see Exclaimer Pricing Plans.
Select an option below to view the related instructions:
Stacking Server-Side signatures
To stack Server-Side signatures:
- Within the Signature Designer, create separate templates containing each piece of variable content.
For example, if using a banner, main content, and a disclaimer, create one template containing only the banner, another containing the main body of the signature, and a third containing the disclaimer.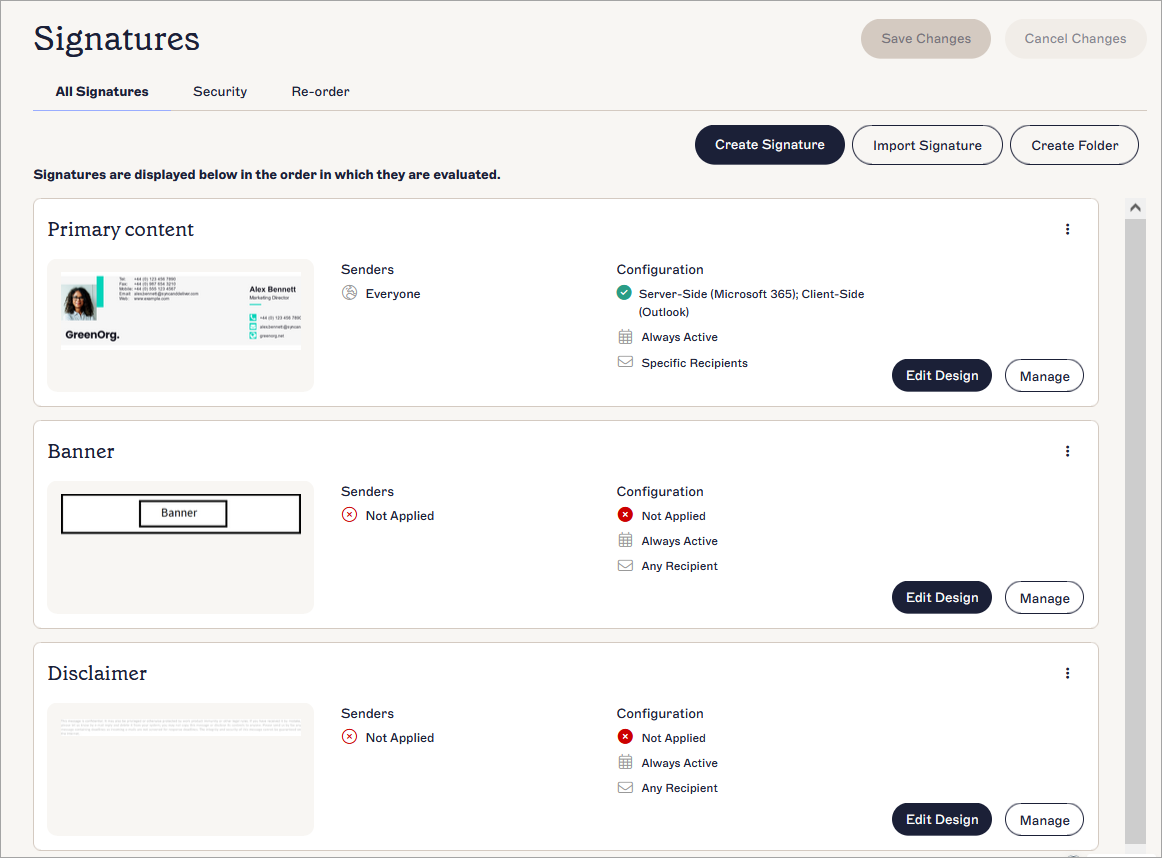
Three templates, each containing one element that will be stacked with varying others, displayed in the All Signatures tab.
- In the Signatures pane, select the Re-order tab to re-arrange the signature templates in the order you want to stack them.
The system processes signatures from top to bottom, as displayed in the All Signatures tab.
For more information, see how to re-order the signatures.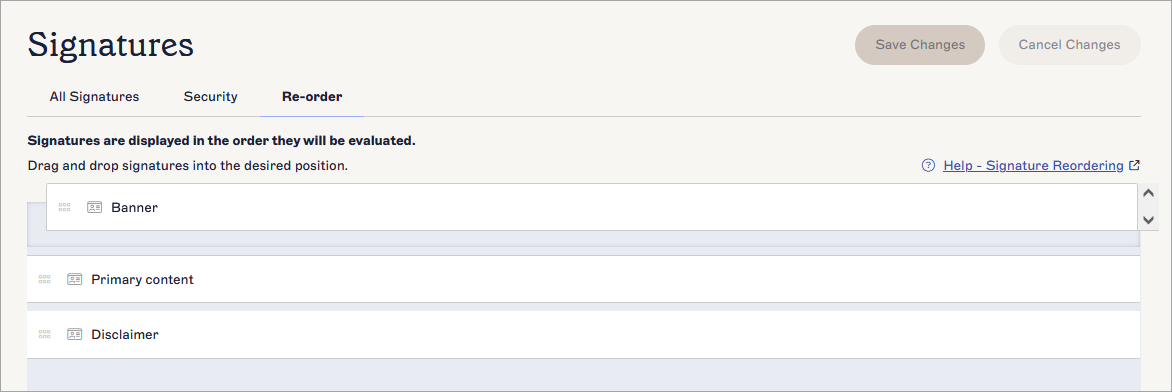
The Re-order tab. Drag and drop your signatures to re-order them.
- From the All Signatures list, select Manage Rules next to one of your templates.
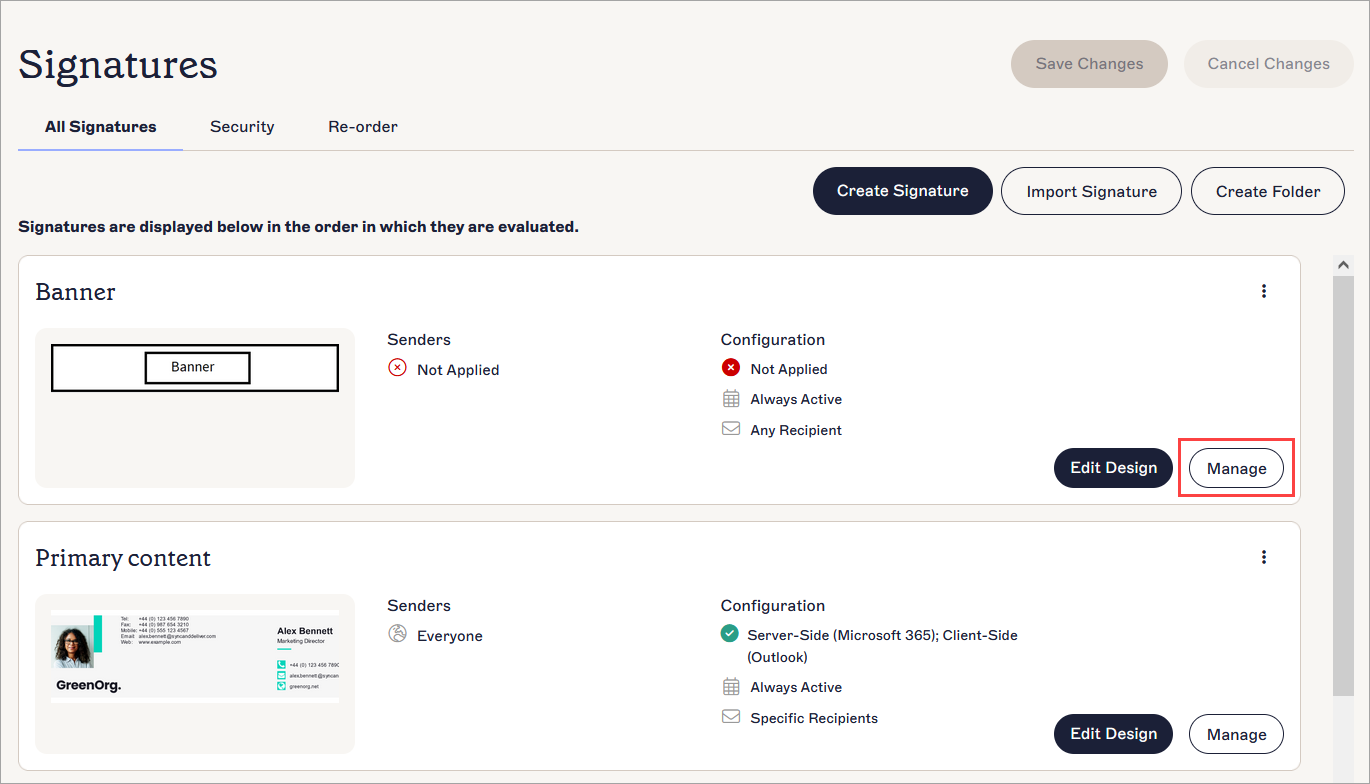
Select the Manage Rules button next to a signature.
- Open the Enable tab and enable the signature for Server-Side deployment. For more information, see Enable Signatures for Microsoft 365 or for Google Workspace.
- Open the Advanced Rules tab and locate the Advanced Server-Side Rules section. Under If this signature is applied, select the Process the next signature radio button.
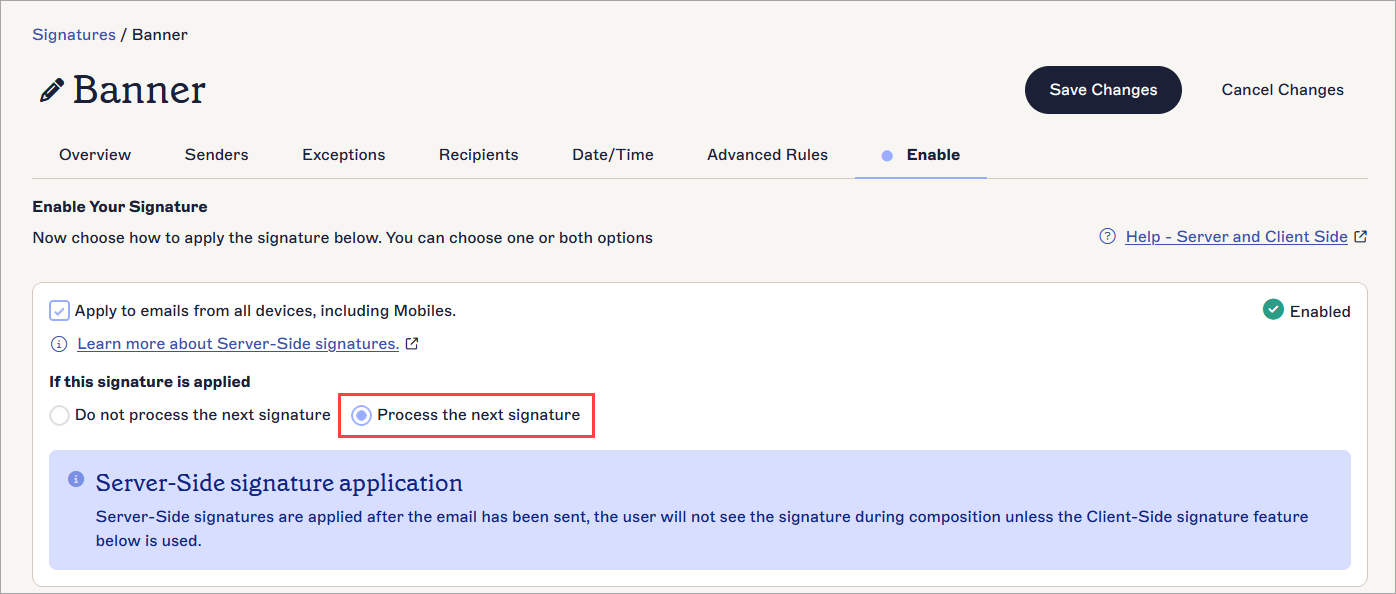
Select the Process the next signature radio button to apply the next signature in the list, creating a stack.
- Repeat the above steps (steps 3 - 11) for each template you created.
For the last template, select Do not process the next signature.
Warning! Only select this option if this is the last signature in the stack. No further signatures will be appended after this one and your stack will be incomplete.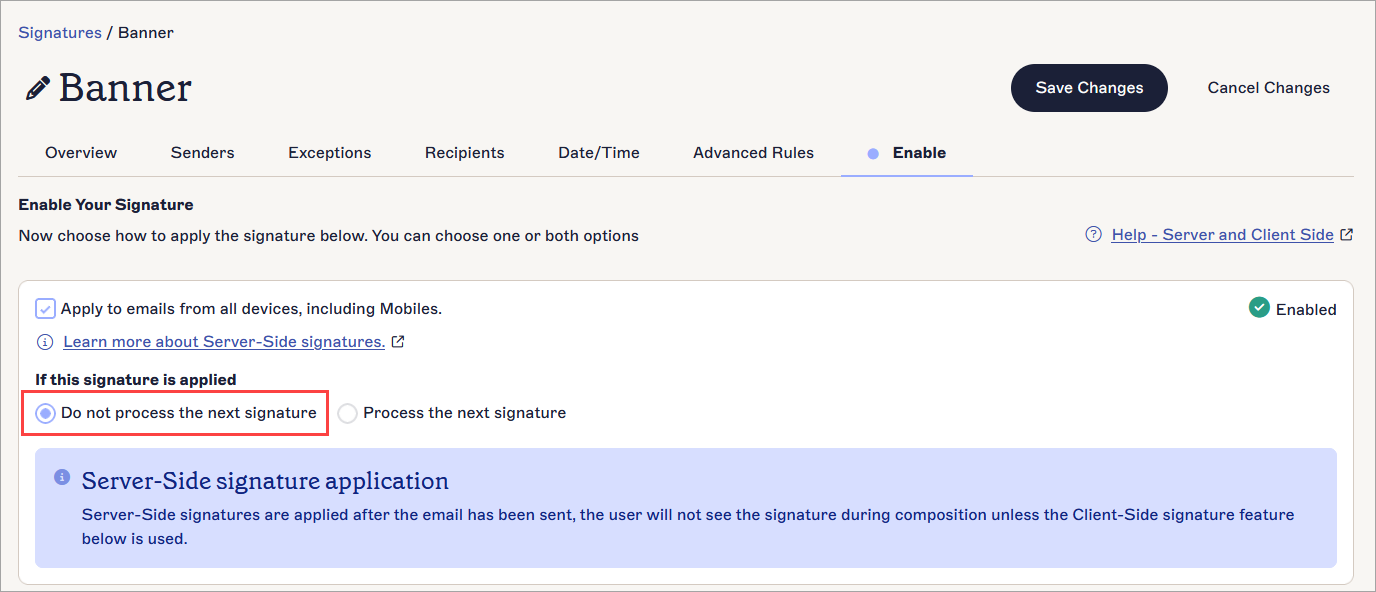
Select the Do not process the next signature radio button to stop stacking more signatures after this one.
- In the unsaved changes banner, select Save.
Once you update the signature templates, you can verify the rules attached to them on the signature card.
Stacking Client-Side signatures
To stack Client-Side signatures:
- Within the Signature Designer, create separate templates containing each piece of content.
For example, if using a header, main content, and a disclaimer, create one template containing only the header, another containing the main body of the signature, and a third containing the disclaimer.
Three templates, each containing one element that will be stacked with varying others, displayed in the All Signatures tab.
- In the Signatures pane, select the Re-order tab to re-arrange the signature templates in the order you want to stack them.
The system processes signatures from top to bottom, as displayed in the All Signatures tab.
For more information, see how to re-order the signatures.
The Re-order tab. Drag and drop your signatures to re-order them.
- From the All Signatures list, select Manage Rules next to your first signature.
Select the Manage Rules button next to a signature.
- Open the Enable tab and enable the signature for Client-Side deployment. For more information, see Enable Signatures for Microsoft 365 or for Google Workspace.
- Open the Advanced Rules tab and locate the Advanced Client-Side Rules section. If this signature is NOT the first signature in the stack, select the Apply this signature after any existing Client-Side Signatures checkbox under Stack signatures in Outlook.
Warning! Do not select this checkbox if this is the first signature in the stack. This setting appends the signature to a previous signature and will not work for your first stacked template.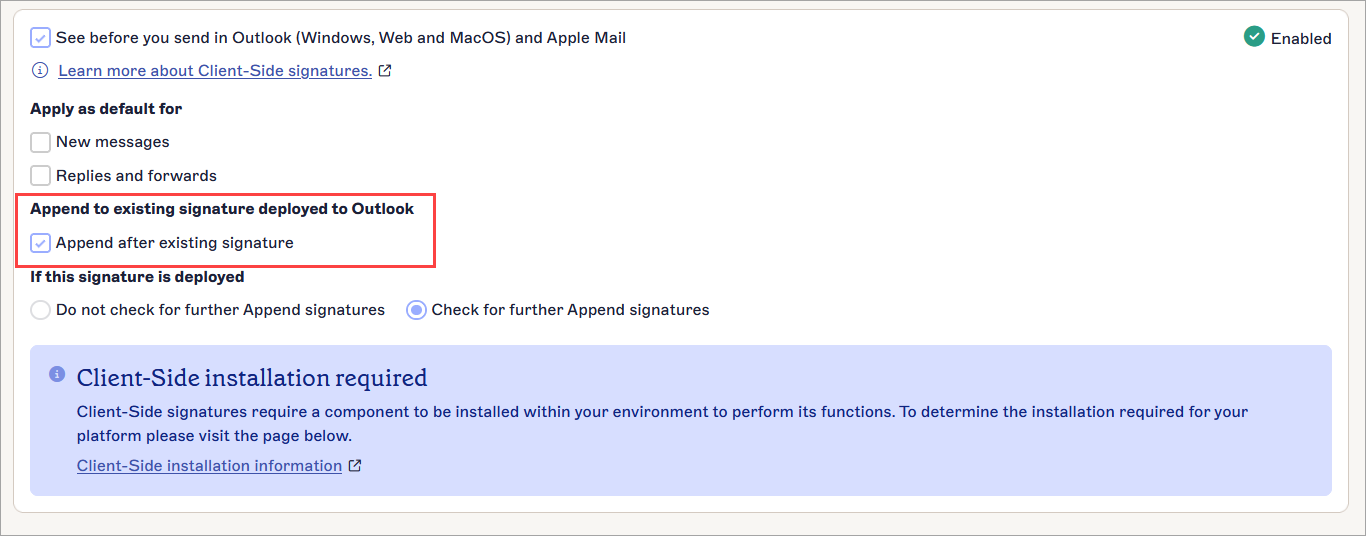
Select the checkbox to stack this signature AFTER a previously-applied template.
- Under If this signature is applied, select Continue stacking signatures. Any other signatures with Apply this signature after any existing Slient-Side Signatures enabled will be stacked.
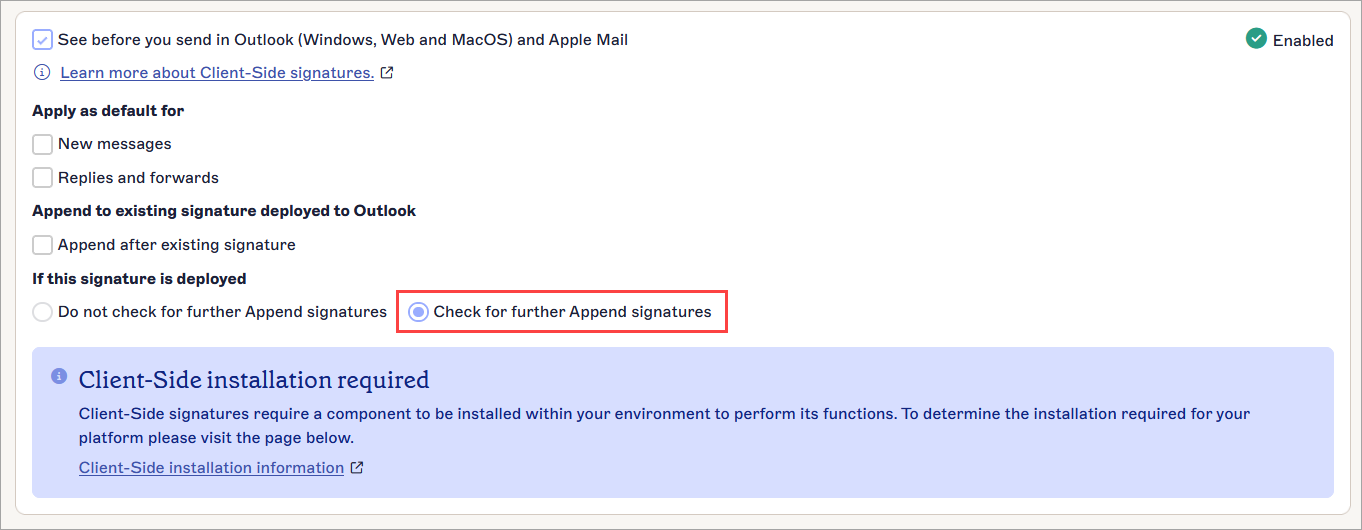
Select Continue stacking signatures to stack further signatures after this one.
NOTE: You can append a maximum of ten additional signatures to a signature.
One email can contain a maximum of 11 templates: one original signature + ten appended signatures. - Repeat the above steps for each template you created. For the last signature, select Stop stacking signatures.
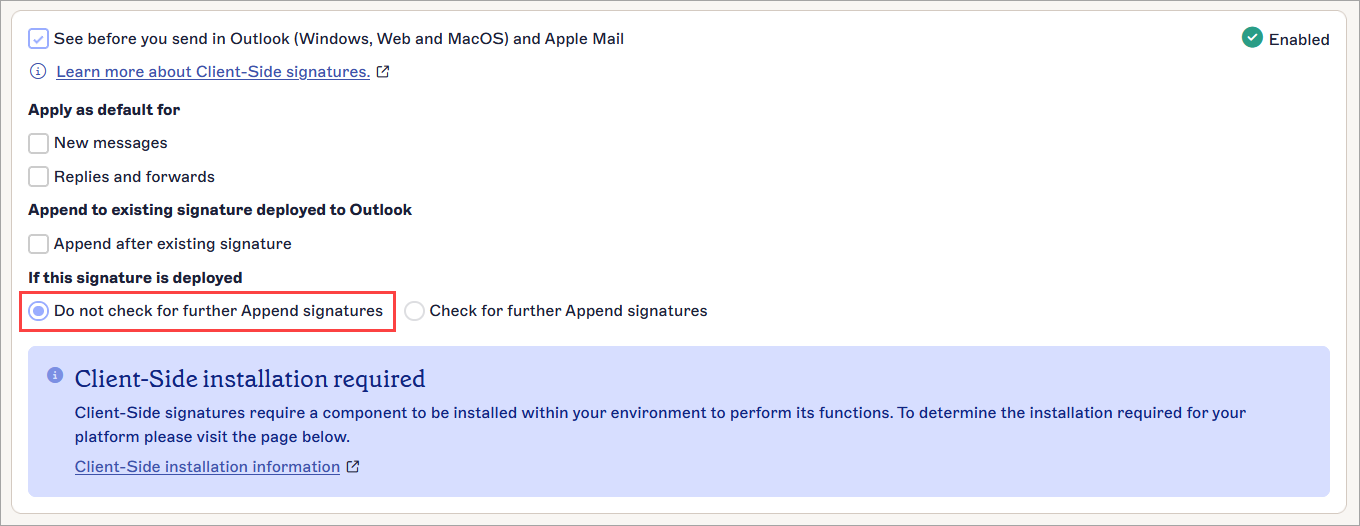
Select Stop stacking signatures to stop stacking more signatures after this one. No more signatures will be stacked, even if they have Apply this signature after any existing Client-Side signatures enabled.
Warning! Only select this option if this is the last signature in the stack. No further signatures will be appended after this one and your stack will be incomplete. - In the unsaved changes banner, select Save.
Once you update the signature templates, you can verify the rules attached to them on the signature card.