
Scenario
You are using Exclaimer, and you wish to apply a custom font to a signature element.
Resolution
NOTE: The steps here assume that you have already created an email signature. For more information, see how to create an email signature.
To add custom fonts:
- Open your signature template in the Signature Designer.
- Select or add any text-based element. These are:
-Text
-Address {Fields}
-Personal {Fields}
-Contact{Fields}
-All {Fields}
-Legal Disclaimer
-Registered Office
-Headline Content
-Microsoft Bookings
-Calendly
- In the Properties pane, expand the Text section or, for Microsoft Bookings and Calendly, the Calendar Sharing Button section.
- Under Font Family, select Manage.
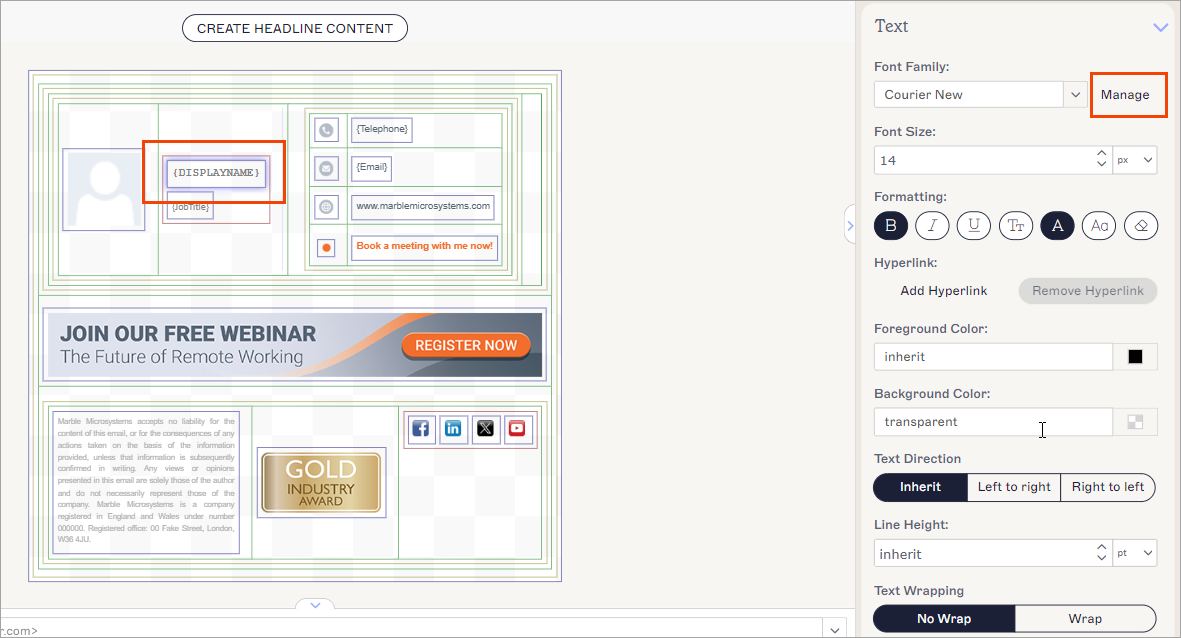
Select your text, then select Manage.
The Custom Fonts window is displayed.
The Custom Fonts window when no fonts have been added.
- Select +Upload Font. This opens File Explorer (Windows) or Finder (Mac).
-
Locate and select the required font file, then select Open.
NOTE: Font files must be in the .ttf or .otf file formats. The maximum file size is 1MB.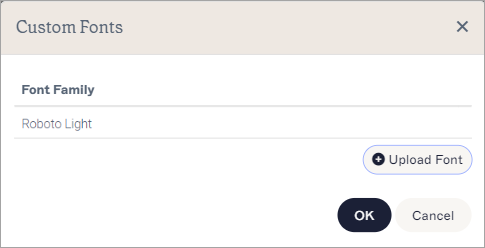
The Custom Fonts window opens once a font is uploaded.
-
Select OK to return to the canvas.
The uploaded custom font becomes available for selection in the Custom Fonts section of the Font Family drop-down list.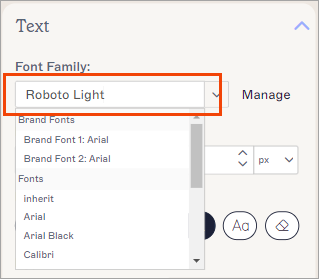
Select the arrow to open the drop-down. Your font is found under Custom Fonts.NOTES:
You only need to add a custom font once. An uploaded font is available for use in any Font selection within the current template.
You cannot upload variable fonts. Variable fonts are fonts with multiple styles in a single package, such as Montserrat or Roboto flex. For more information on understanding variable fonts, see Adobe's variable font resources. -
To set your text to your uploaded font, select your font from the Font Family drop-down menu. This renders your signature as a bitmap, which is required to correctly display custom fonts.
Select Yes in the bitmap warning pop-up.
WARNING! Rendering your signature as a bitmap may cause quality or display issues. Signatures using uploaded custom fonts can only be rendered as bitmaps to be usable. For information on using a custom font without rendering as a bitmap, see How to use font stacks in Exclaimer and Difference between custom fonts and font stacks. - Select Save Changes to save your template, or select Cancel Changes to revert any changes made.