
Description
Folders are used to store and organize your signatures. You can create folders in your list of signatures and store up to 100 signatures within a folder.
NOTE: The All Signatures tab can hold a maximum of 100 objects. This includes both individual signatures and folders. For example, if you have 50 individual signatures, you can add a maximum of 50 folders.
How to access it
To access the Create Folder option:
- From the menu sidebar, select Signatures. The Create Folder option is found with the action buttons in the header in the All Signatures tab.
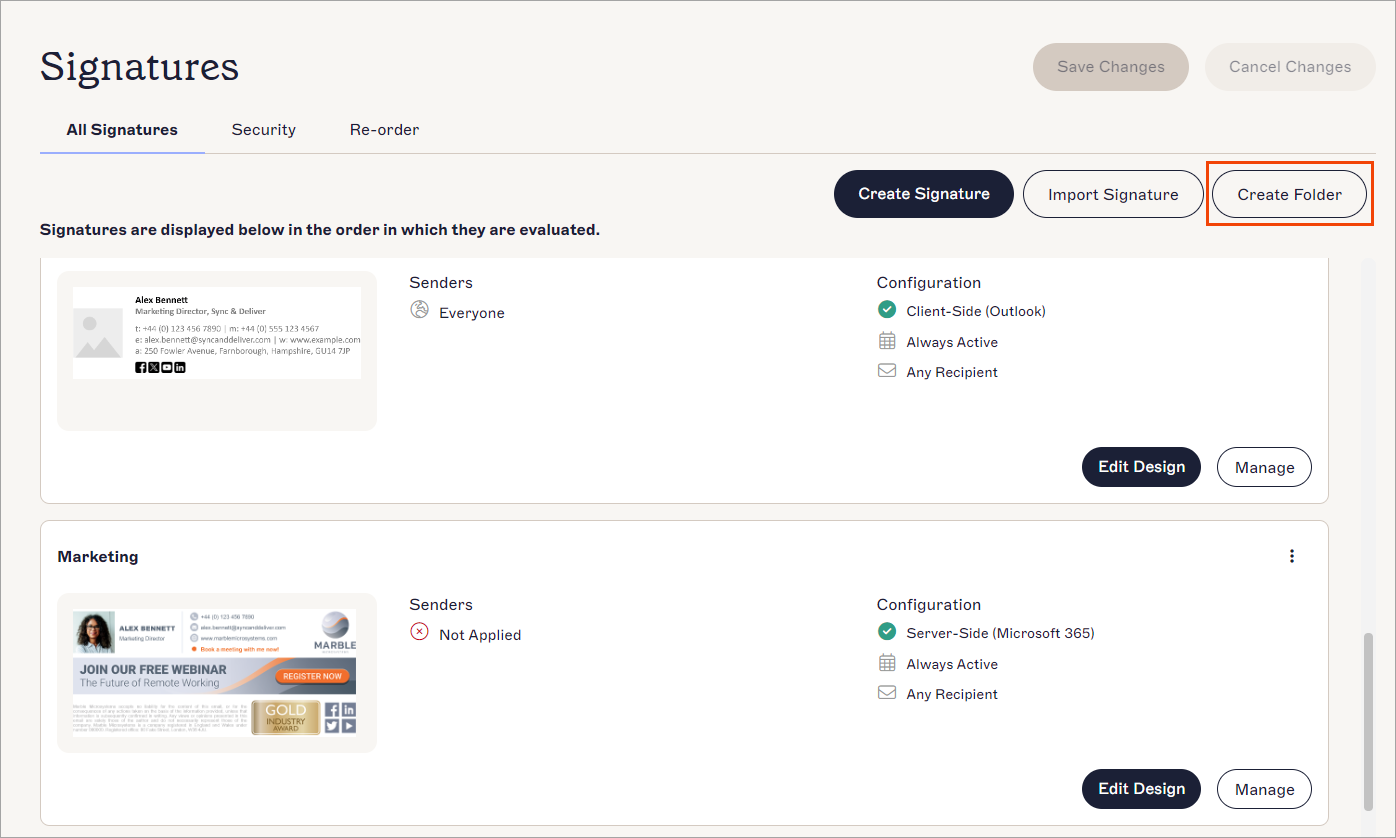
Select Signatures. The Create Folder button is found in the page header.
Creating a new folder
Only users with the Admin role or Editors that have been granted permissions by an Admin can add new folders. For more information on roles and permissions, see User Management.
To create a new folder:
- Select Create folder. This opens your new empty folder.
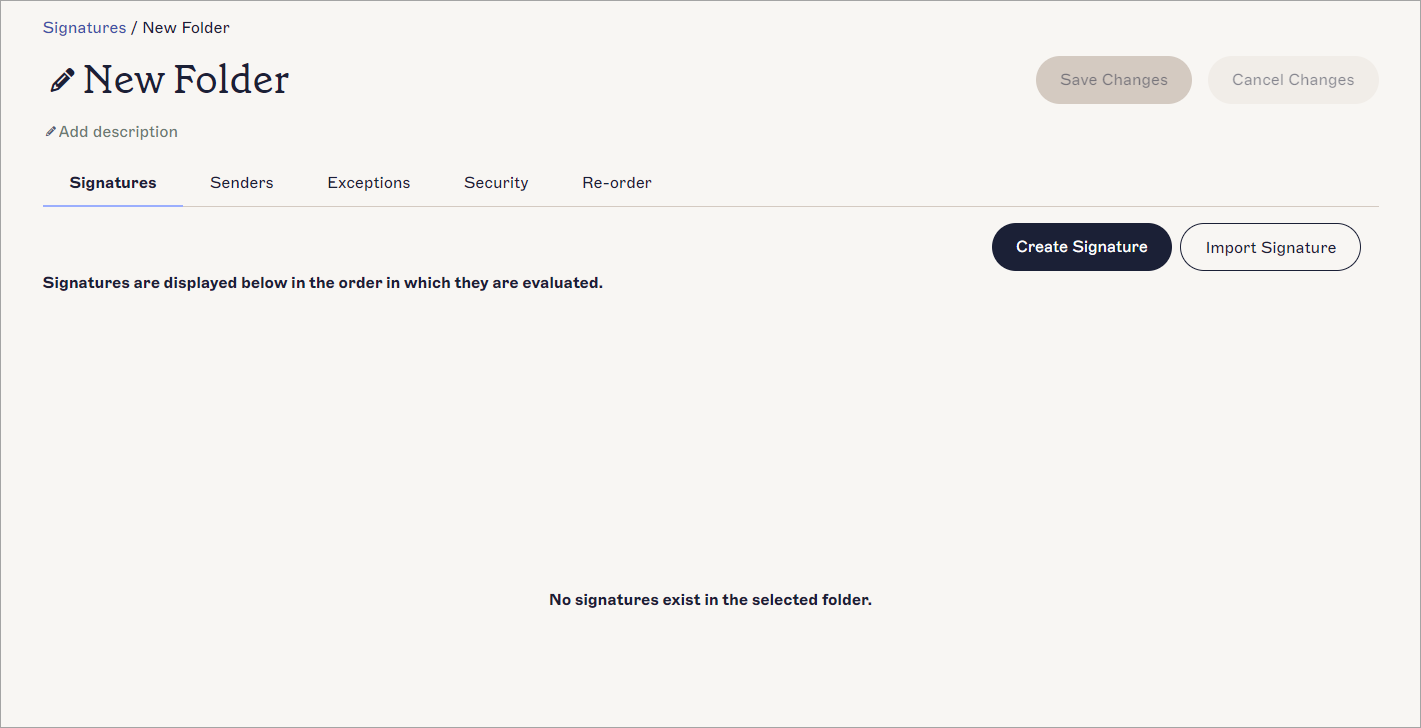
An empty folder.
- To enter a folder name, select the pencil icon next to New Folder and enter your text.

Enter a new folder name. You do not have to change the name from New Folder.
NOTE: The folder name value cannot be empty. - To add a folder description, select the pencil icon next to Add description and enter your text.
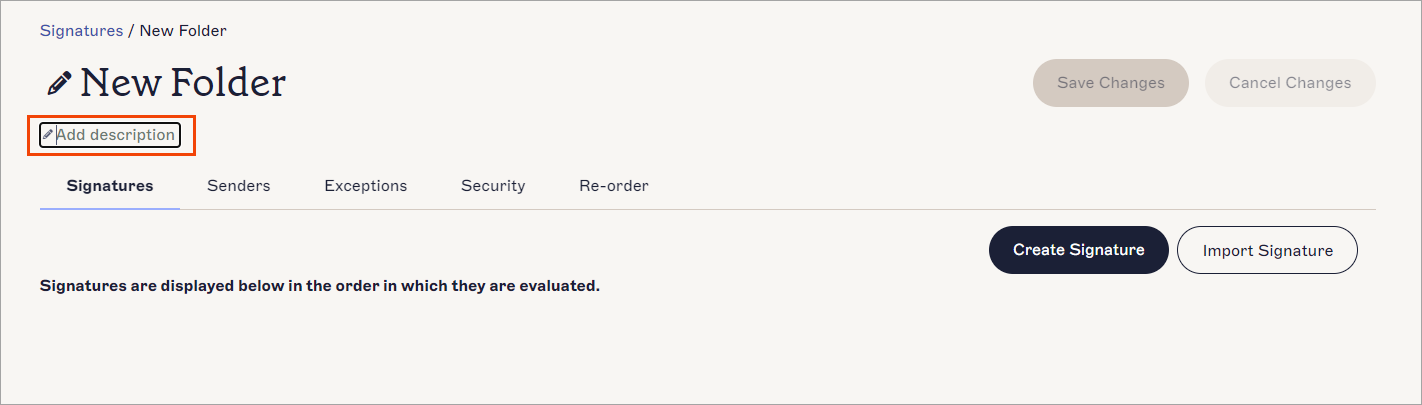
Enter an optional description for your folder.
-
In the unsaved changes banner, select Save to save your changes. Select Cancel to revert any changes made.
- To exit the folder, select Signatures either from the menu sidebar or from before the folder name. This returns you to the All Signatures list.
Next Steps: Within a folder you can view, edit and manage signatures as you can from the All Signatures list, including creating and importing signatures, and applying folder rules. For more information on working withing folders, see Signatures within folders.
You can also set up folder security to control who can access and edit your new folder. For information on restricting access to certain users, see Folder Security.
You can also set up folder security to control who can access and edit your new folder. For information on restricting access to certain users, see Folder Security.