
Description
Server-Side signatures mean that signatures are applied to all email messages via Exclaimer's Cloud service, irrespective of which browser/device/email client is used.
Pre-requisites:
- You need to be the subscription Owner to configure a subscription. For more information on user roles, see User Management.
- You need to use your Microsoft 365 Global Administrator credentials to configure your Exclaimer - Signatures for Microsoft 365 subscription. If you do not have these credentials, invite an admin to complete the process.
- You need to update the Sender Policy Framework (SPF) record for each domain from which you send emails to avoid messages being marked as spam by recipients. For more information, see how to update the Sender Policy Framework (SPF).
How to access it
To access the Server-Side onboarding options:
- Log into your Exclaimer account and launch your subscription.
-
From the menu sidebar, select Connect.
NOTES:
After account creation, the Home page displays an onboarding checklist to support successful onboarding. You can either follow the steps in the checklist or select Connect from the menu sidebar.
The Connect page is not available if you have already configured a deployment option. To configure Server-Side signatures if the Connect page is not available, see how to configure Server-Side signatures after the initial onboarding.
Select Connect from the menu sidebar.
Select an option below to view the related instructions:
To configure Server-Side signatures:
- Select Connect. Sign in to Microsoft 365 as a Global Administrator.
-
In the Permissions requested window, select Accept. This allows Exclaimer to read your Entra ID (formerly Azure AD) data to sync your users with Exclaimer.
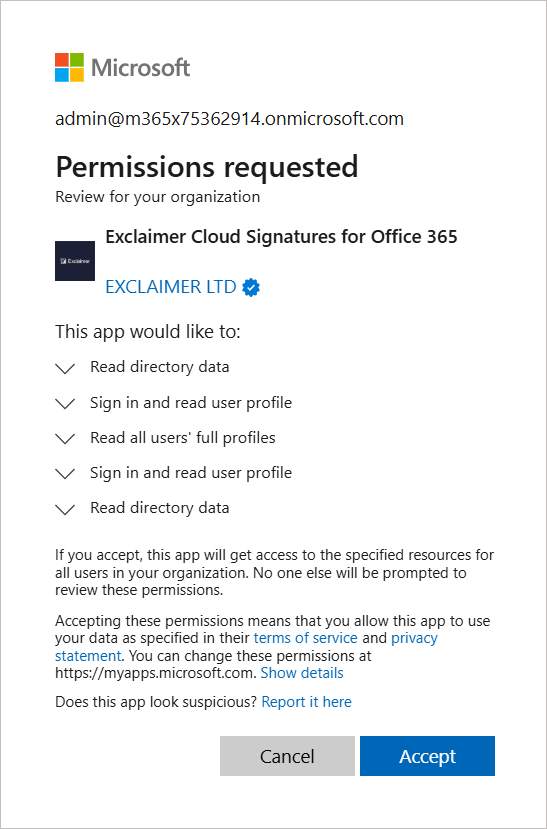
Permissions request for Exclaimer to read Azure AD data.NOTE: For a detailed list of all applications used by Exclaimer, see Exclaimer Microsoft 365 application permissions. - Select which members of your organization you wish to synchronize with Exclaimer:
EITHER:
Select Full (Recommended) to synchronize the contact details of all members of your organization with Exclaimer.
OR
Select Limited to synchronize a mail-enabled security group from your existing mail-enabled security groups.
Select which members of your organization you wish to synchronize with Exclaimer.
- Select Continue.
-
Select which users to configure the mail routing for:
EITHER:
Select All users (Recommended) to configure the mail flow rule in Exchange Online with the condition "Sender is inside the organization".OR
Select Group to configure the mail flow rule in Exchange Online with the condition "Sender is inside the organization" and "Sender is a member of the group".
In the text box, enter a mail-enabled security group. The drop-down provides suggestions as you type - select the group from the suggestions to add it. You must select a group from this list for it to be recognised.NOTE:
Only mail-enabled security groups are supported. For more information on creating groups, see How to create a mail-enabled security group.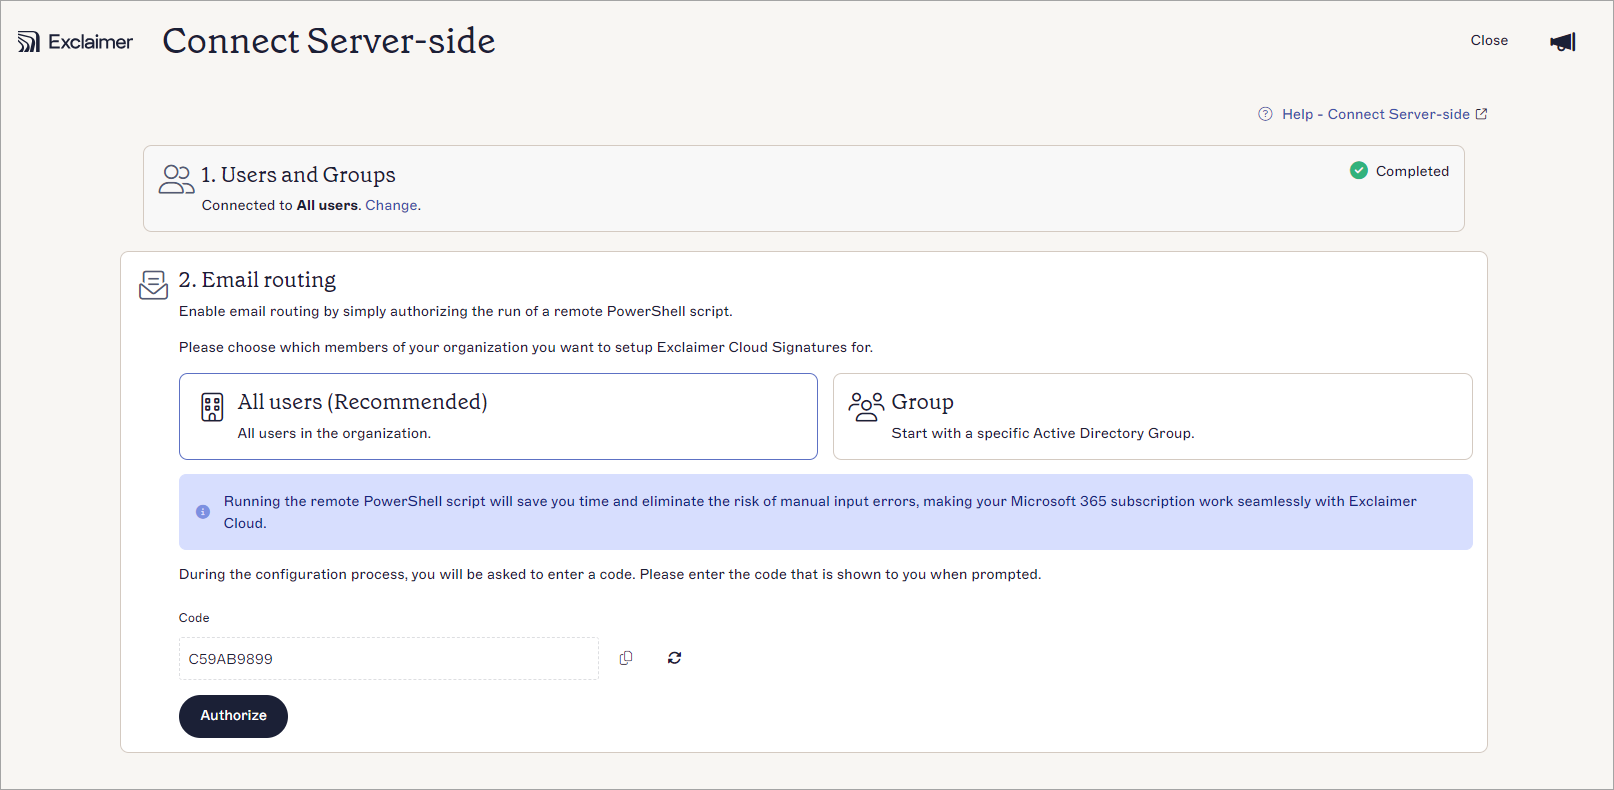
Select which members of your organization you wish to alter the mail flow for.
- Select Authorize.
-
Log in as a Global Administrator. This opens the Permissions requested window. Select Accept.
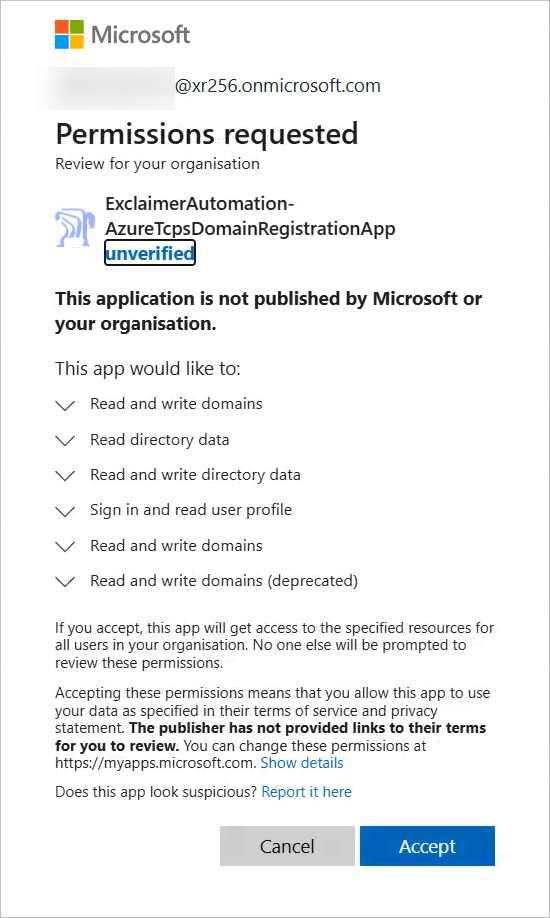
Permissions request for Exclaimer to connect to Microsoft 365.
NOTE: For a detailed list of all applications used by Exclaimer, see Exclaimer Microsoft 365 application permissions. -
Wait for the configuration process to complete. The dashboard status displays In progress.
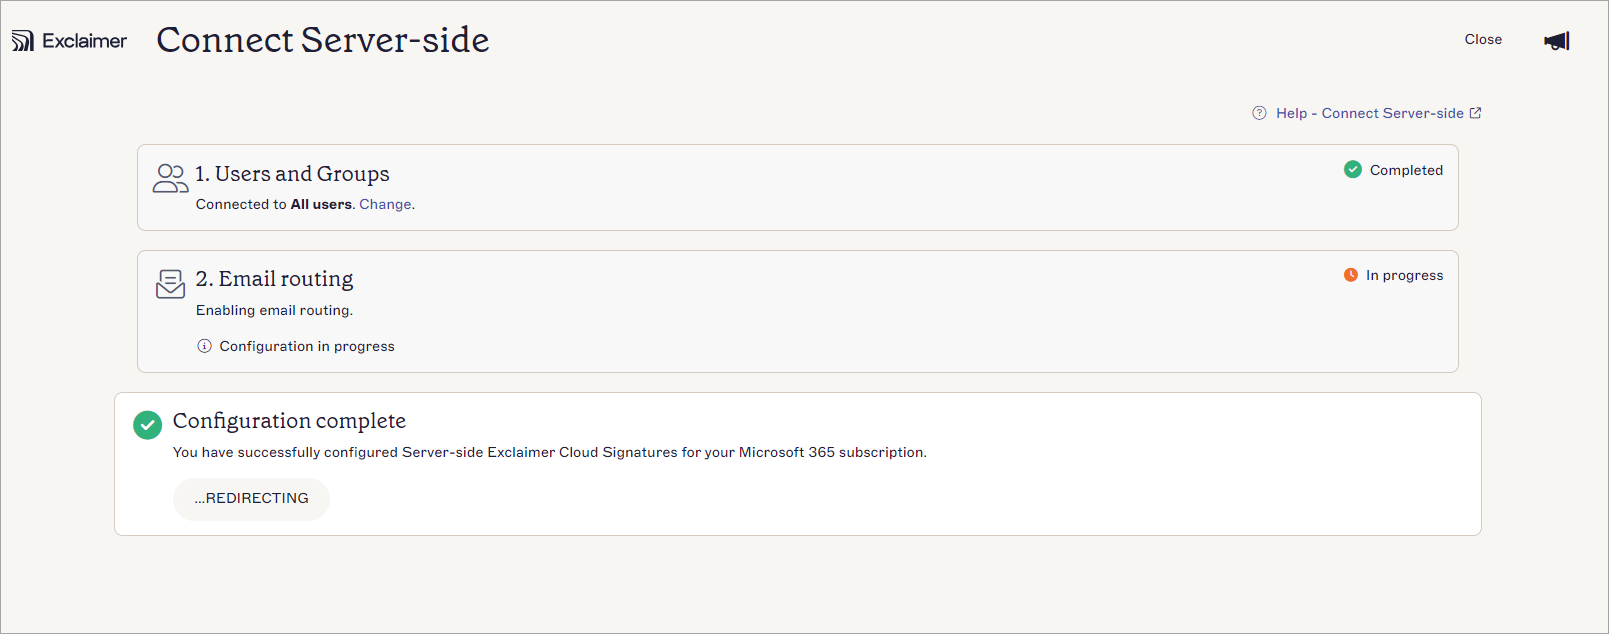
Mail routing in progress.
Once the configuration has been completed, a confirmation window is displayed. The dashboard status of the Server-Side configuration changes to Connected. Select Re-connect to make changes to the onboarding settings.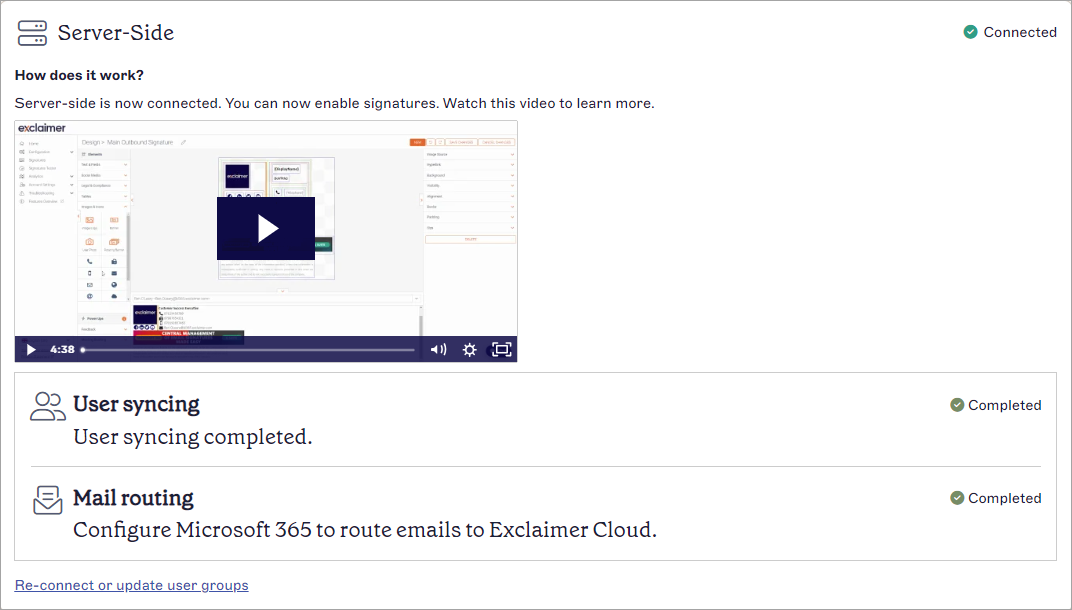
Confirmation window showing successful connection to your email service.
Next Steps: Select Create signature to start creating your first email signature.
If your Microsoft 365 Global Administrator account has the Global Administrator role assigned through a group or PIM (Product Information Management), your configuration may fail. The role must be assigned as Direct. You can check how the role is assigned in Entra ID (formerly Azure AD) and reassign it correctly if necessary.
To check and reassign the role in Entra ID:
- Log in to Entra ID (formerly Azure AD) at https://entra.microsoft.com/
- Navigate to the account and select the account name.
- From the menu sidebar, select Assigned roles.
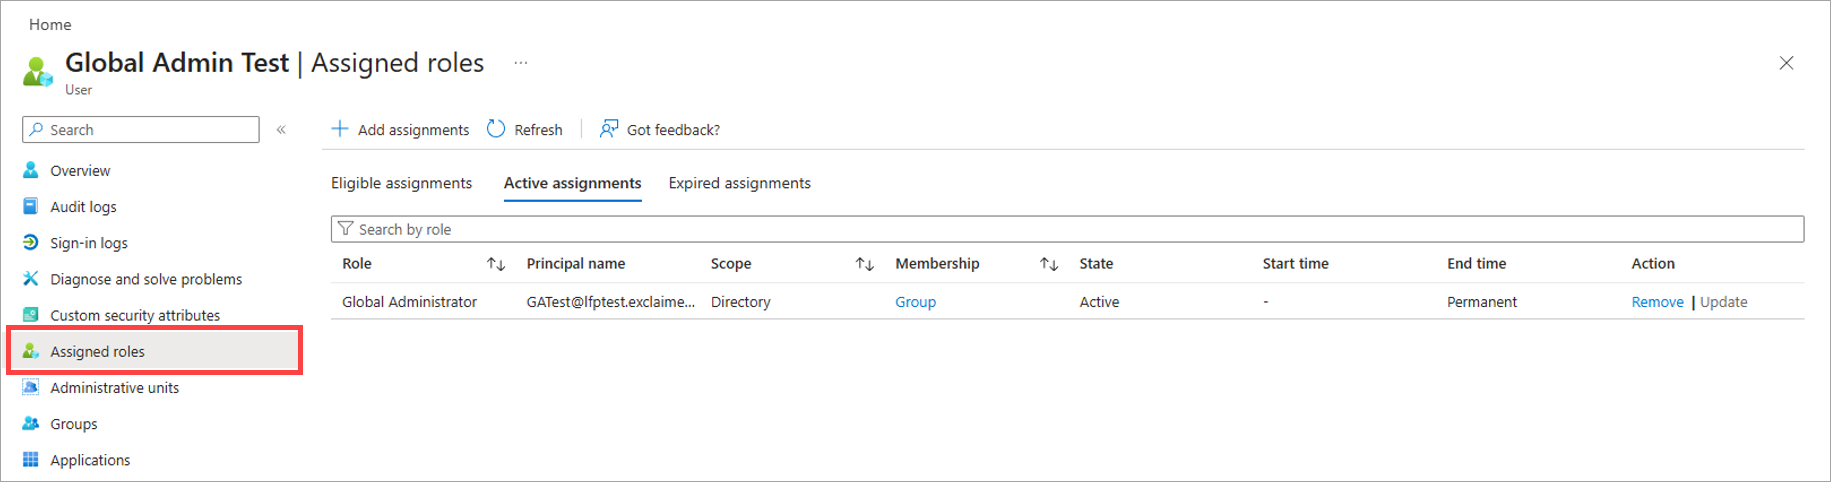
Select Assigned roles.
- In the Active assignments list, locate the Global Administrator role and check the value in the Membership column. This must show Direct. If it shows Group, you need to reassign the role.
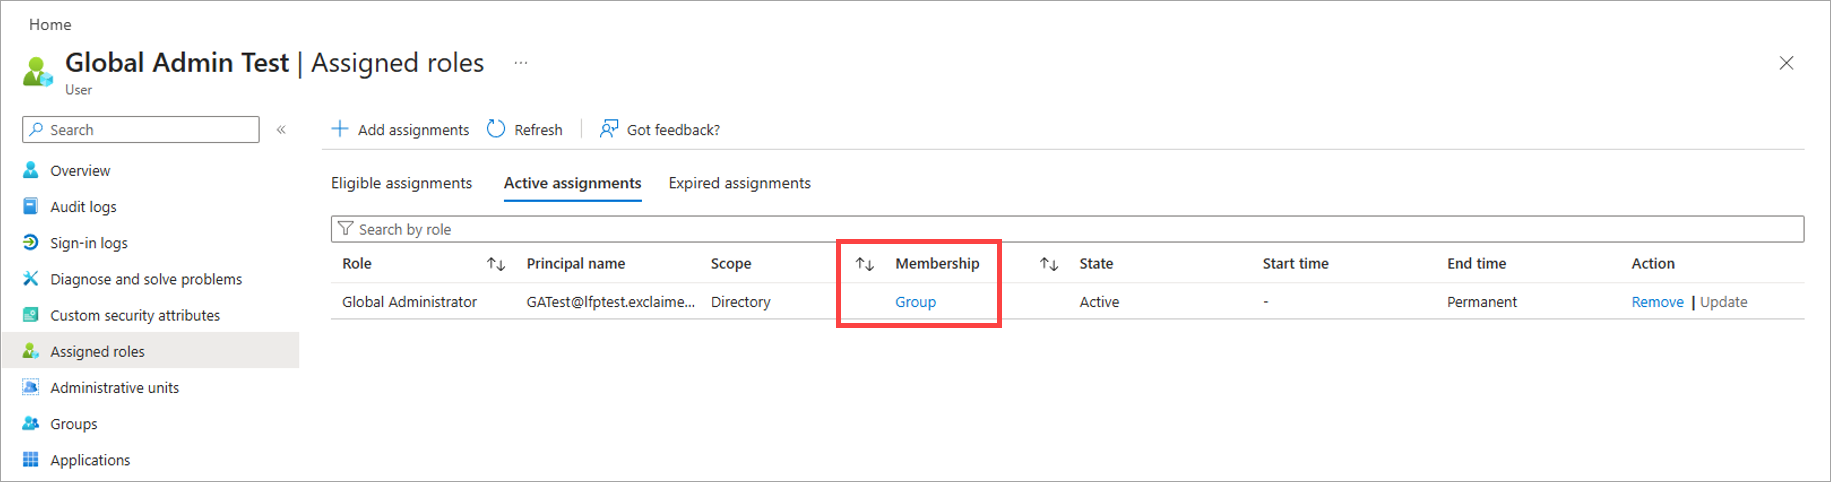
An example of the Membership value showing Group.
- To reassign the role, remove the current assignment by selecting Remove in the Action column.
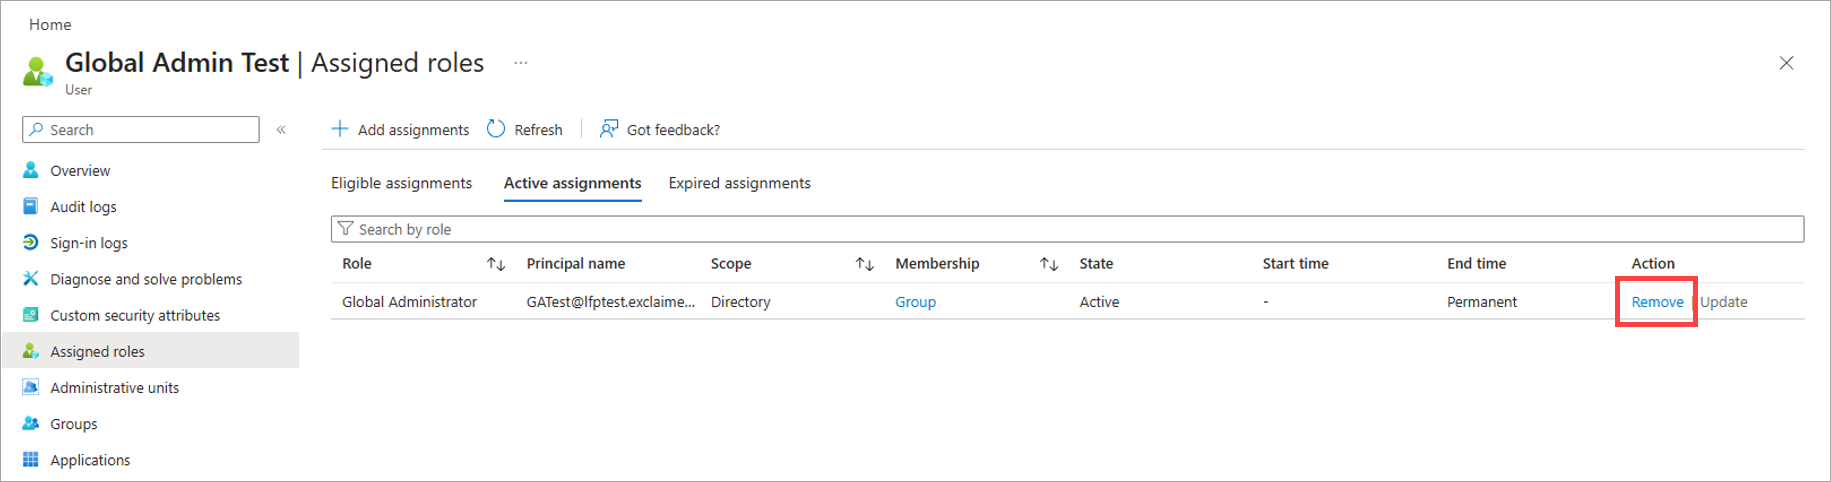
Select Remove to delete the Group assignment.
- Select +Add assignments from the header row.
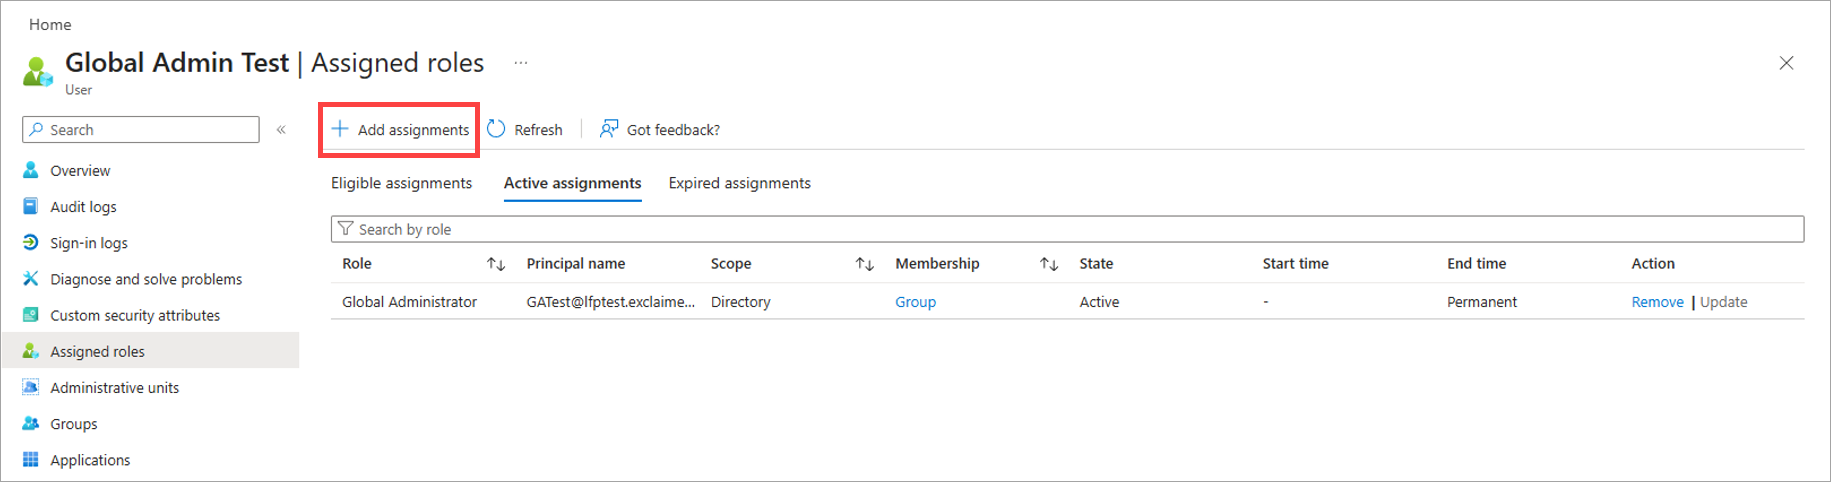
Select Add assignments.
- Select the Setting tab.
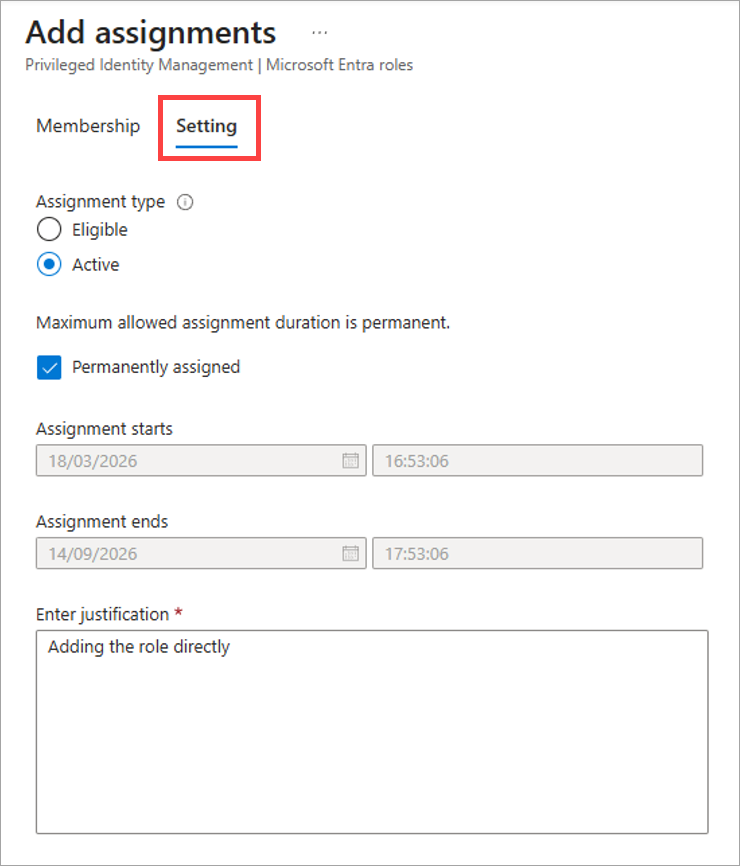
Open the Setting tab.
- Under Assignment type, select the Active radio button.
- In the Enter justification text field, enter a reason for assigning.
- Select Assign.
- Cancel any previous Microsoft 365 processes and attempt to connect to Exclaimer again.
If the problem persists, query Microsoft Graph Explorer to see if the role has assigned correctly.
To query Microsoft Graph Explorer:
- Sign in to Microsoft Graph Explorer using Global Administrator credentials.
-
If prompted, accept the permissions request.
NOTE: You do not need to select the Consent on behalf of your organization checkbox. - In the main Graph Explorer pane, select the Modify Permissions tab.
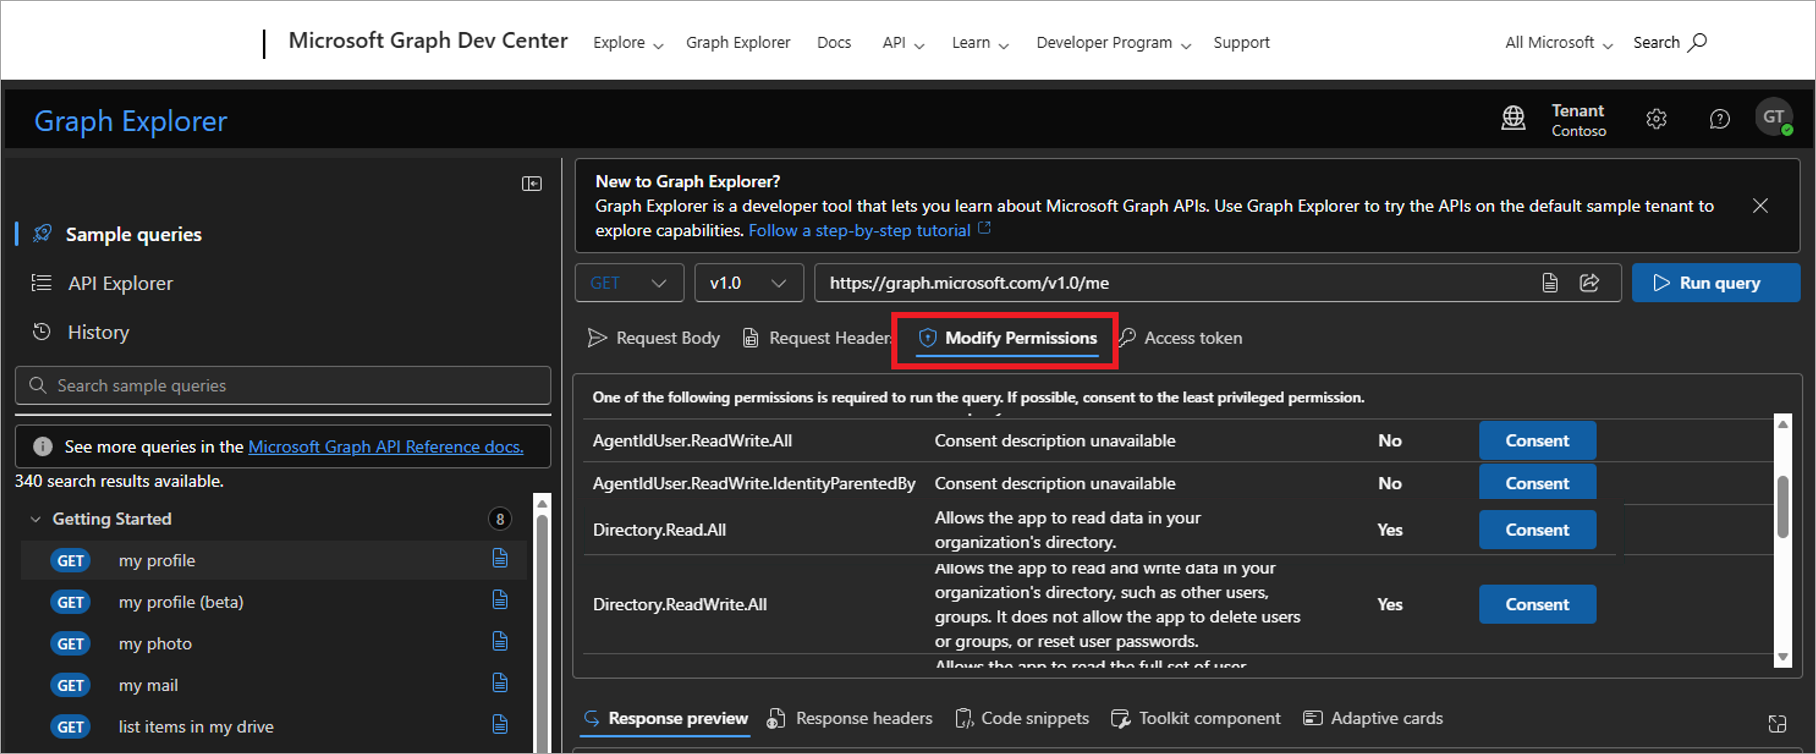
Open the Modify Permissions tab.
- Locate the row for Directory.Read.All and select Consent.
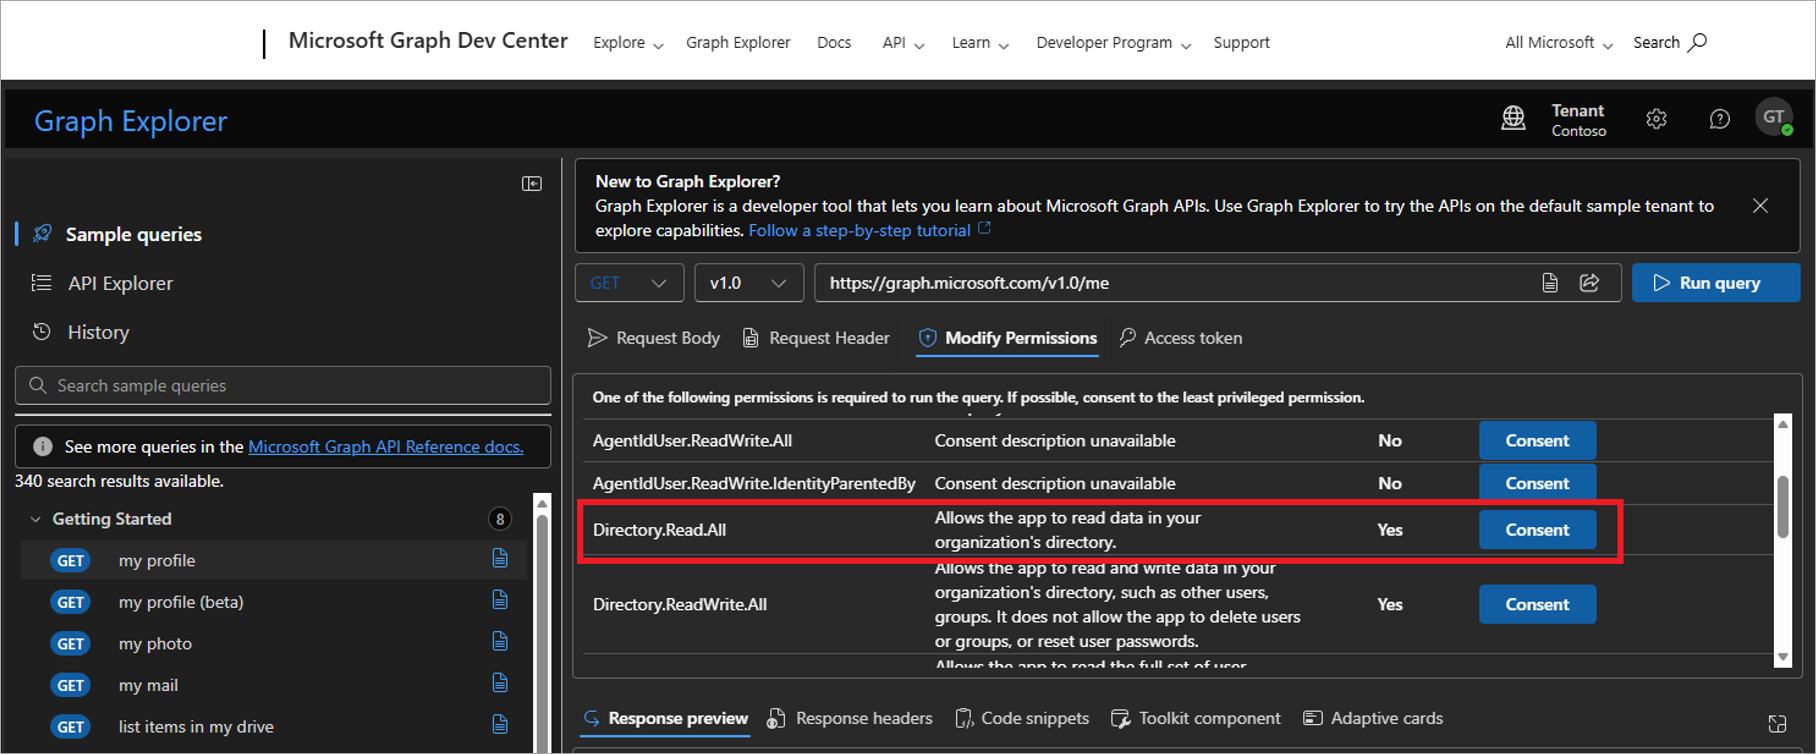
Select Consent on the Directory.Read.All row.
-
When prompted, accept the permissions request.
NOTE: You do not need to select the Consent on behalf of your organization checkbox. -
In the query entry field, enter the following text:
https://graph.microsoft.com/v1.0/directoryRoles(roleTemplateId='62e90394- 69f5-4237-9190- 012177145e10')/members/microsoft.graph.user?$select=displayName,mail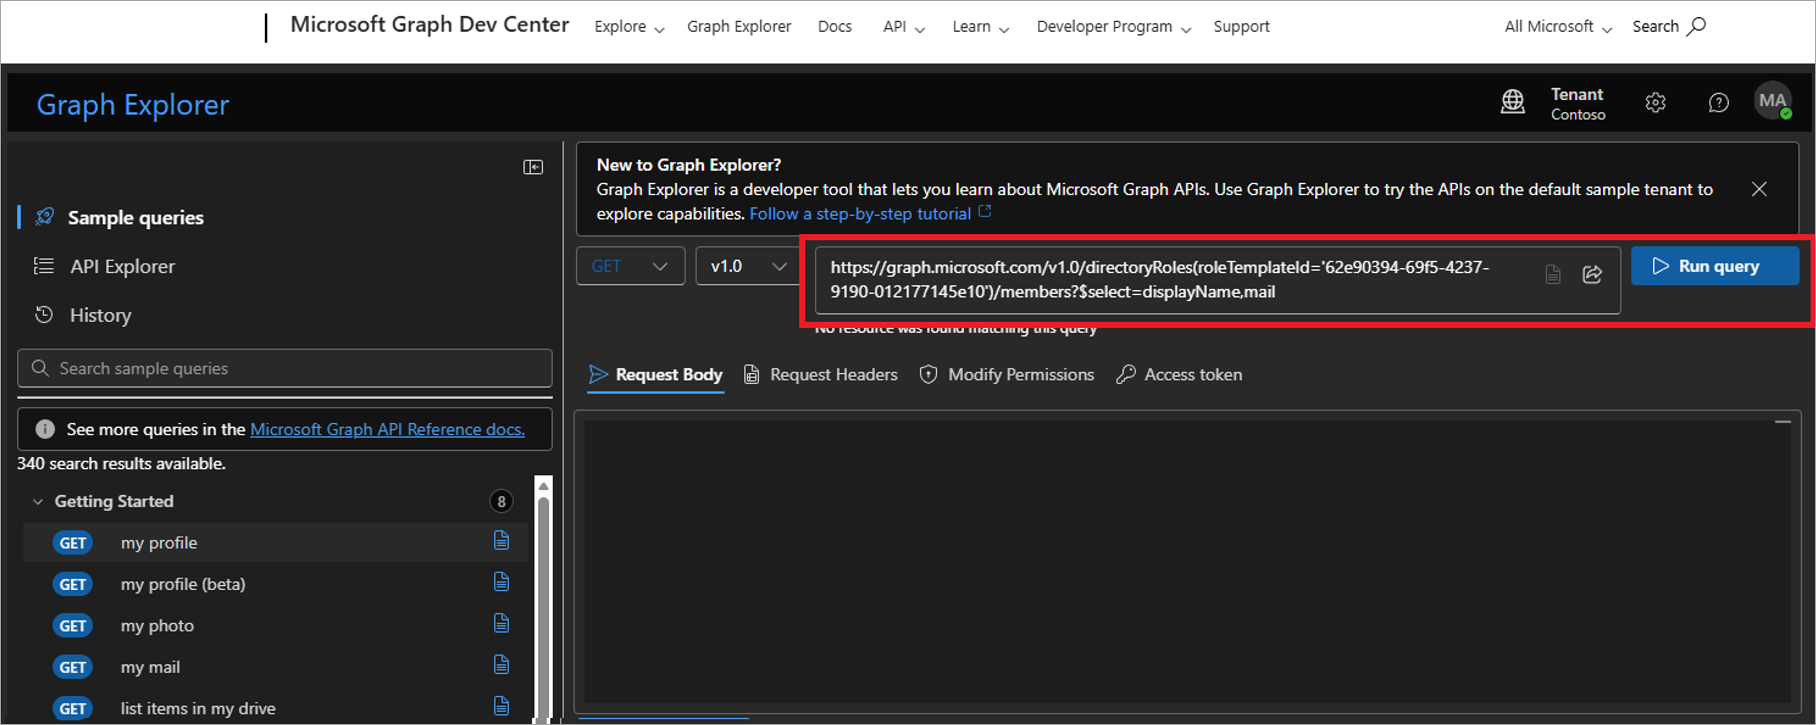
Enter the text in the field.
- Select Run query.
- Check the Response preview window for the account you created in the previous process. If it is not present, re-check that the role assignment is Direct and not Group. If the problem persists, raise a Support ticket.