
Description
The User Photos feature allows you to upload photos that correspond to specific users for use with the User Photos element. If a user has a connected user photo, that photo can be displayed in a signature.
Select an option below to view the related instructions:
To access the User Photos feature:
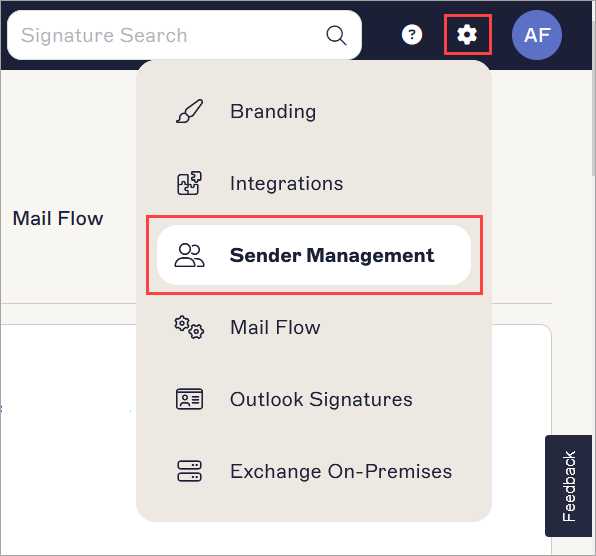
- From the header bar, select the cogwheel icon, then select Sender Management.
- Navigate to the User Photos section.
The users you synchronized during onboarding are displayed in a list in the User Photos section.
If a user has a connected user photo, it is displayed in the user list. If no photo has been uploaded, then a placeholder thumbnail is displayed.
To add a user photo:
- Locate your user either by finding them on the list, or by entering a name or email address in the Search field and selecting them from the suggested results.
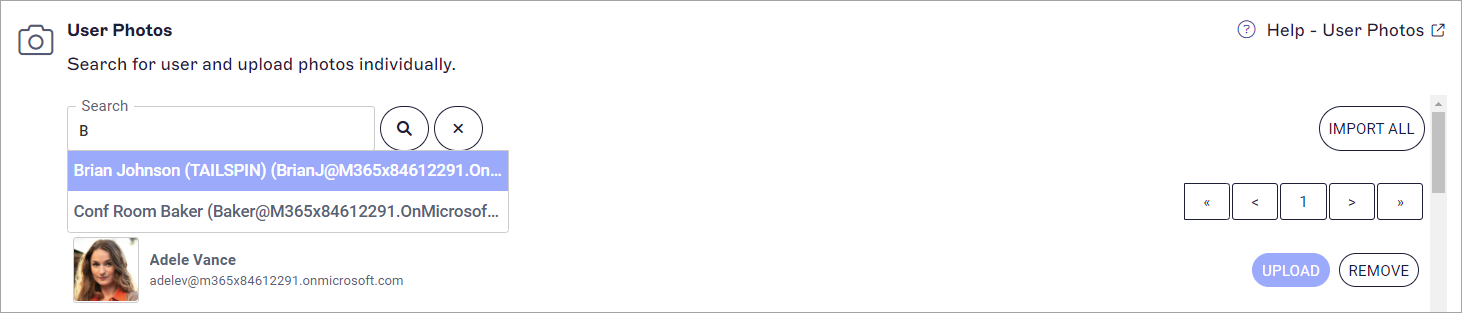
The Search function automatically populates as you type.
- Select UPLOAD.
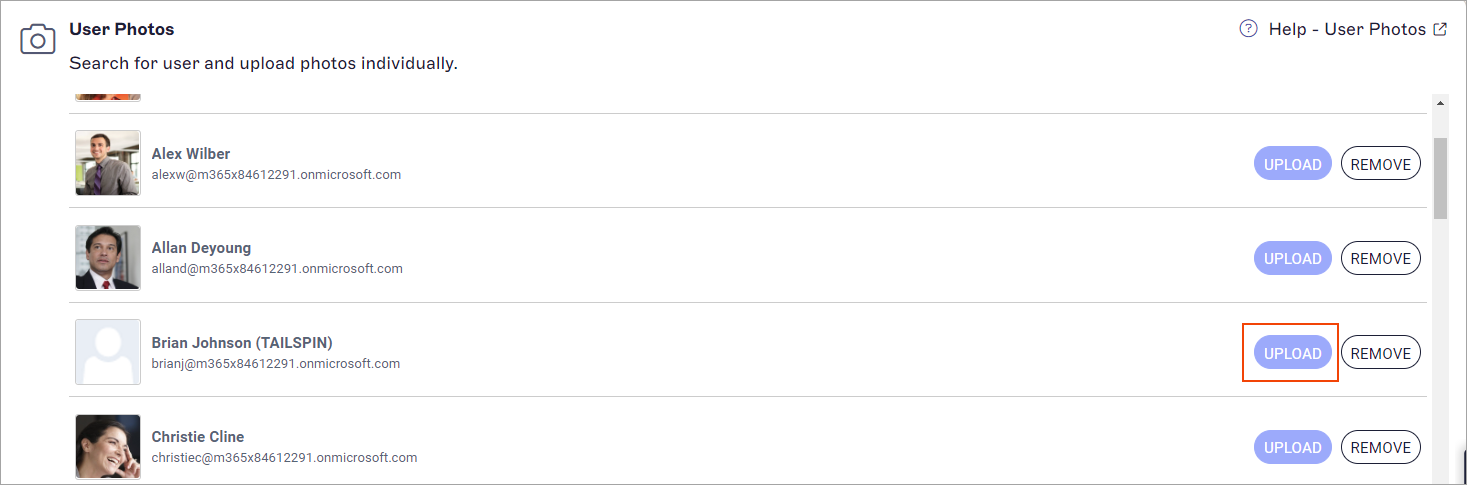
Select the UPLOAD button next to the relevant user.
-
Locate your image file and select Open to upload.
NOTES: Images must meet the following criteria:
- Minimum dimensions: 4 x 4px
- Maximum dimensions: 1024 x 1024px
- Maximum size: 150 KB
- File extensions: .jpg, .jpeg, .gif, .png, .bmp
For more information on resizing an image to meet pixel requirements, see our image resizing guide.
You can import multiple user photos at once via the automatic user-matching functionality. This is done by matching the photo file names to existing user names or email address. Image file names must match a case-sensitive user name or email address to be uploaded.
For example, a photo file named 'user1.png' will upload if there is a user named 'User 1' or with the email address 'user1@email.com'.
For multiple users with the same name, we recommend matching the photo file name to the email address. For example, a photo file named 'user2' will not upload if multiple users are named User 2, but the file name 'user2@sales.com' will upload only to the User 2 with the '@sales.com' email address.
The possible errors are:
File did not match any users - ensure there is a user name or email address that matches the file name.
File matched more than one user - ensure that the file name matches a unique user name or email address.
To import multiple user photos at once:
- Select IMPORT ALL.
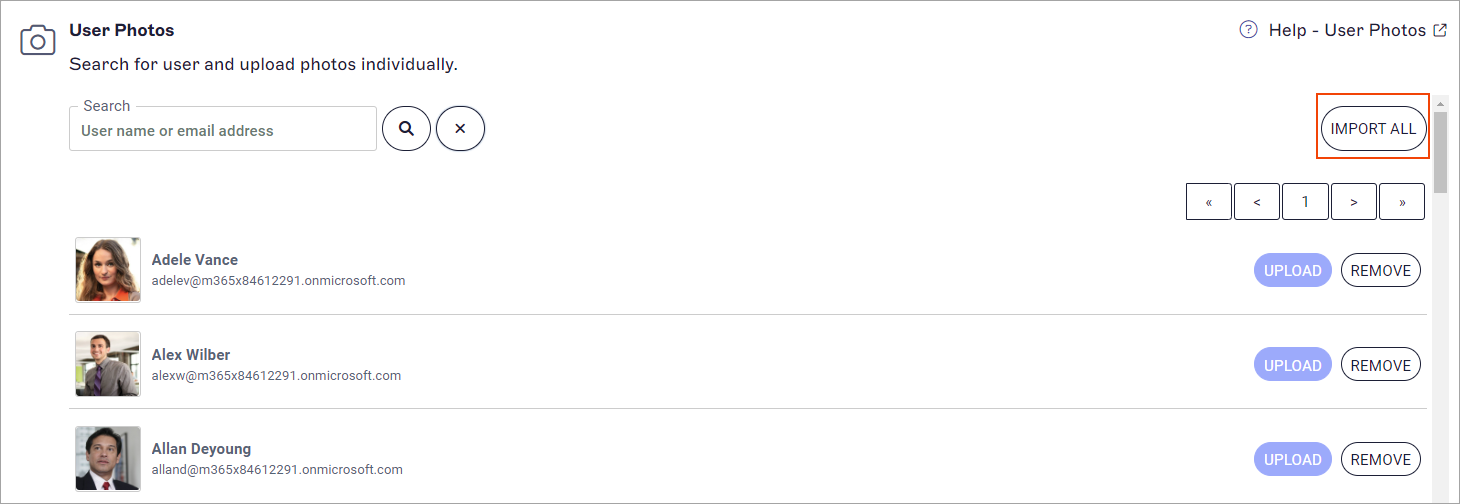
The IMPORT ALL button appears above the list of users.
-
Select all the files that need to be imported, then select Open.
The Uploading User Photos window is displayed and shows the upload progress. The number of successfully uploaded photos is shown once the upload is complete. If any photo files cannot be uploaded, the message File did not match any users for is displayed along with the associated file names.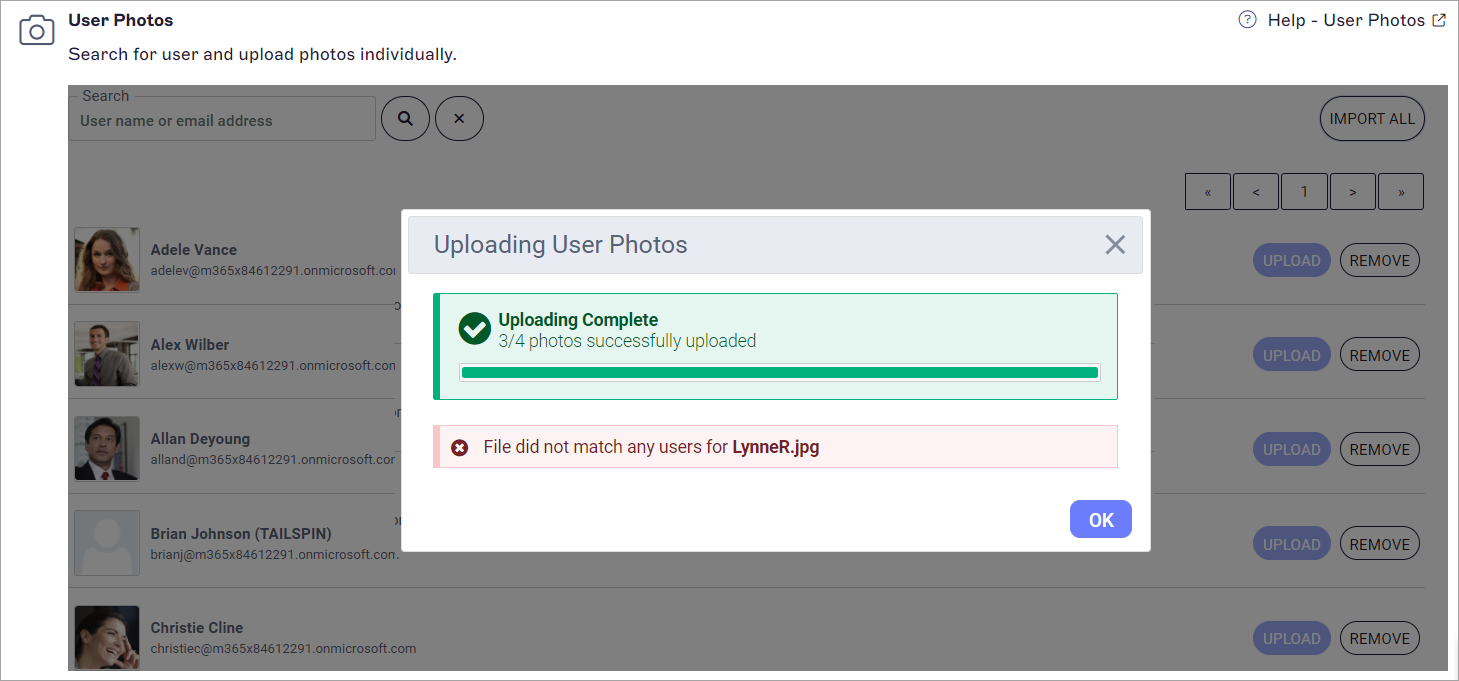
The Uploading User Photos window shows your upload progress and any file match errors.NOTES: Images must meet the following criteria:
- Minimum dimensions: 4 x 4px
- Maximum dimensions: 1024 x 1024px
- Maximum size: 150 KB
- File extensions: .jpg, .jpeg, .gif, .png, .bmp
For more information on resizing an image to meet pixel requirements, see our image resizing guide.
To remove a user photo:
- Locate your user either by finding them on the list, or by entering a name or email address in the Search field and selecting them from the suggested results.
- Select REMOVE.
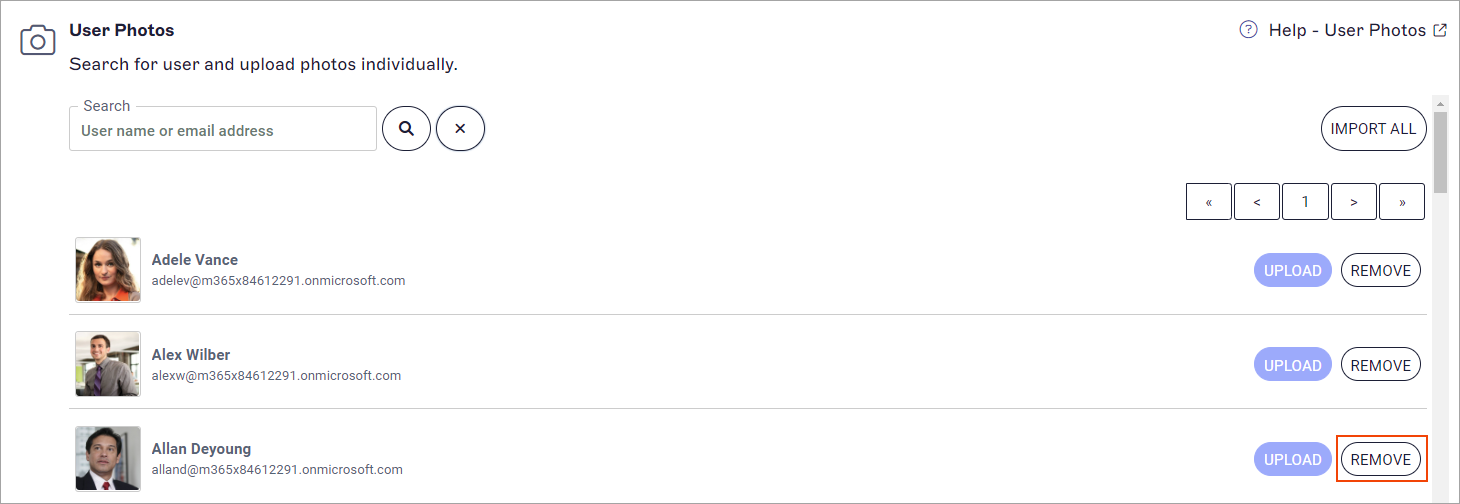
Select the REMOVE button next to the relevant user.
- In the Remove Photo prompt, select OK. This permanently removes the user photo.
The Remove Photo prompt.