
Scenario
You want to expand the width of elements in your signature, such as a banner or a text box, to fit the width of the whole email.
Resolution
You can make some elements have a responsive width using the Stretch option in the Alignment properties in the Signature Designer.
For images with a set width that cannot be stretched, such as a banner, you can use a matching-colored table cell set to Stretch to give the appearance of an extended width.
The following elements can be set to Stretch alignment:
- Text
- Personal {Fields}
- Contact {Fields}
- Address {Fields}
- All {Fields}
- Social Media Strip
- Disclaimer
- Registered Office
- Calendly
- Microsoft Bookings
- Chili Piper
To set an element's width to Stretch:
- Open your signature in the Signature Designer.
- Select the element on the canvas.
- In the Properties pane, expand the Alignment section.
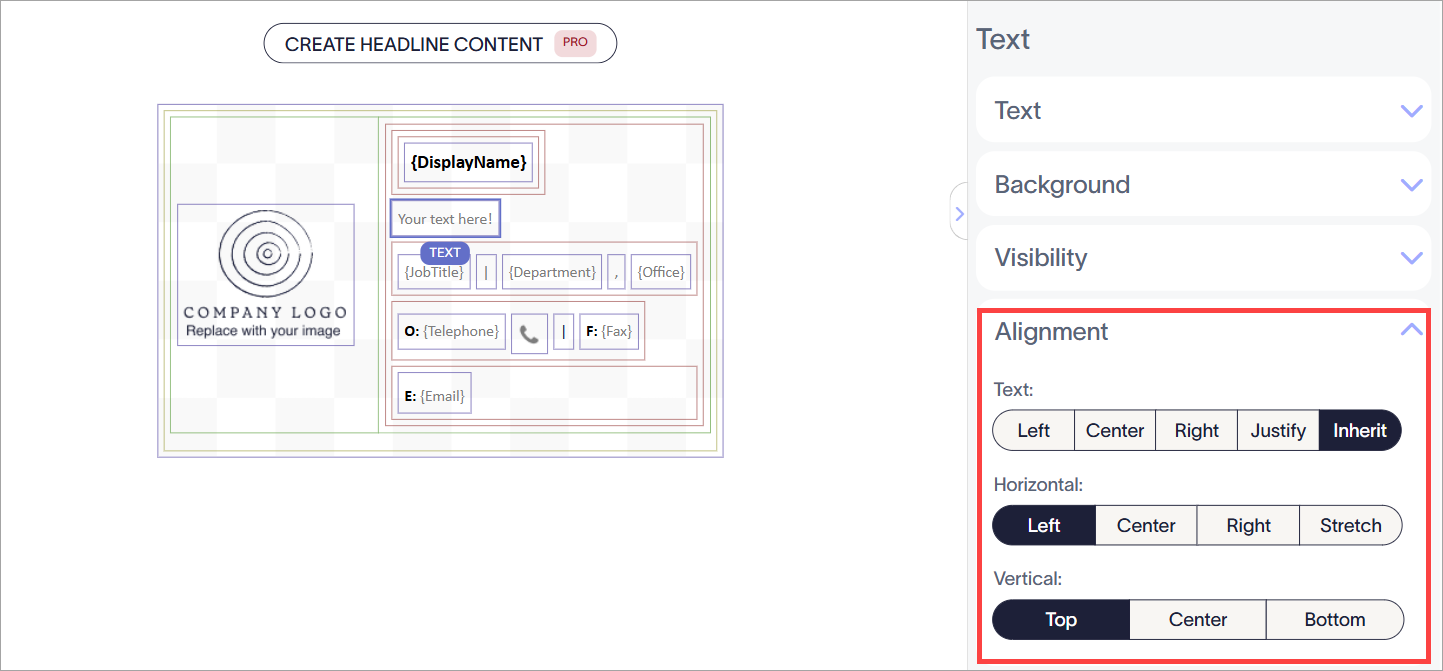
Select the element, then expand the Alignment properties.
- Under Horizontal, select Stretch.
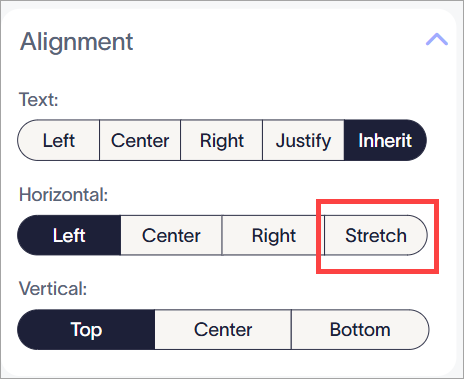
Select Stretch from the options under Horizontal.
-
Select Save Changes. The width of the element is now always extended to reach the maximum size of the group, table cell, or signature it is part of.

An example of a text box set to Stretch, in which the width of the text box now extends to the edge of the table cell.NOTE: This does not affect the spacing of text. Text box maximum width is extended, but alignment of the text itself is not affected unless using the Text options in the Alignment section.
This solution is only suitable for images with block colors, as the color picker in the Signature Deisnger cannot recreate gradients or patterns.
To make an image look wider:
- Add a single table cell to your template using the Custom... Tables element. For more information on constructing a table, see Working with the Tables signature element.
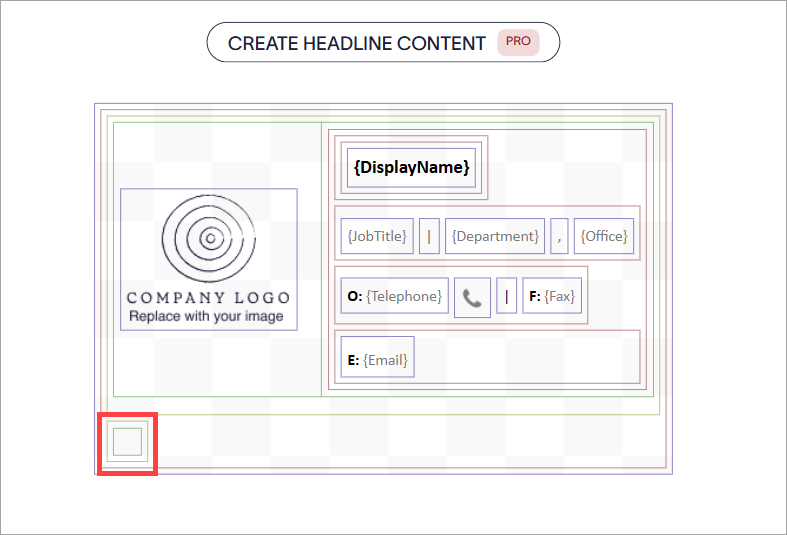
Add a single cell to where you would like the image to be on the canvas.
- Add your image to the cell by dragging and dropping the Image/Logo or Banner element within the green cell border. For more information on the colored borders that define tables and cells, see Colored borders, grouping, and inherit properties in the Signature Designer.
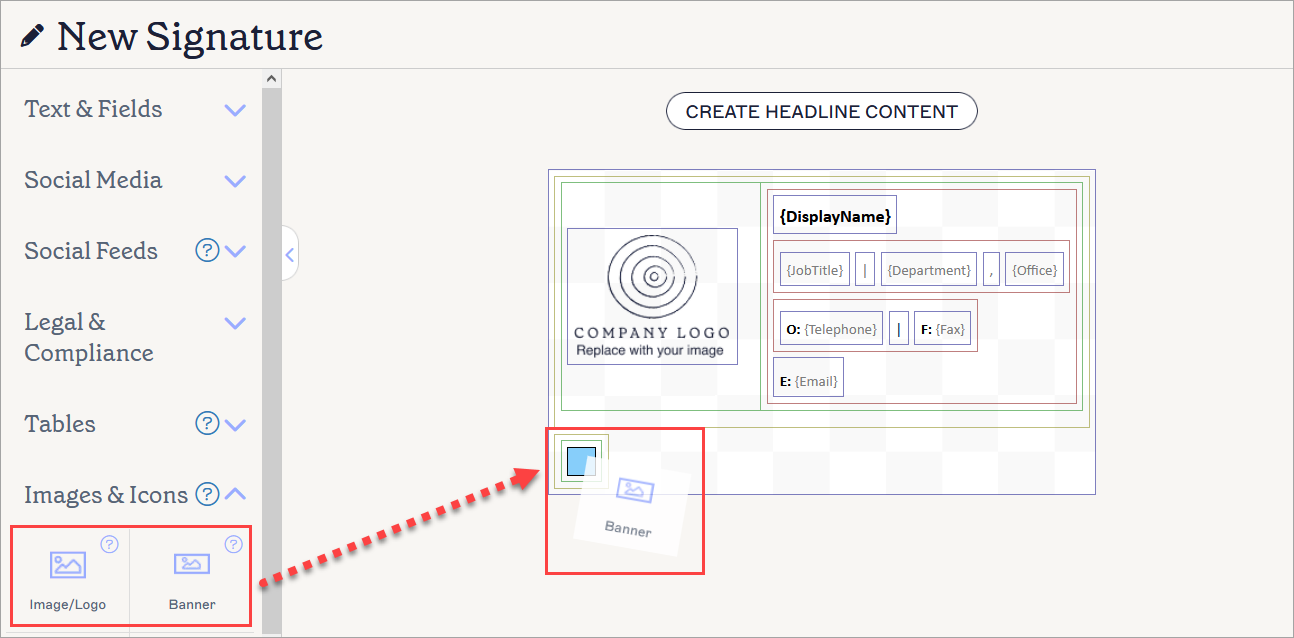
Drag the element inside the table cell. In this example, a Banner element is being placed within the green border of the cell.
- Select the green border to select the table cell.
- In the Properties pane, expand the Background section.
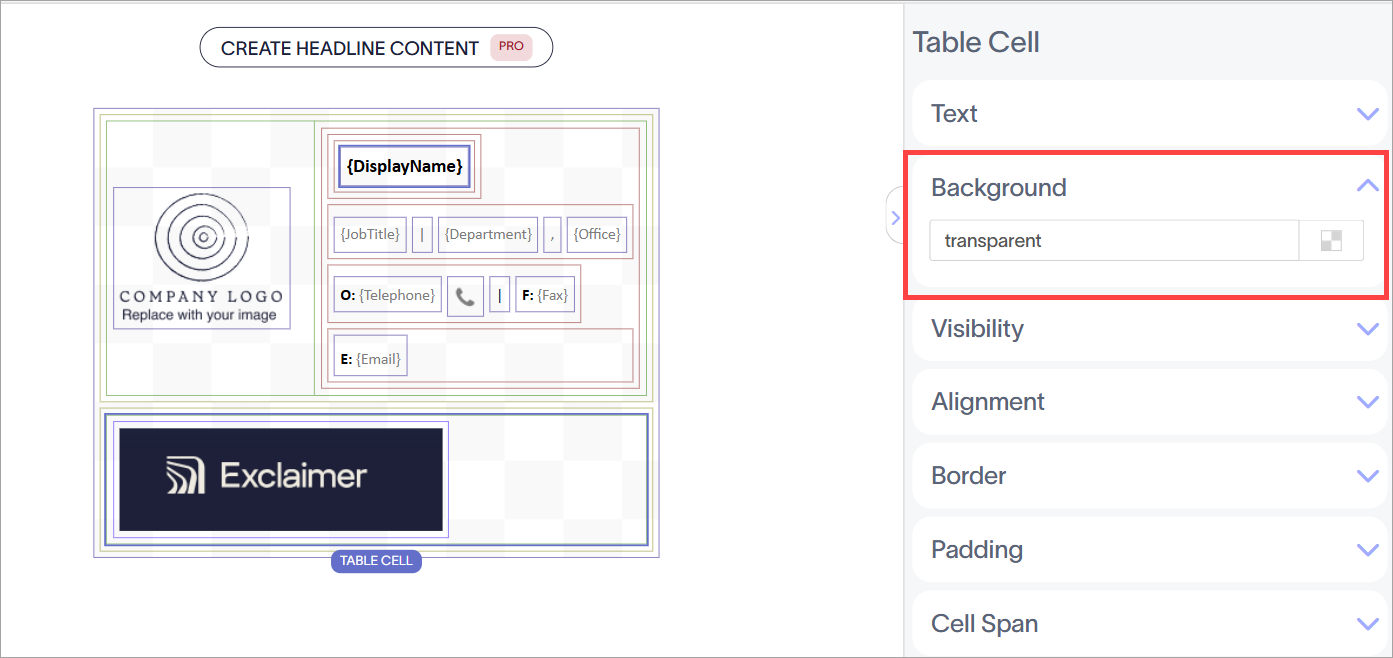
Select the table cell using the green border. A highlight shows which border is selected. Then, expand the Background properties.
- Enter a color name or hexcode in the entry field, or select the squares icon to open the color picker. Choose a color that matches your image to give the appearance of an extended image background.
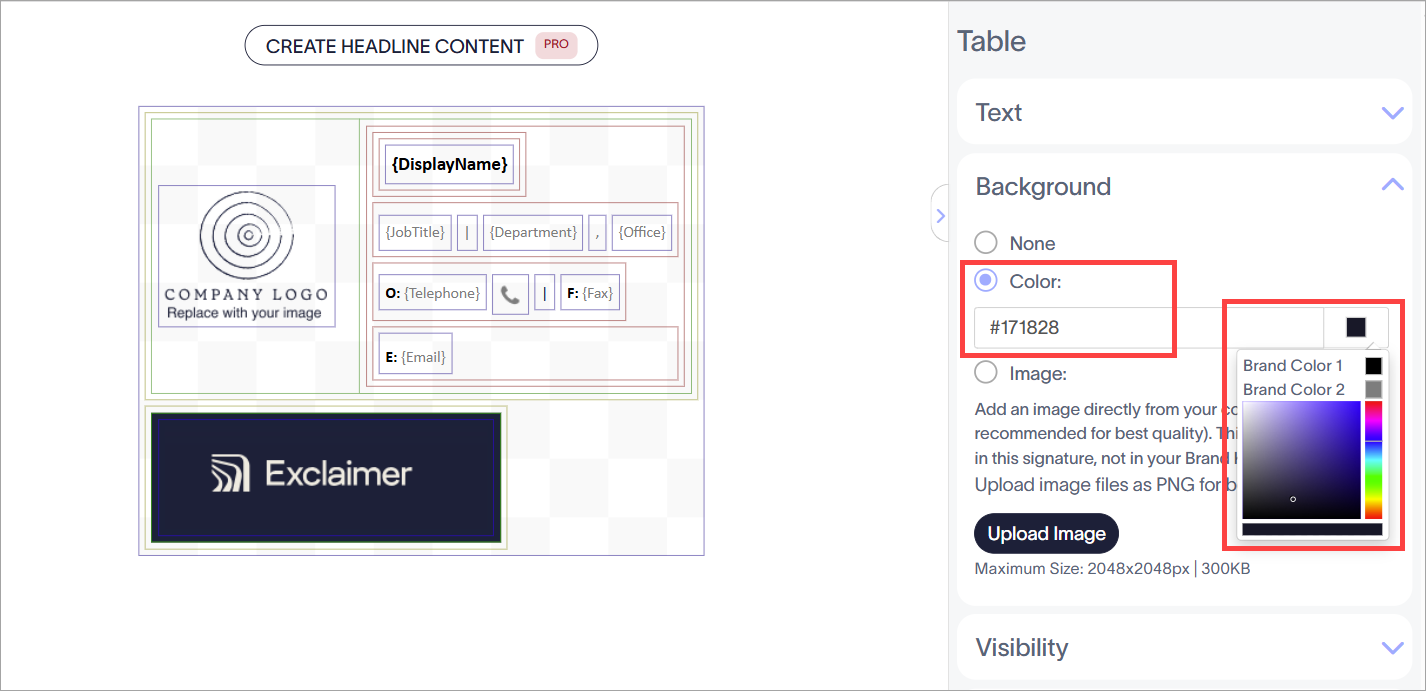
Use the color picker, or enter a hexcode or color value into the entry field to choose a color. You can also choose from Brand Colors if previously configured and matching your image color.
- Select the outer gold border around the table cell to select the whole table. For more information on selecting tables and cells, see Colored borders, grouping, and inherit properties in the Signature Designer.
- In the Properties pane, expand the Alignment section.
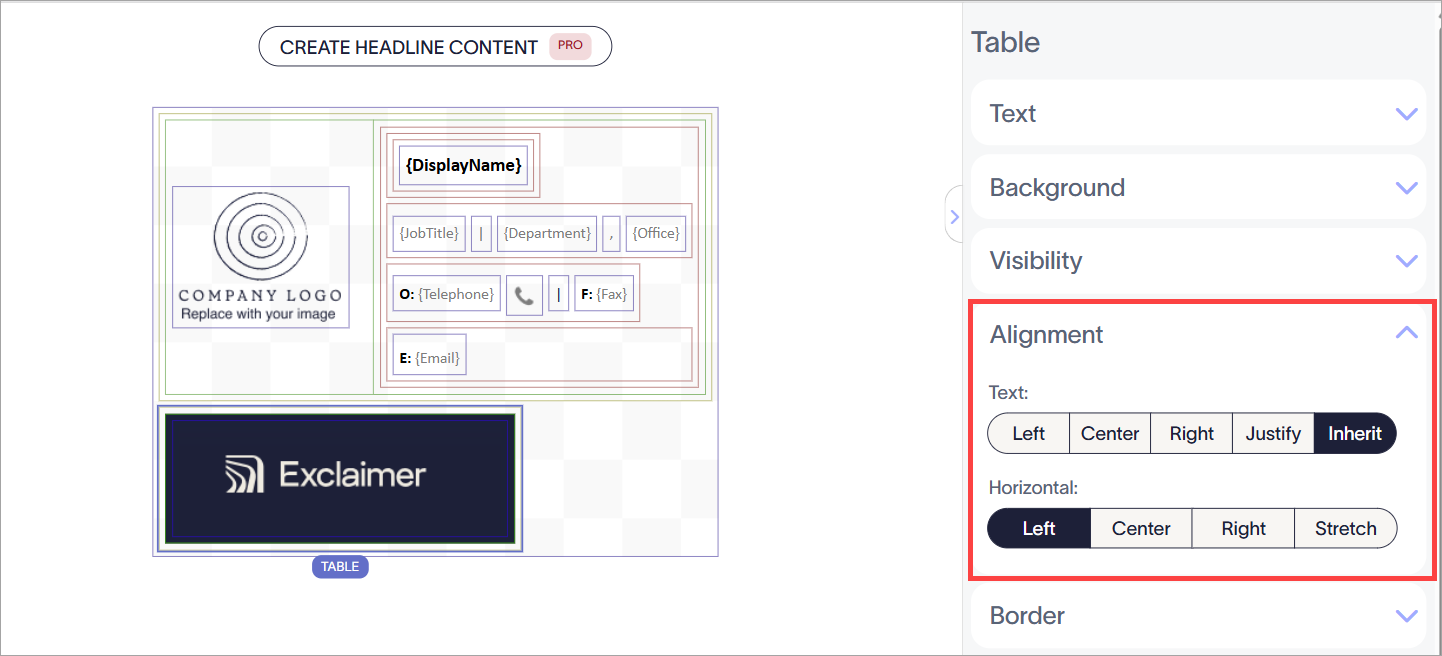
Select the table using the gold border. A highlight shows which border is selected. Then, expand the Alingment properties.
- Under Horizontal, select Stretch.
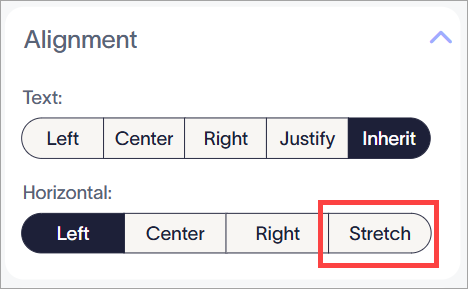
Select Stretch from the options under Horizontal.
- Select Save Changes. The width of the table is now always extended to reach the maximum size of the signature in the color you selected.
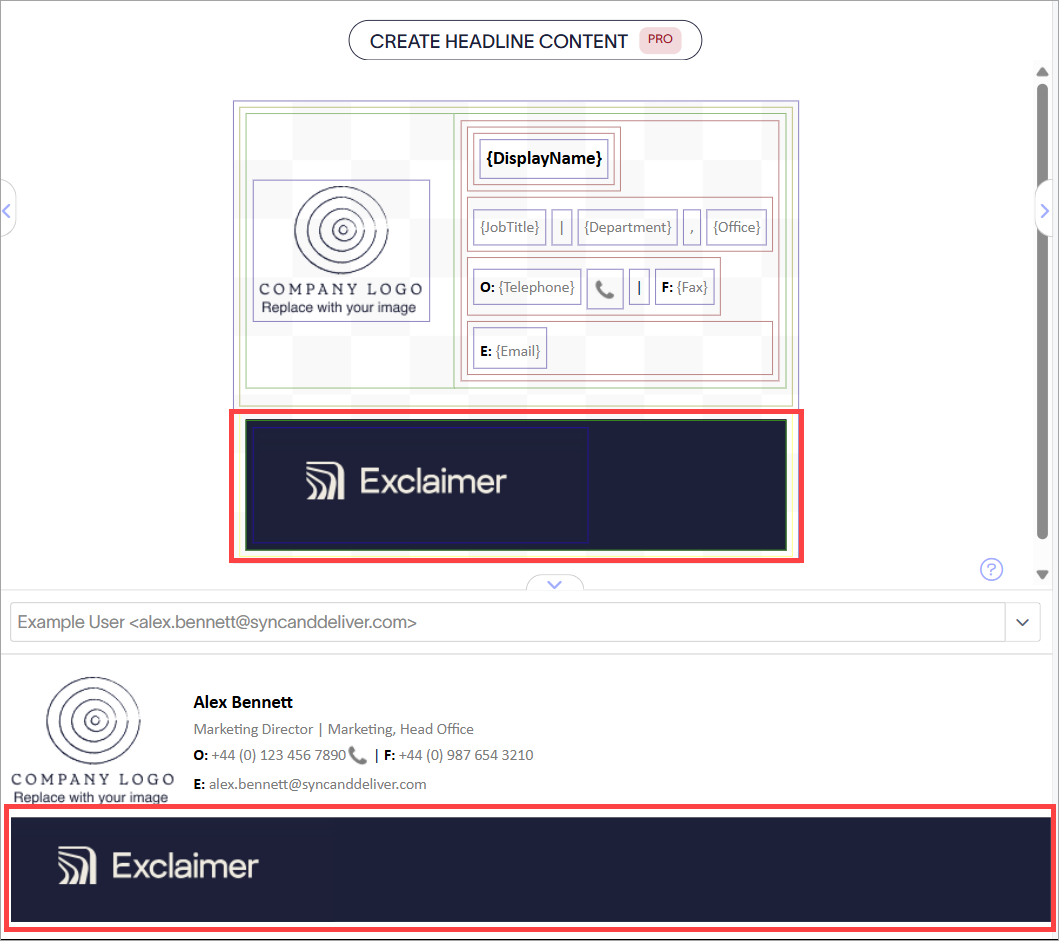
An example of an image with a colored background.