
Scenario
You have installed the Exclaimer Outlook Add-in, and now you want to enable specific signatures for the Add-In to deploy.
Resolution
You must enable each signature using the Enable tab of the Manage screen.
To enable email signatures for use with the Outlook Add-In:
Pre-requisites: To enable signatures, you must configure your subscription by connecting to Microsoft 365. Follow the process in Onboarding Exclaimer for Client-Side (365).
- Select Signatures from the menu sidebar. This opens the Signatures screen on the All Signatures tab.
- Locate your signature and select Manage Rules.
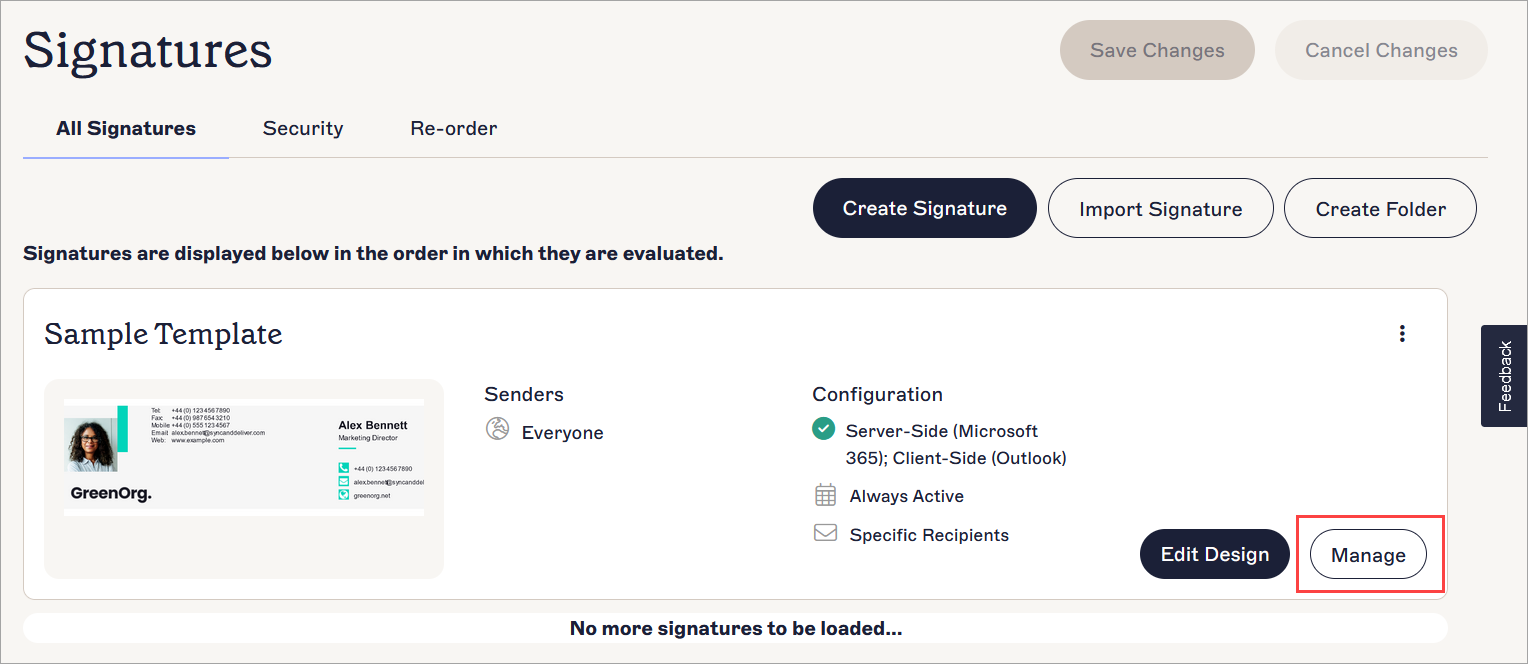
The Manage button is found with the Edit Design button next to your signature.
- Select the Enable tab.
NOTE: For more information on the configuration options available in the Manage tabs, see Manage Signature Rules. - Select the See before you send in Outlook (Windows and macOS) checkbox. The options become available and the status changes from Not Enabled to Enabled.
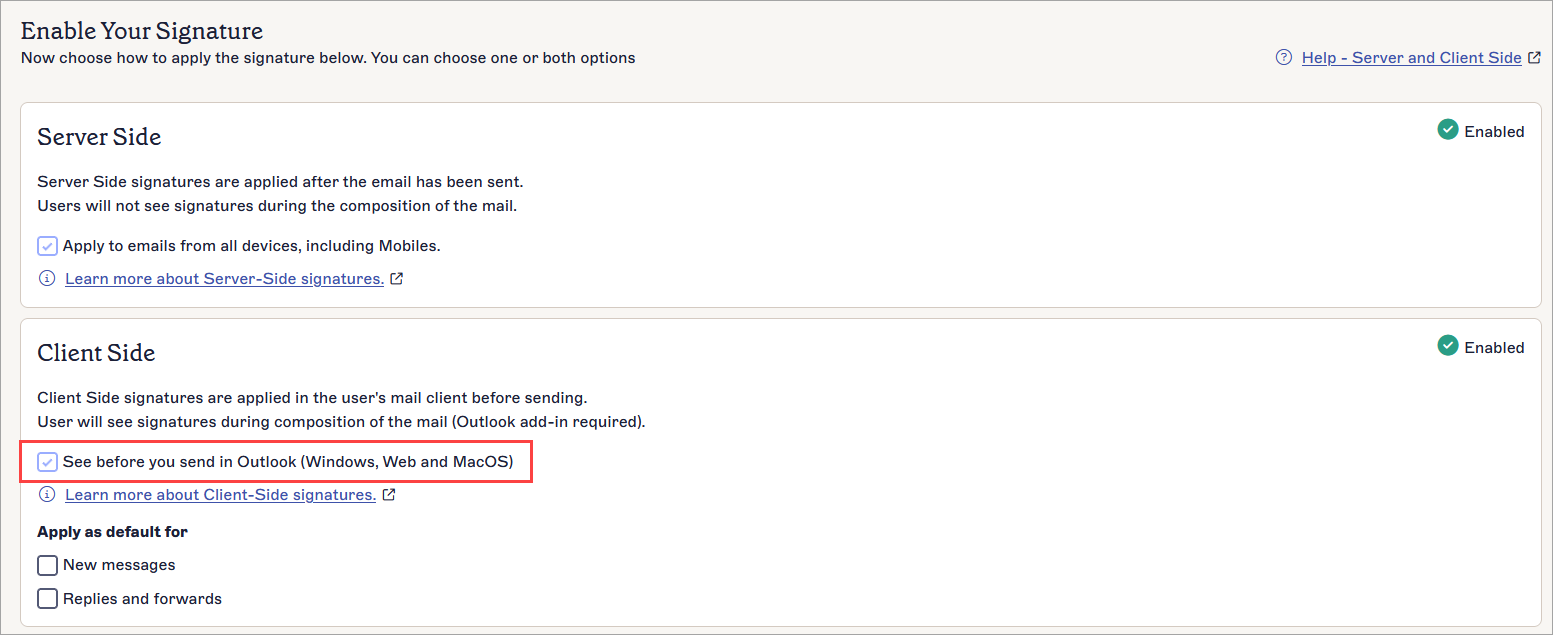
Select the checkbox to enable the signature for Client-Side.
NOTE: If you have not configured your account to connect to 365, this section displays the CONFIGURE button instead of the Enable options. Select CONFIGURE to connect your account. You must be an Owner or Admin to view the CONFIGURE button. If it is not displayed, you may only have Editor permissions. For more information, see User Management. - In the unsaved changes banner, select Save. Your signature is now available for use with the Exclaimer Outlook Add-In.
Next steps: Use the Add-In to deploy your enabled signatures. For more information, see Using the Exclaimer Outlook Add-In.