
Description
The Feedback Analytics dashboard shows how recipients have interacted with the Feedback elements you added to your signatures.
Analytics requires Server-Side configuration to function. You can use Analytics on Client-Side deployment, but only if you have enabled and configured Server-Side. For help setting up Server-Side, see our onboarding guides for either Microsoft subscriptions or Google subscriptions.
How to access it
To access the Feedback Analytics:
- From the menu sidebar, select Analytics.
- Select the Feedback tab.
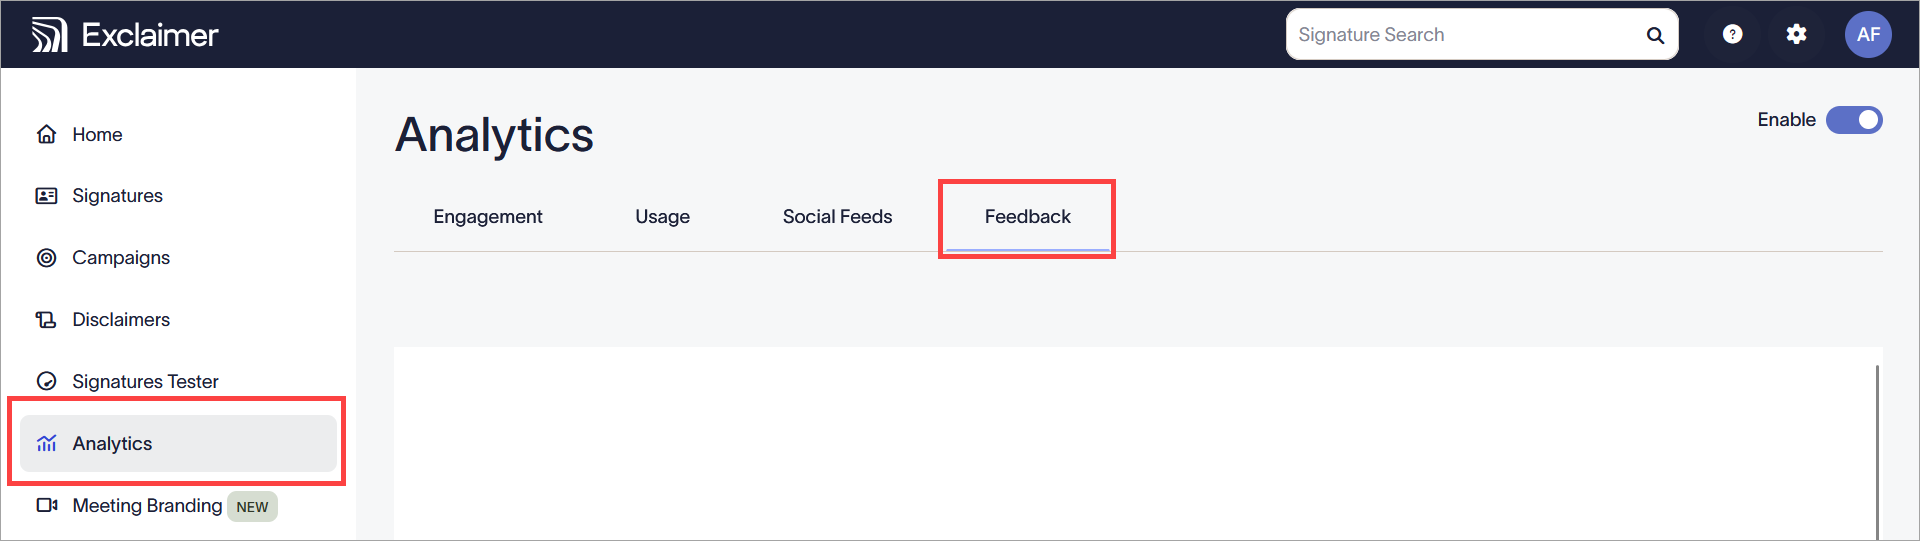
Select Analytics, then select Feedback.
Understanding Feedback Analytics
In order for the data to be collected and displayed on the dashboard, your emails must be routed through the Exclaimer servers. Hyperlinks are automatically rewritten and redirected through Exclaimer's click tracking service.
URLs have a regional code <Region Code> prefixed to them.
You can choose whether to collect analytics data using the Enable toggle. 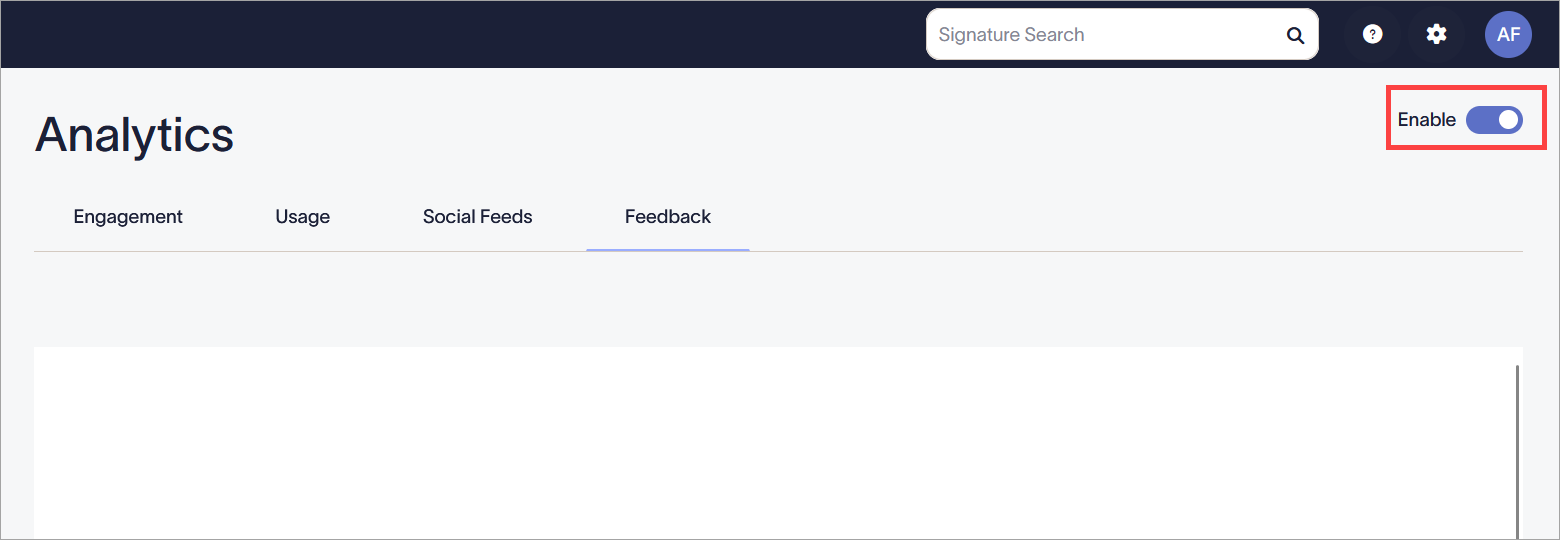
The Enable toggle in the On position.
If analytics is not enabled, your links are not changed, and data is not collected. Your dashboard will not show any data.
The Feedback Analytics screen consists of two tabs: Reporting and Notifications.
- Reporting contains the Feedback Analytics dashboard, which helps you analyze how recipients give feedback from your Feedback elements.
- Notifications allows you to control email alerts about customer feedback, including who receives notifications and what for.
The Reporting tab is automatically updated every 30 seconds..png)
The Feedback Analytics dashboard. Each number corresponds to a different section of the screen. Each section is described in the table.
The following table outlines the different options available on the Feedback Analytics dashboard:
| Screen area | Feature description |
|
Date Range |
Select a date range from the drop-down list:
To set a Custom date range, enter or select a start and end date and time using the calendar picker. |
|
Export |
Select to export the data from the selected date range in a CSV format.
|
|
Satisfaction ratings |
A donut chart showing the percentage of different CSAT reponses received.
|
|
Happiness factor |
A donut chart with an emoji face showing the percentage of positive and negative CSAT responses received. Gold and Green scores are combined to caluclate the positive score, represented by the percentage written in green, and Yellow and Red are combined to calculate the negative score, represented by the percentage written in red. |
|
NPS |
A gauge chart to show the NPS (Net Promoter Score) ratings from the selected date range. The number and percentage of Promoters, Passive, and Detractors is also listed. |
|
Response volume |
An area chart to show the response volume of each response type from the selected date range. The dotted line shows the Trend in volume by the direction it is pointing. |
|
Response breakdown |
Displays the following data columns about the individual responses:
To view a Comment, select the speech bubble icon in the relevant row. This icon only appears if a comment was given. To delete a response, select the checkbox(es) in the relevant row(s), then select Delete. The dashboard is updated immediately. To sort the Response breakdown by any column data, select the arrow icons by the column header. |
|
Leaderboard |
Displays the following data columns about the responses for individual senders:
To sort the Response breakdown by any column data, select the arrow icons by the column header. The Leaderboard is sorted by highest to lowest Temperature score by default. |
You can set up email alerts for each type of feedback response received, and comments left on each type of feedback. Each alert notification is optional.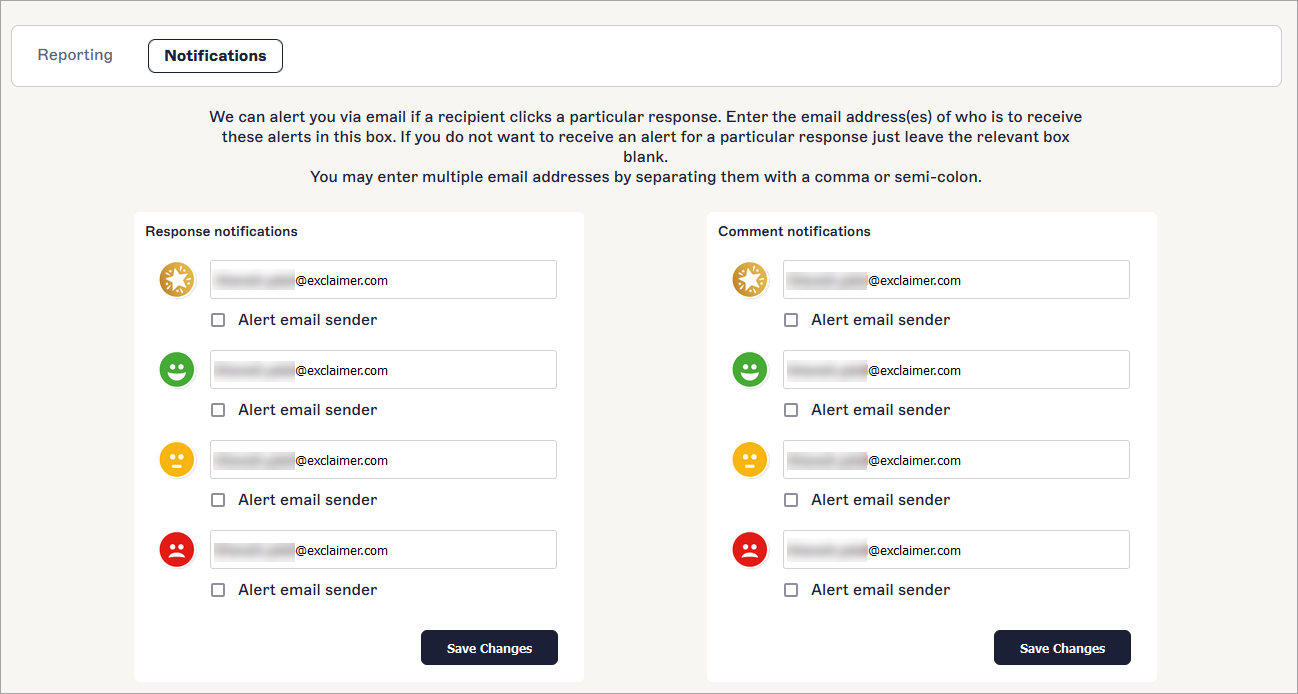
To configure Response and/or Comment notifications:
-
To send an email notification for a feedback response and/or comment, select the relevant entry field and enter the email address(es) to send the response to. Separate multiple email addresses using a semi-colon or comma.
NOTE: Fields are populated with the portal user's email address by default. You do not have to use this email address. If required, delete it from the field. - Select the Alert email sender checkbox to send an alert to the email address provided if a recipient clicks on the specific response. Deselect the checkbox to stop receiving notifications for this response.
- Select Save Changes.