
Description
The Feedback element allows you to add an interactive tool to collect responses from people receiving your emails for Feedback Analytics or Customer Thermometer analytics. Feedback elements are in the following formats:
-
CSAT - Customer Satisfaction feedback using a smiley face scale from a red unhappy face to a gold star. Recipients rate according to one of the four 'moods' on the scale.

-
NPS - Net Promoter Score feedback using a numbered star scale from 0-10. Recipients rate by giving a score out of 10.

- Customer Thermometer - Custom feedback using Customer Thermometer portal functionalities. This requires a Customer Thermometer account.
When an email recipient selects a rating on the chosen score method, the rating is recorded in Feedback Analytics or Customer Thermometer analytics. The recipient is directed to a Thank you for your response webpage and asked to submit an optional comment. Customers using the Pro plan and Customer Thermometer together may configure their response page in their Customer Thermometer account. Comments are also recorded in Feedback Analytics. You may also set up response notifications for the sender on the Feedback Analytics page.
How to access it
- Open your signature in the Signature Designer.
For more information, see how to select a signature to edit.
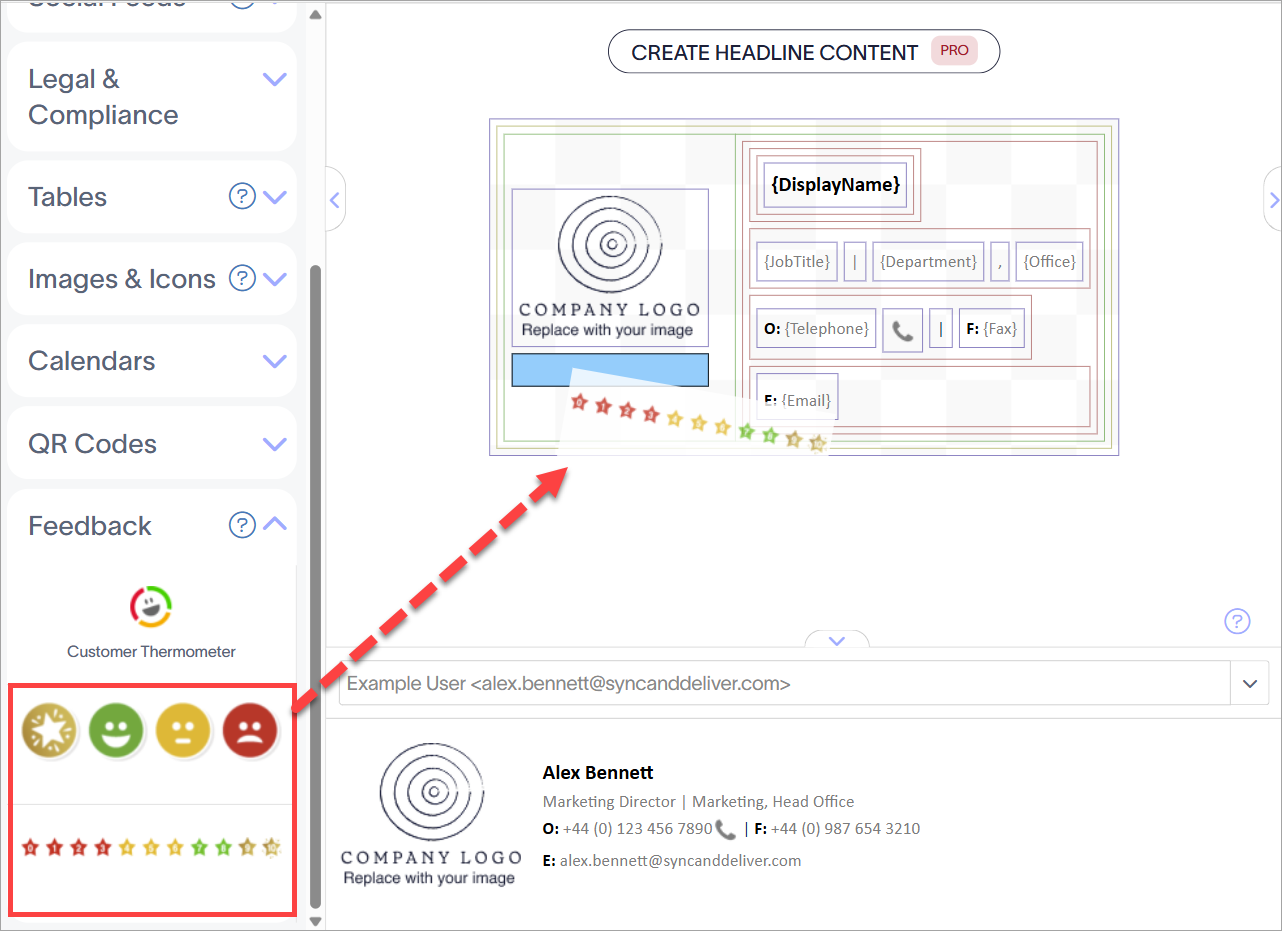
- From the Toolbox, expand Feedback.

The Feedback elements are found in the Feedback section of the Toolbox.
Select an option below to view the related instructions:
To add a CSAT or NPS element to your email signature:
- Drag and drop the CSAT or NPS element onto the canvas.
Drag the element to where you would like it to be on the canvas.
- Select Save Changes to save your template.
- Drag and drop the Customer Thermometer element onto the canvas.
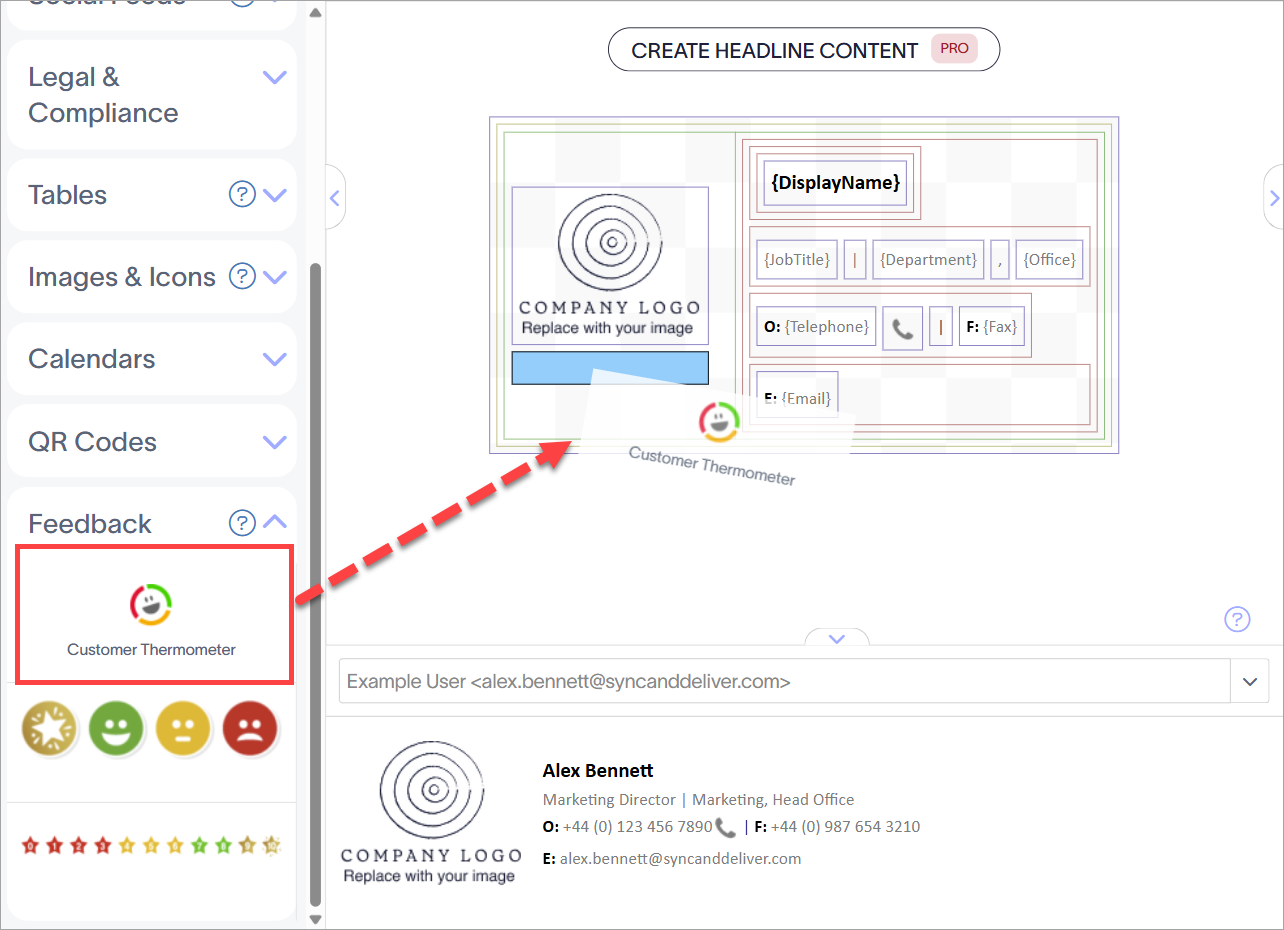
Drag the element to where you would like it to be on the canvas.
This opens the Customer Thermometer window.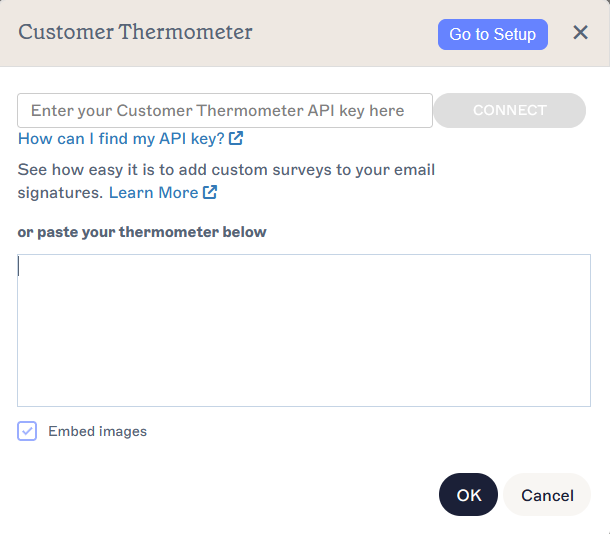
The Customer Thermometer window.
-
[Optional] To create a Customer Thermometer account or edit your thermometers in your existing account, select Go to Setup.
Tip! To learn more about getting started with Customer Thermometer, see the Quick start guide. -
EITHER:
Enter your Customer Thermometer API key in the entry bar, then select Connect.
OR
Paste your Customer Thermometer into the large entry field.
NOTE: If using an API key, you only need to enter your key once. Your account remains connected after entering your key. To switch to a different account, select Disconnect and enter a new key. - If using an API key, select a Customer Thermometer from the Select your thermometer drop-down. To add a new Thermometer, select Create new.
- Choose whether to embed any images from your Thermometer by selecting or deselecting the Embed images checkbox.
The maximum size for embedded images is 150KB.
- Select OK to add your Customer Thermometer to your template.
- Select Save Changes to save your template.
To delete the Feedback element:
- Select the element on the canvas.
- Select Delete from the Properties pane.
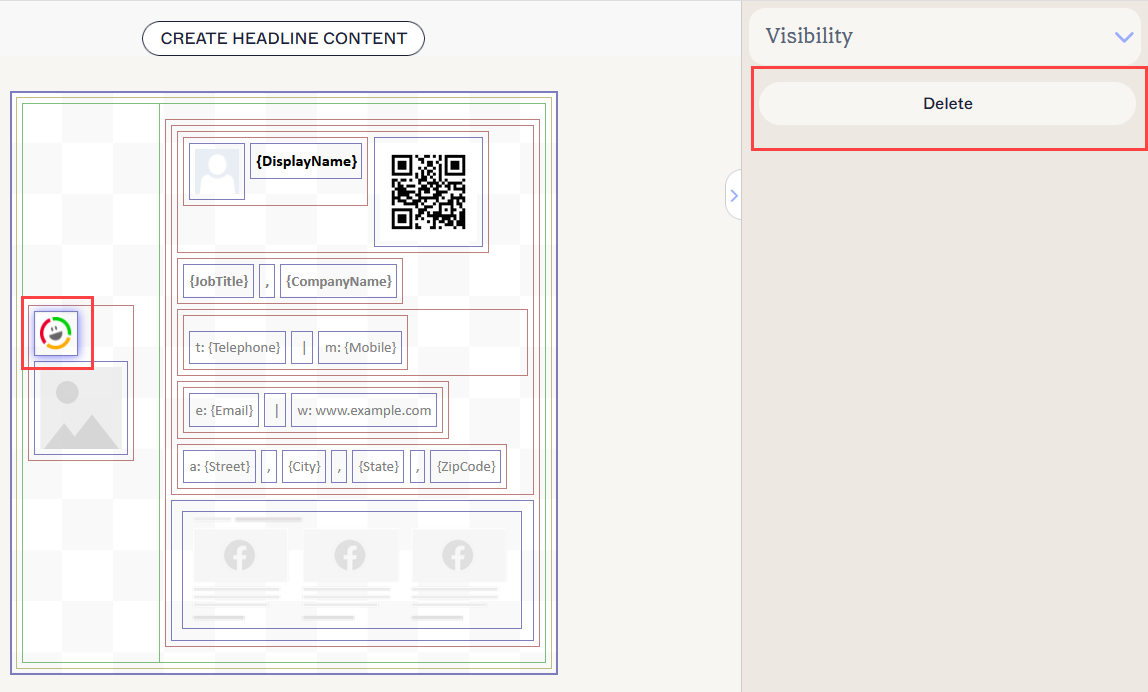
Select Delete from the Properties pane. You may need to close sections to access it.
You can edit the following element properties in the Properties pane:
Visibility properties
Visibility properties are used to adjust when the item appears.
| Always visible | Select to ensure the item is always visible in the signature. |
|---|---|
| Auto-hiding separator | Select to only make the item visible when there are other visible, non-separator items before and after it in the same group. |
| Visible when | Select to set conditions under which an item becomes visible. |