
Description
As a Microsoft 365 Global Administrator or Google Super Admin for your organization, you can manage which sections and details fields are available for users to edit.
The user-editable contact details must only be configured after onboarding is complete. You can change the settings at any time.
The Starter plan does not have access to the User Details Editor.
The Standard plan has access to two editable contact fields.
The Pro plan has access to an unlimited number of editable contact fields, the QR Codes section, and the Meeting Branding section, including the option to enable or disable by section.
For more information on pricing plans, see Exclaimer Pricing Plans.
How to access it
To access the User Details Editor for Microsoft 365 and Google Workspace:
-
Launch the User Details Editor (UDE) portal using your region-specific URL.
NOTE: The region-specific URL denotes the region where your subscription is hosted.
The different Microsoft 365 URLs are:
Region URLRegion URL Australia https://au.details.exclaimer.net UAE https://uae.details.exclaimer.net Europe https://eu.details.exclaimer.net UK https://uk.details.exclaimer.net Canada https://ca.details.exclaimer.net US https://us.details.exclaimer.net
The different Google Workspace URLs are:Region URL Europe https://eu.details.exclaimer.net/google US https://us.details.exclaimer.net/google Tip! You can also launch the User Details Editor from your Exclaimer account by selecting the cogwheel icon on the header bar, then selecting Sender Management. Navigate to the User Details Editor section and select Go to User Details Editor to launch or copy the provided regional URL. For more information, see User Details Editor. - Sign in with Microsoft or Google using your Global Administrator credentials. If prompted, accept any permissions requests. This opens the Manage your contact details screen.
- Select Settings.

Select Settings.
Managing available sections and fields
Select an option below to view the related instructions:
This option allows you to show or hide full sections of the UDE. Users accessing the UDE will only be able to view the sections you enable using this method. Disabled sections will not appear.
- To enable a section, select its checkbox under Define user editable sections.
- To disable a field, deselect the checkbox.

Selected sections are visible to users in the UDE.
This options allows you to set specific fields as editable in the UDE. Users accessing the UDE will only be able to edit the fields you enable using this method. Disabled fields will be read-only.
If you are on a Standard plan, the only available fields to enable/disable are User Defined 1 and User Defined 2. All other fields are read-only. If you are on a Pro plan, all fields and the QR codes fields are available to enable/disable. The data is either synchronized from your Google Directory/Active Directory or imported via CSV.
For more information on the Exclaimer Pro Plan, see Exclaimer Pricing Plans.
- To enable a field, select its checkbox under Define User Editable Contact Details.
- To disable a field, deselect the checkbox.
- To edit the details available for a personalized vCard for QR codes, select or deselect fields under Define vCard QR code details.
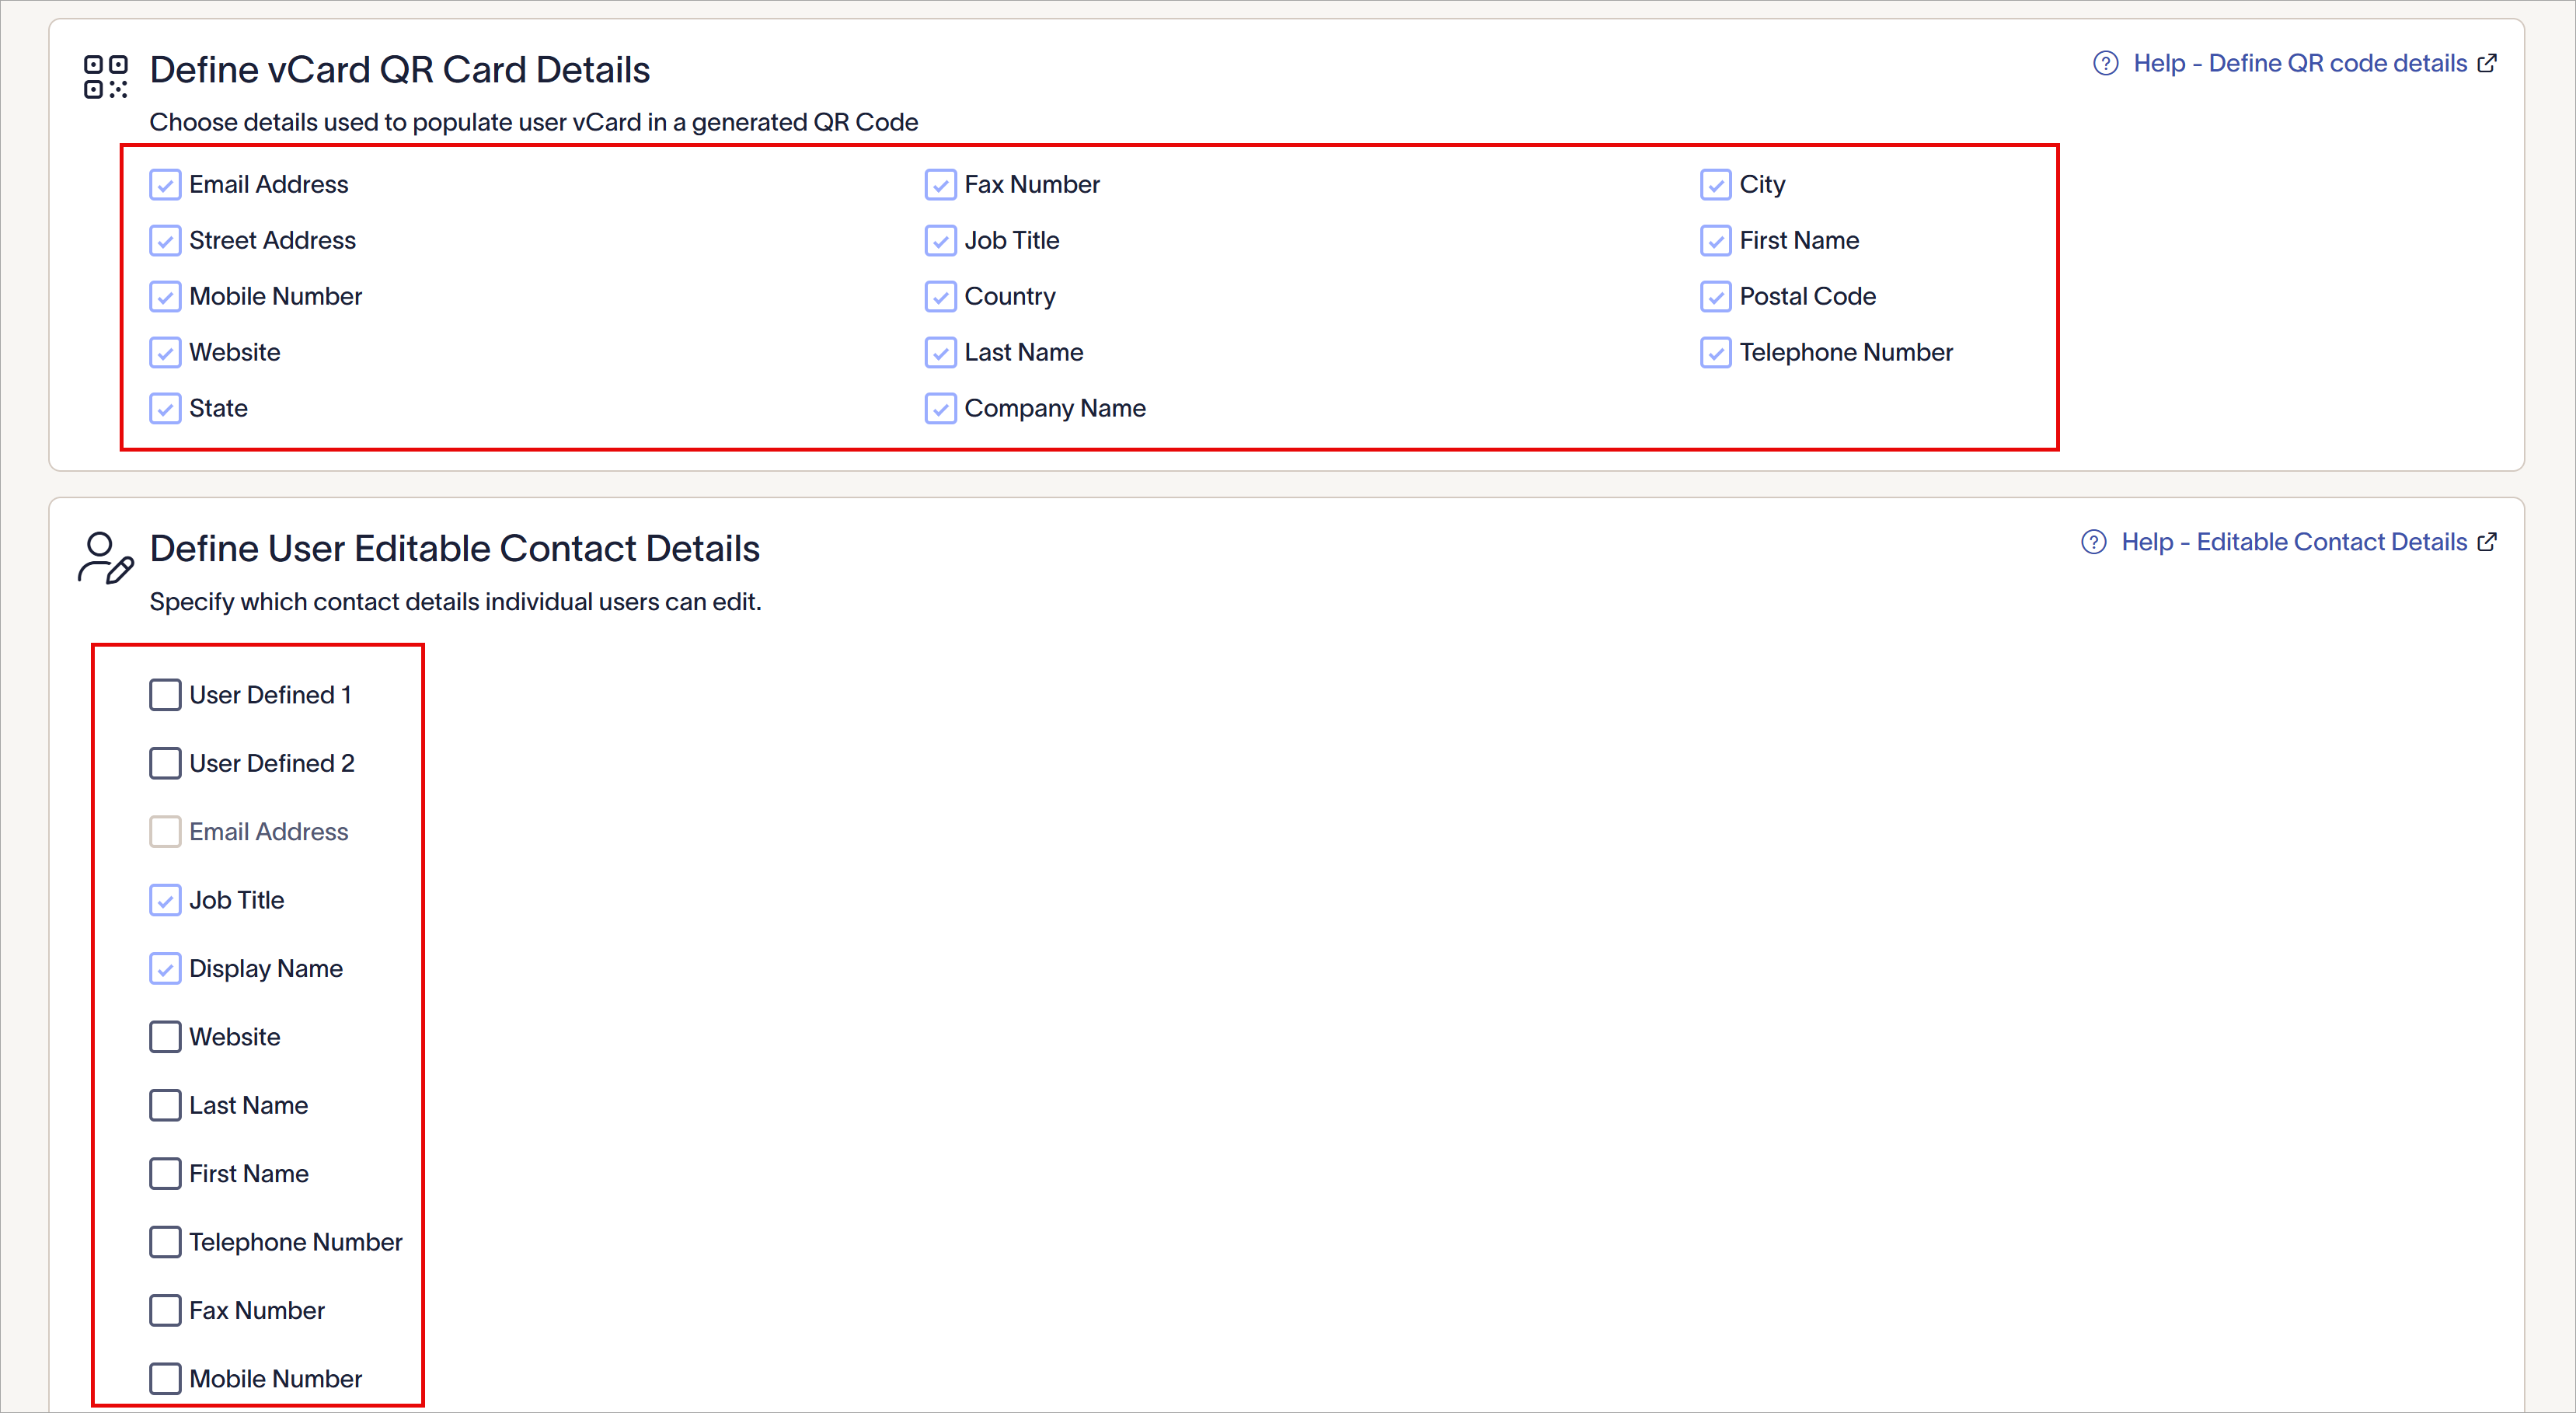
The available fields you see will differ based on your plan type. This example has QR codes and multiple user fields.