
Scenario
You want to create a Microsoft 365 group so you can only synchronize certain users with Exclaimer, for example to use in your onboarding with Exclaimer, to specify signature senders or sender exceptions (Pro plan users only), or to use as a test group when configuring.
Resolution
To create a group to use with Exclaimer, you must use the mail enabled security group type when creating a group. This can be done in either the Microsoft Exchange admin center or in the Microsoft 365 admin center.
Select an option below to view the related instructions:
To create a mail-enabled security group:
- Log in to the Microsoft Exchange admin center as a Global Administrator.
- From the menu sidebar, expand the Recipients section, then select Groups.
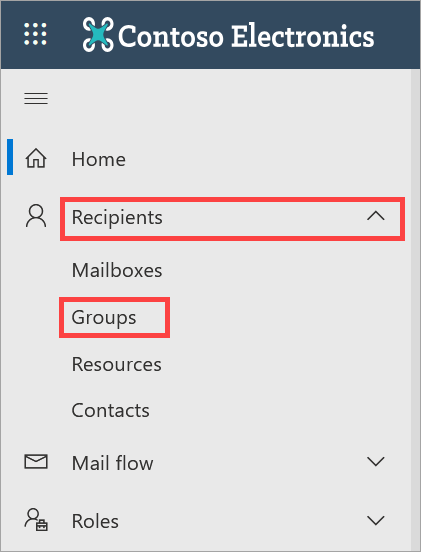
Open the Groups page from the menu sidebar.
- Select Add a group.
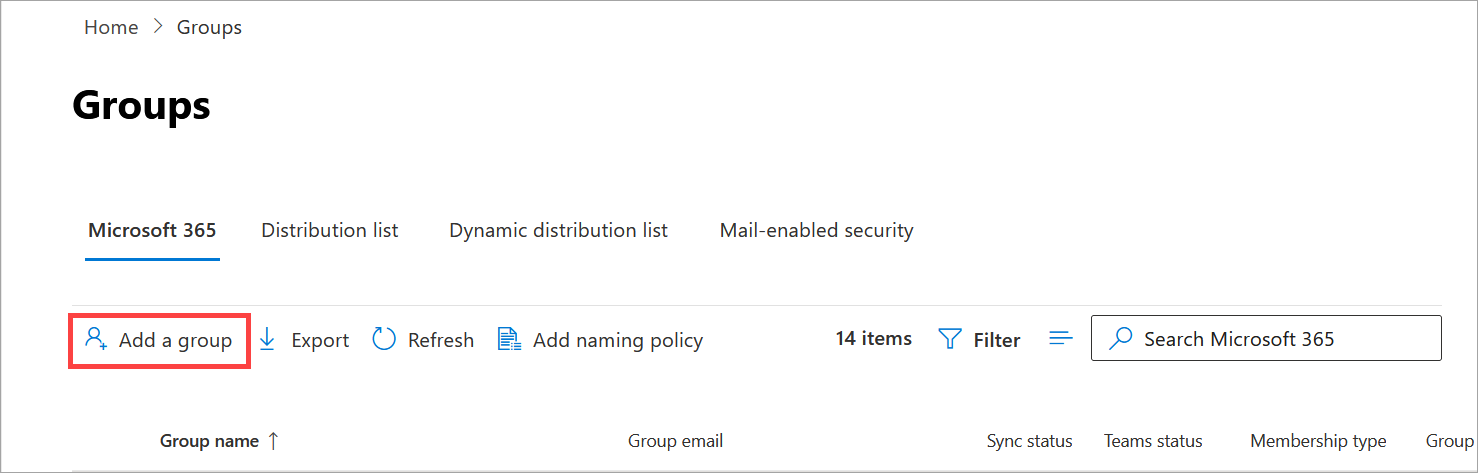
The +Add a group button is found in the menu row.
- Under Choose a group type, select the Mail-enabled security radio button, then select Next.
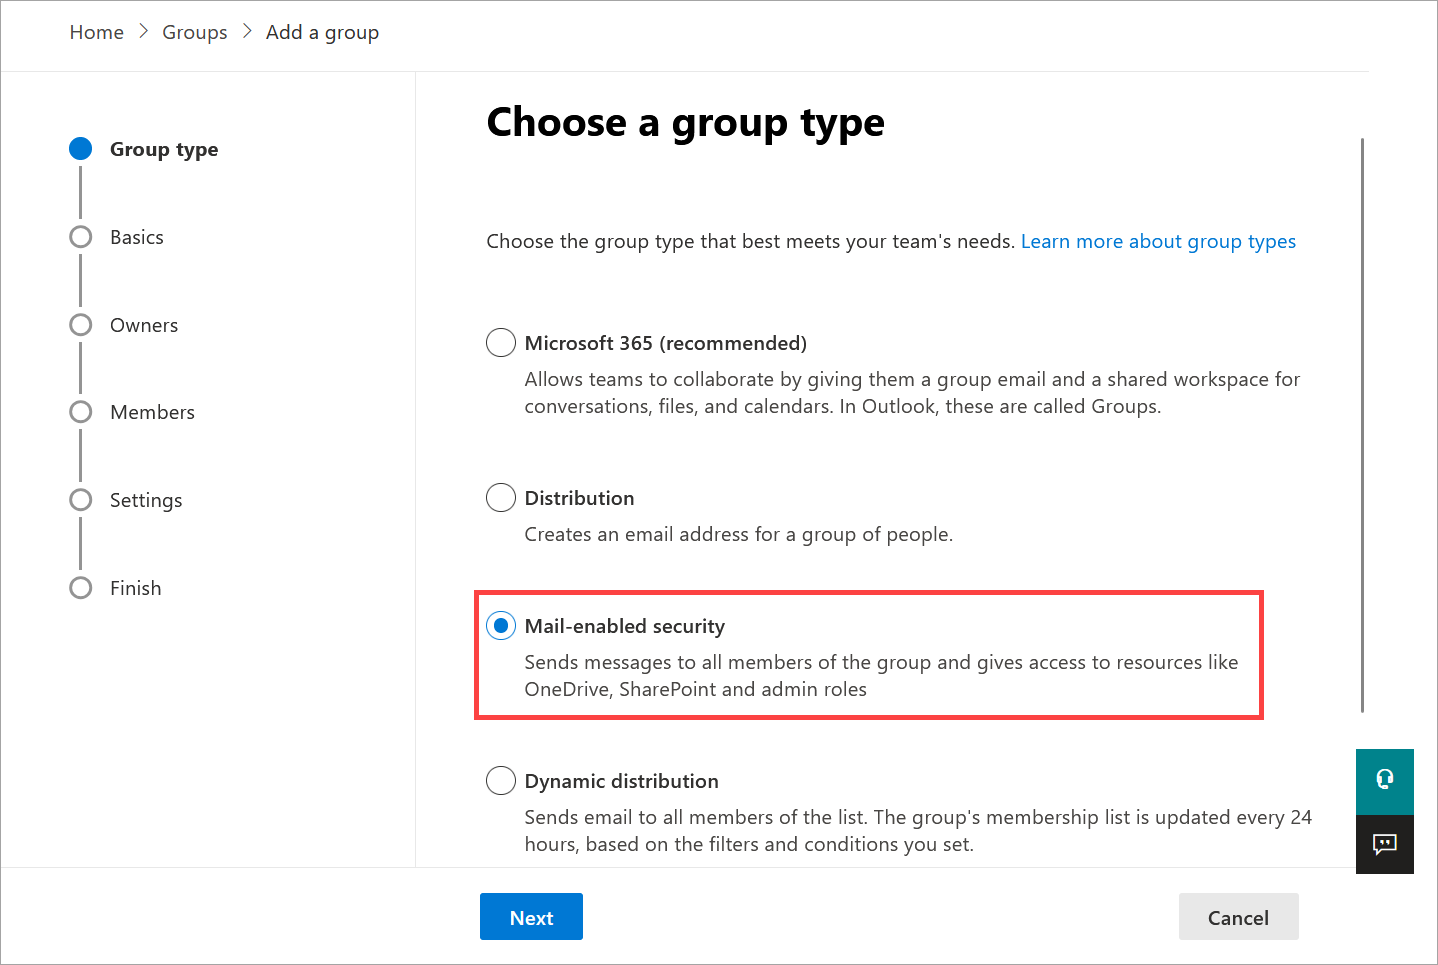
You must choose Mail-enabled security as your group type to be able to use this group with Exclaimer.
- Enter a Name and Description for your new group in the respective entry fields, then select Next.
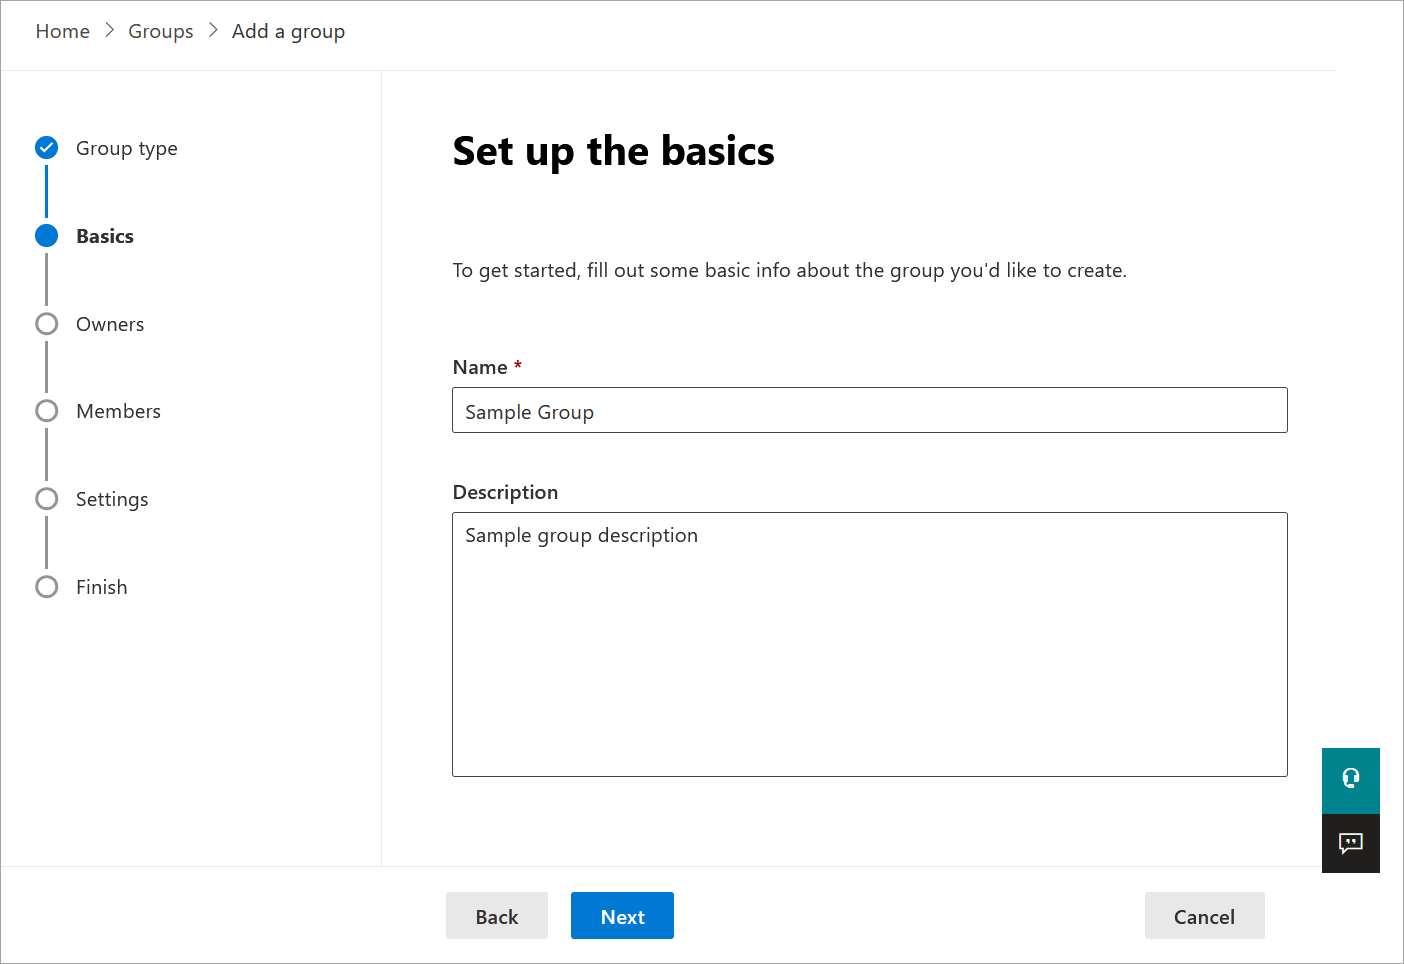
Enter a name and description for your group.
- Select + Assign owners.
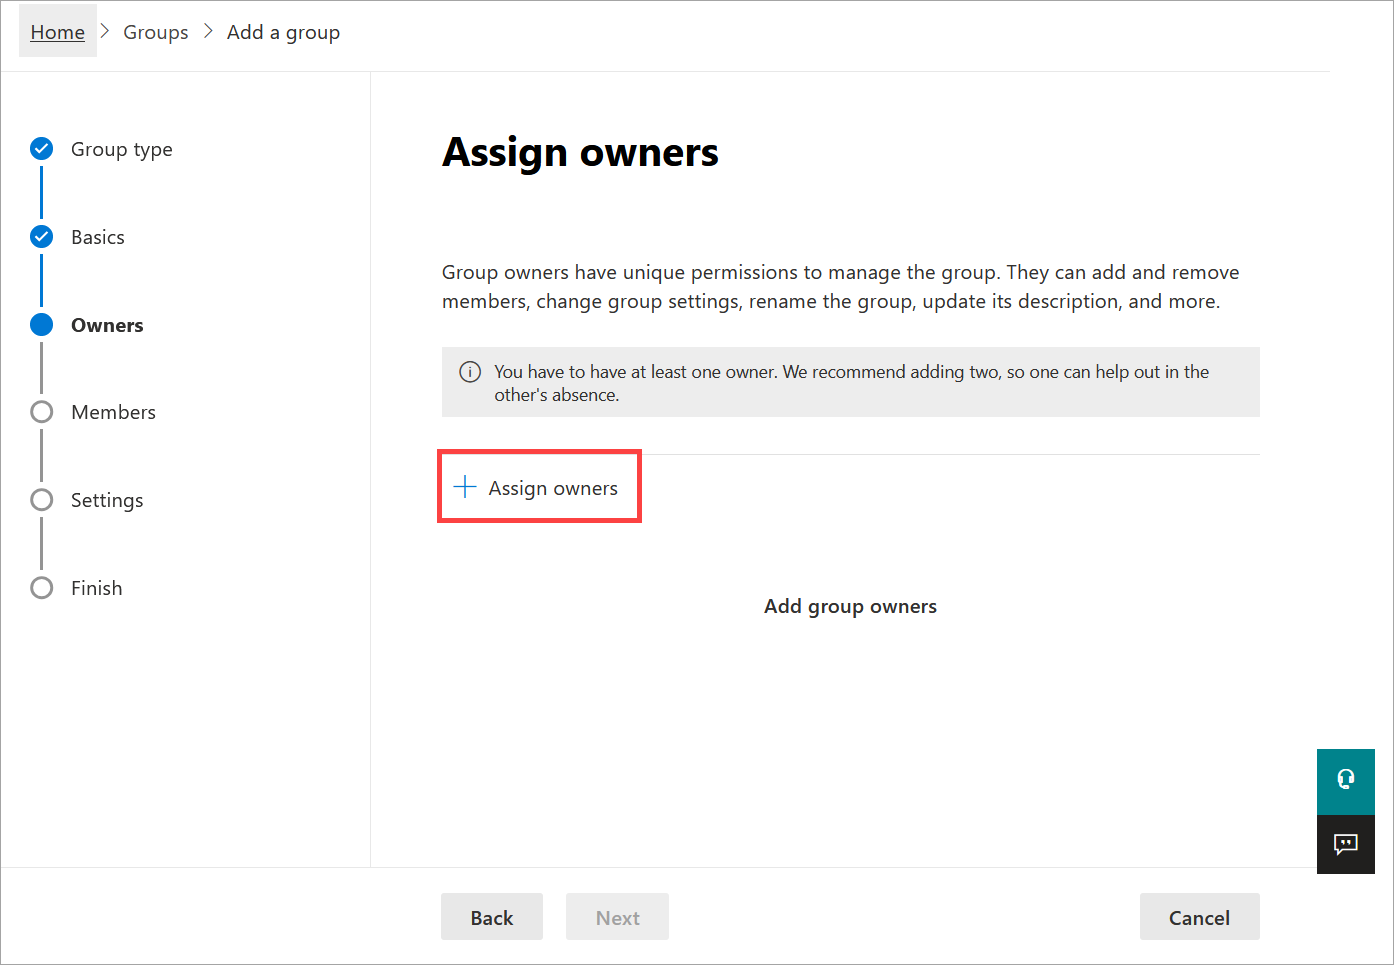
Select +Assign owners.
- In the Assign owners pane, choose up to two owners by selecting the radio buttons next to the user's name, the selecting Add. We recommend assigning yourself as an owner, especially if this is a test group.
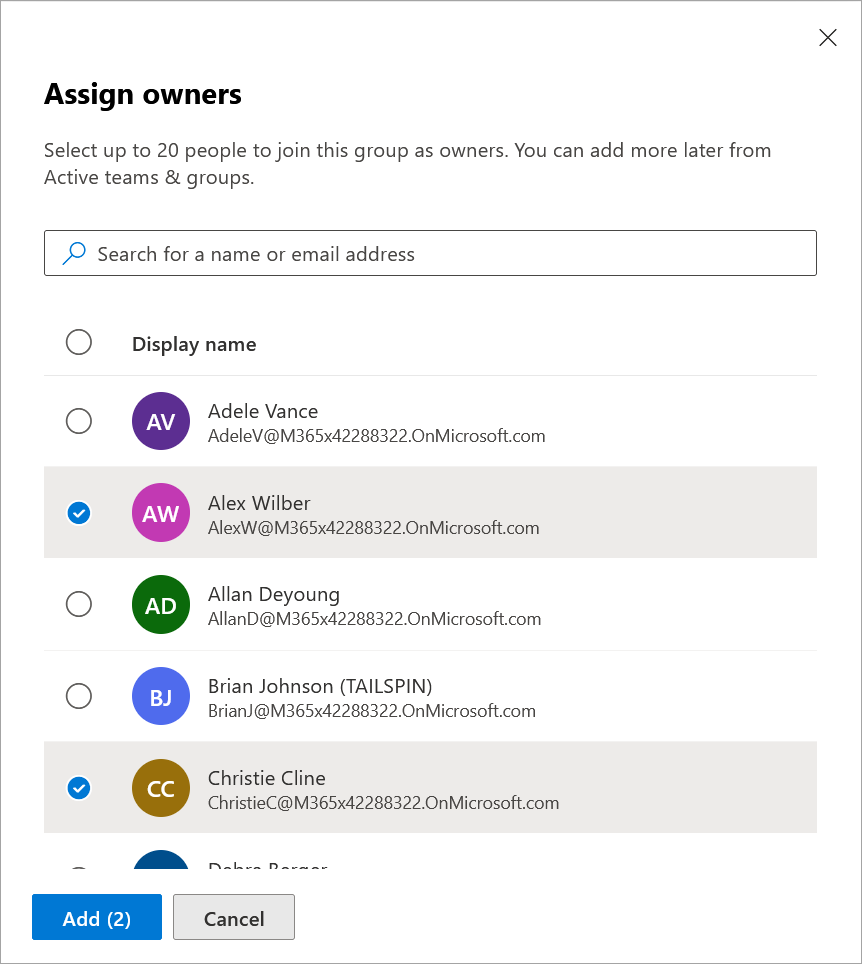
Add up to two owners.
- Select Next.
- Select + Add members.
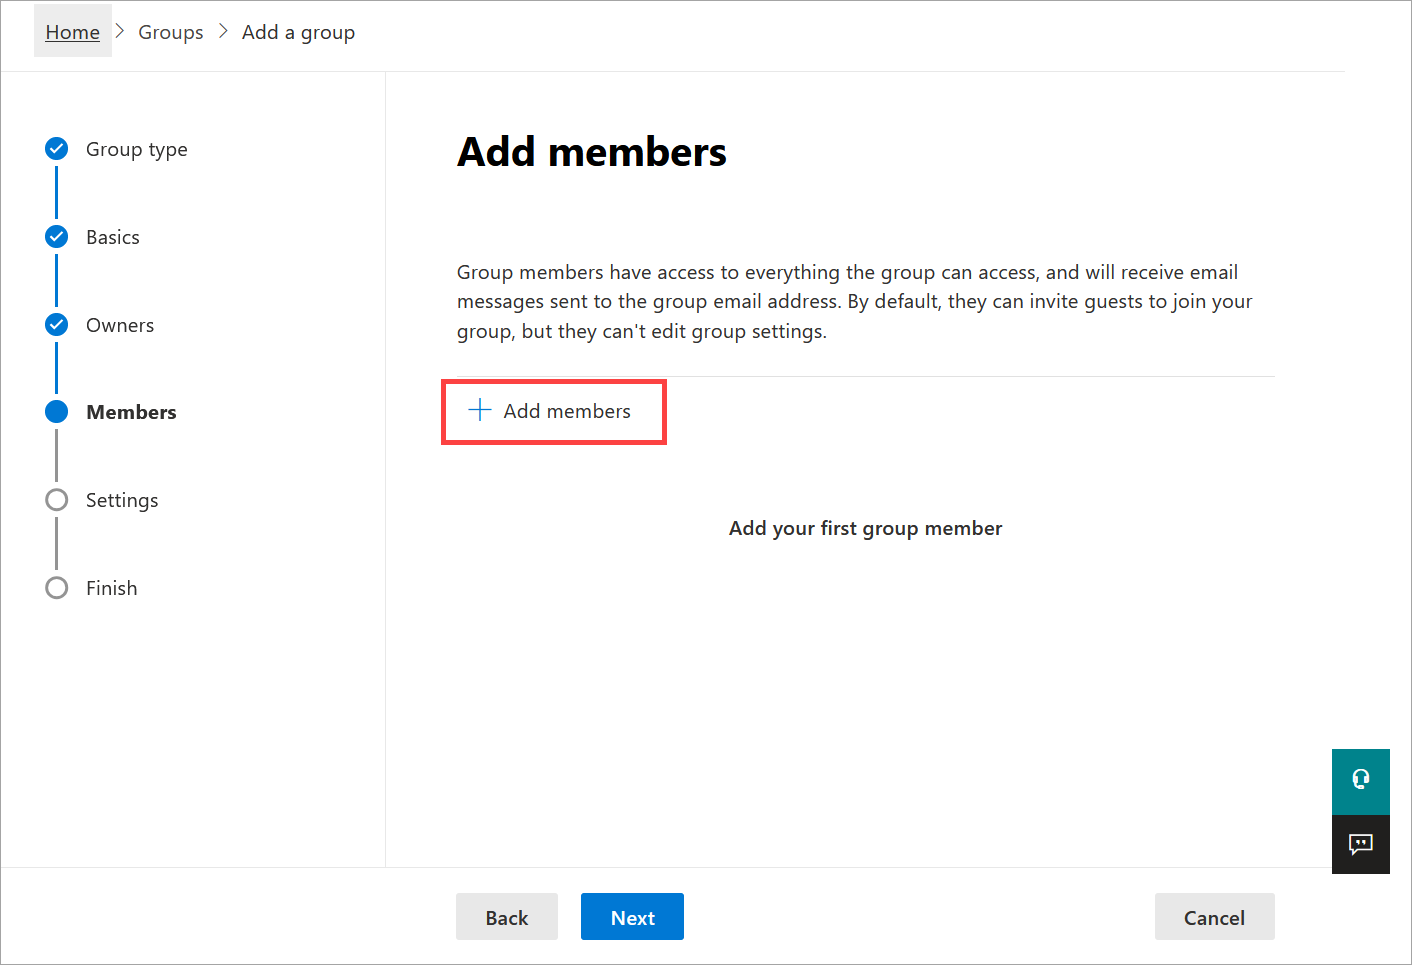
Select +Add members.
-
In the Add members pane, add up to 20 users to the group by selecting the radio buttons next to the user's name, then selecting Add.
NOTE: If this is a test group, add youself as a member.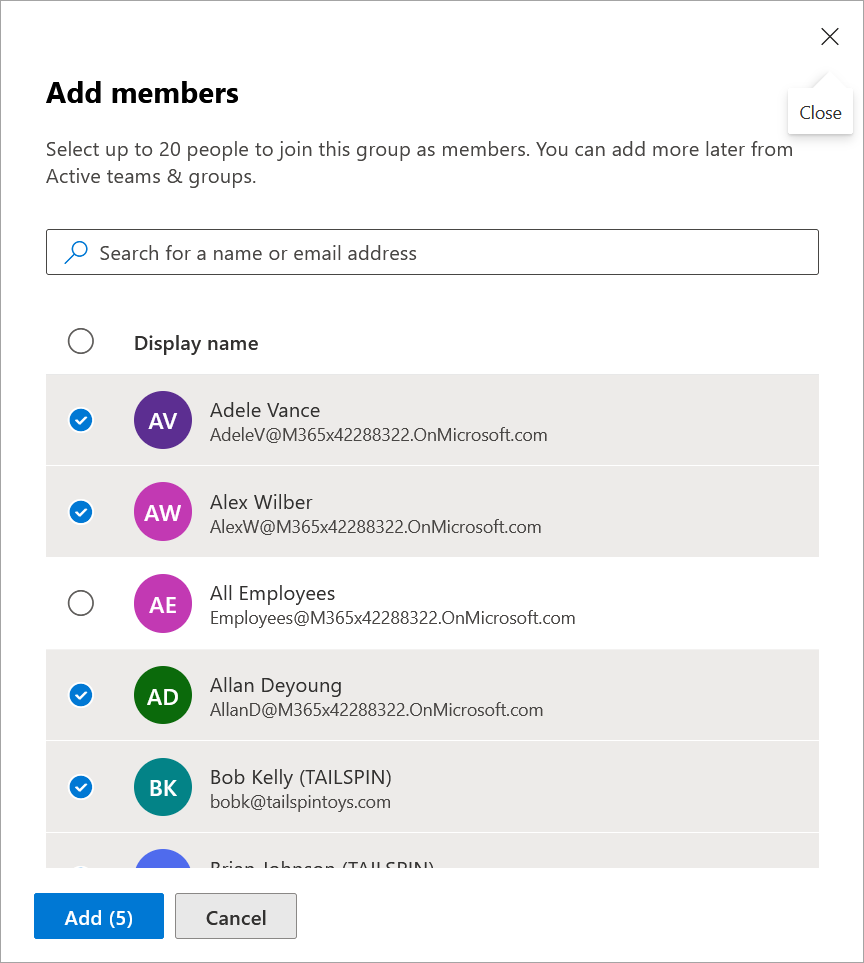
Add your group members.
- Select Next.
-
In the Group email field, enter an email prefix for your group. The domain is added automatically.
NOTE: The Communication and Approval settings on this screen are optional and are not required for Exclaimer. You can choose which settings are most appropriate for your group.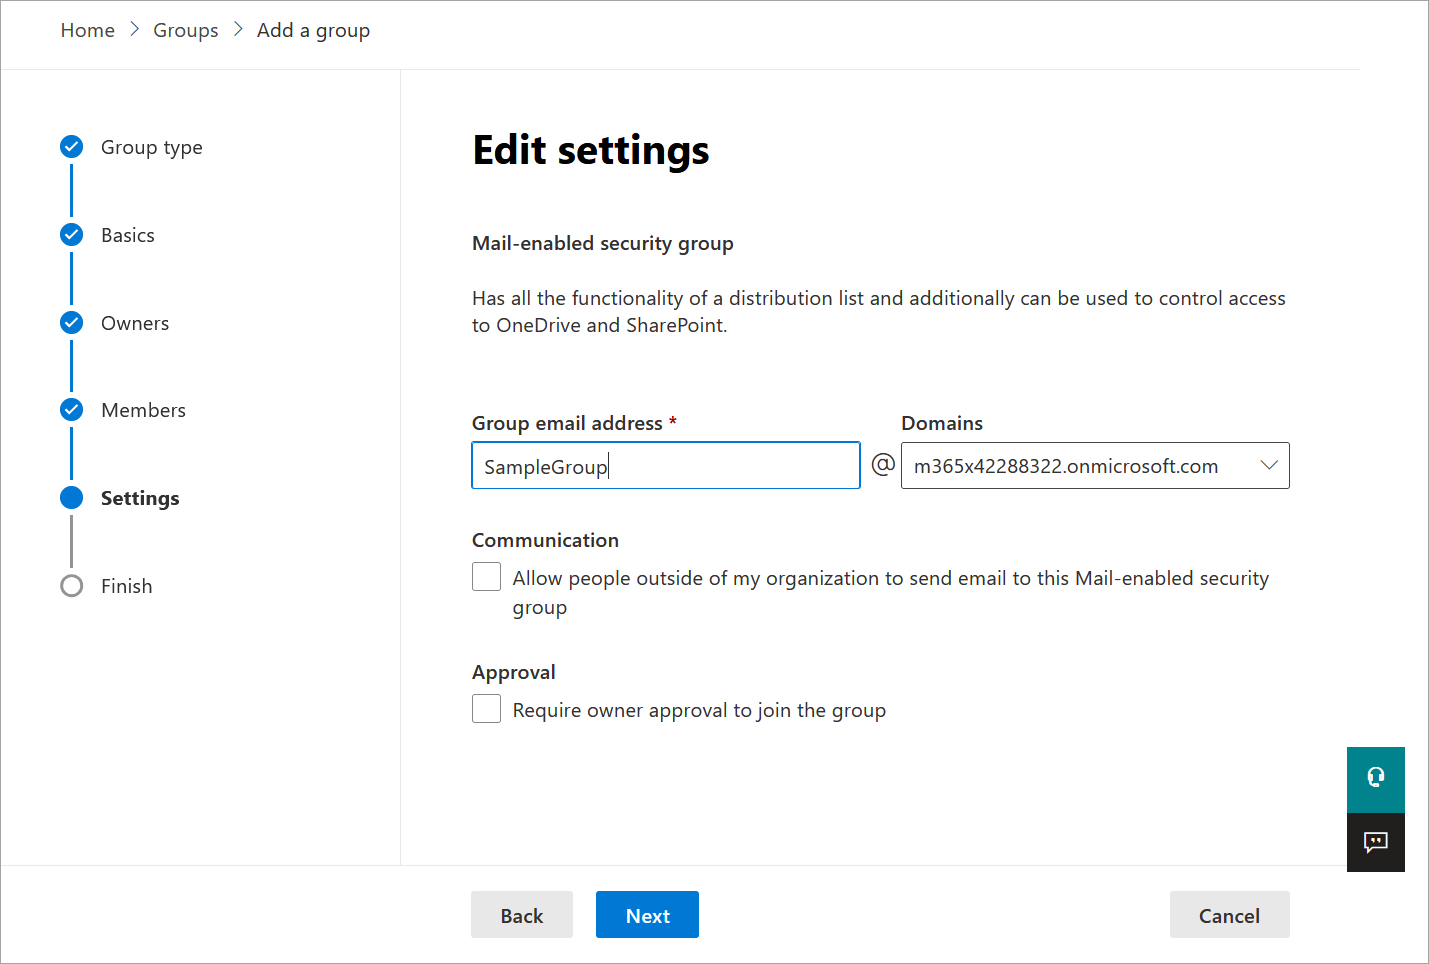
Enter an email address for your group and choose your optional settings.
- Select Next.
- Review your group details. To edit any of your previous choices, select Edit on the respective section. When you are happy with your group details, select Create group.
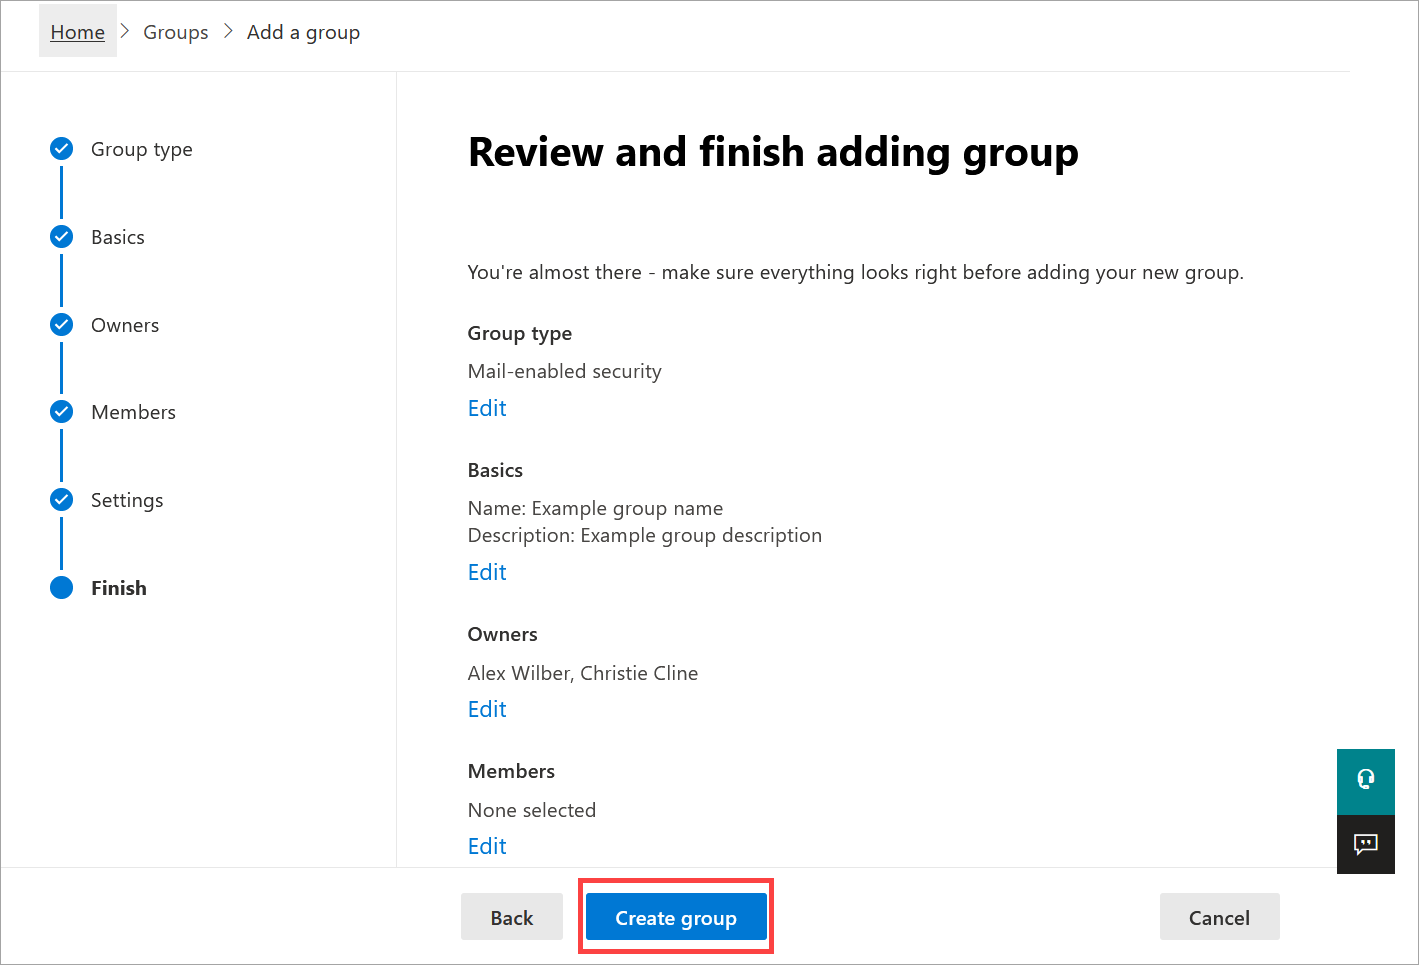
Review your choices and create the group.
- Select Close to return to the Groups page.
Once you have created your group, it may take up to one hour to appear on the Groups page. Your group is then ready to sync with Exclaimer.
To create a mail-enabled security group:
- Log in to the Microsoft 365 admin center as a Global Administrator.
- From the menu sidebar, expand the Teams & groups section, then select Active teams & groups.
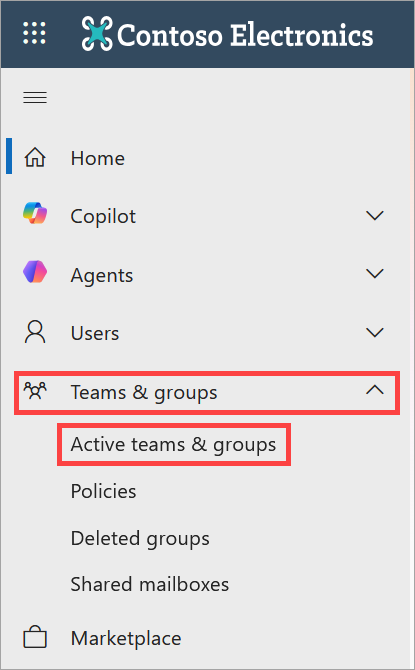
Open the Active teams & groups page.
- Select the Security groups tab.
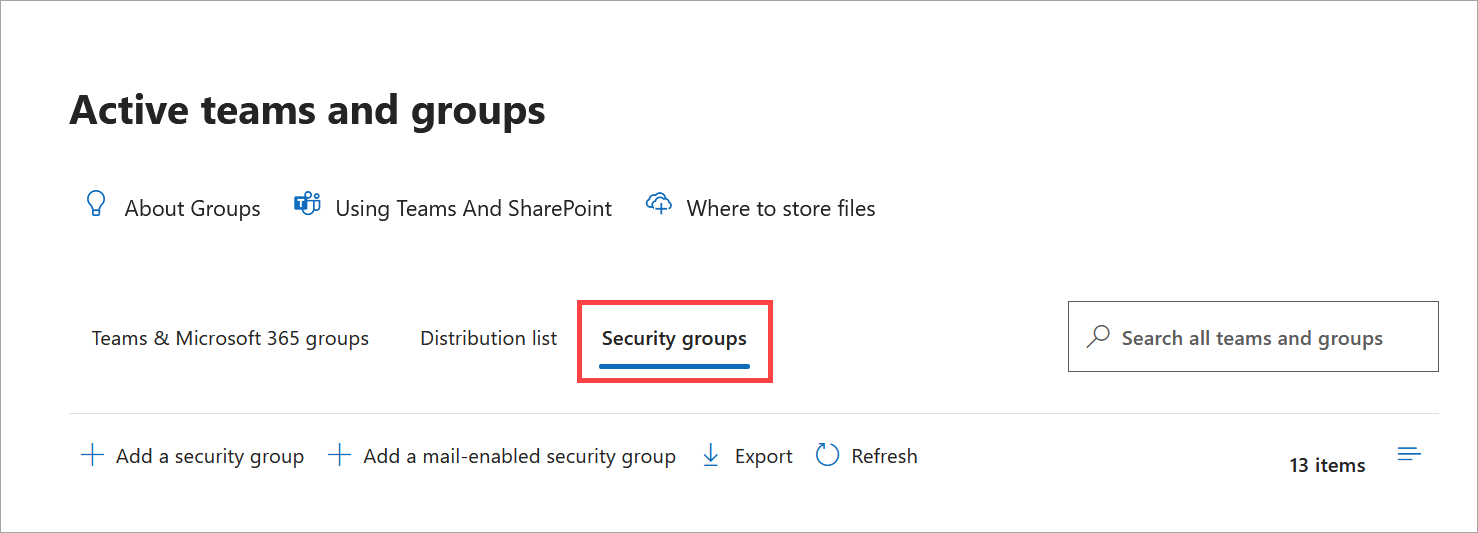
Open the Security groups tab.
- Select + Add a mail-enabled security group.
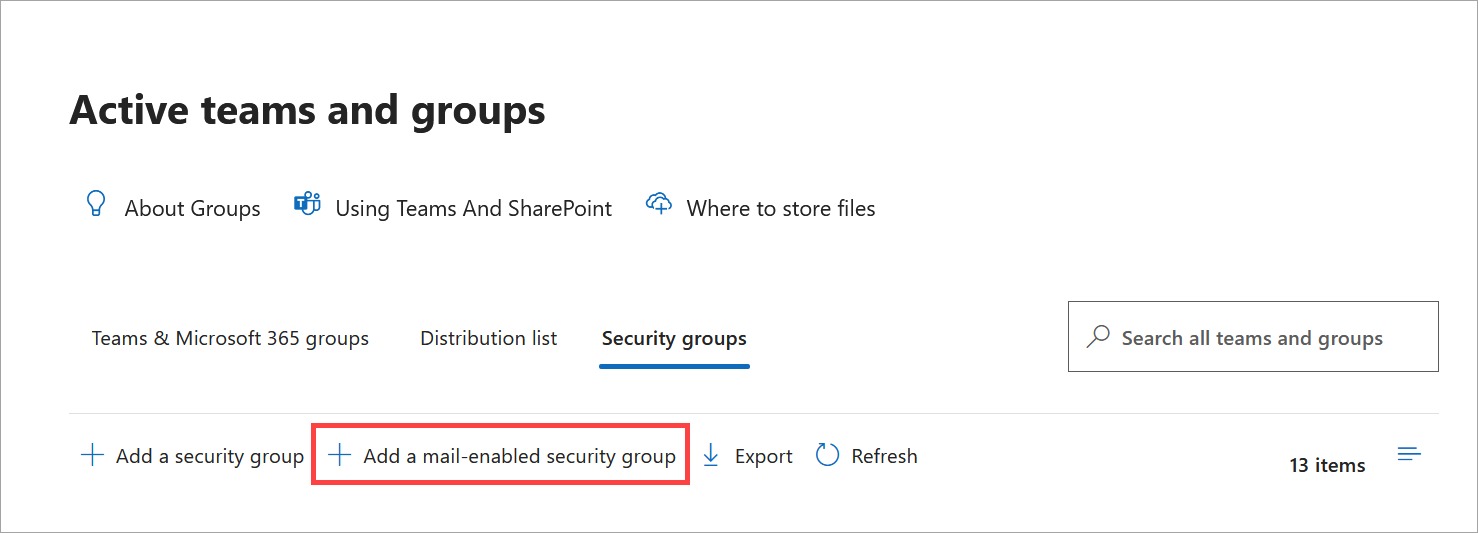
Select +Add a mail-enabled security group.
- Enter a Name and Description for your new group in the respective entry fields, then select Next.
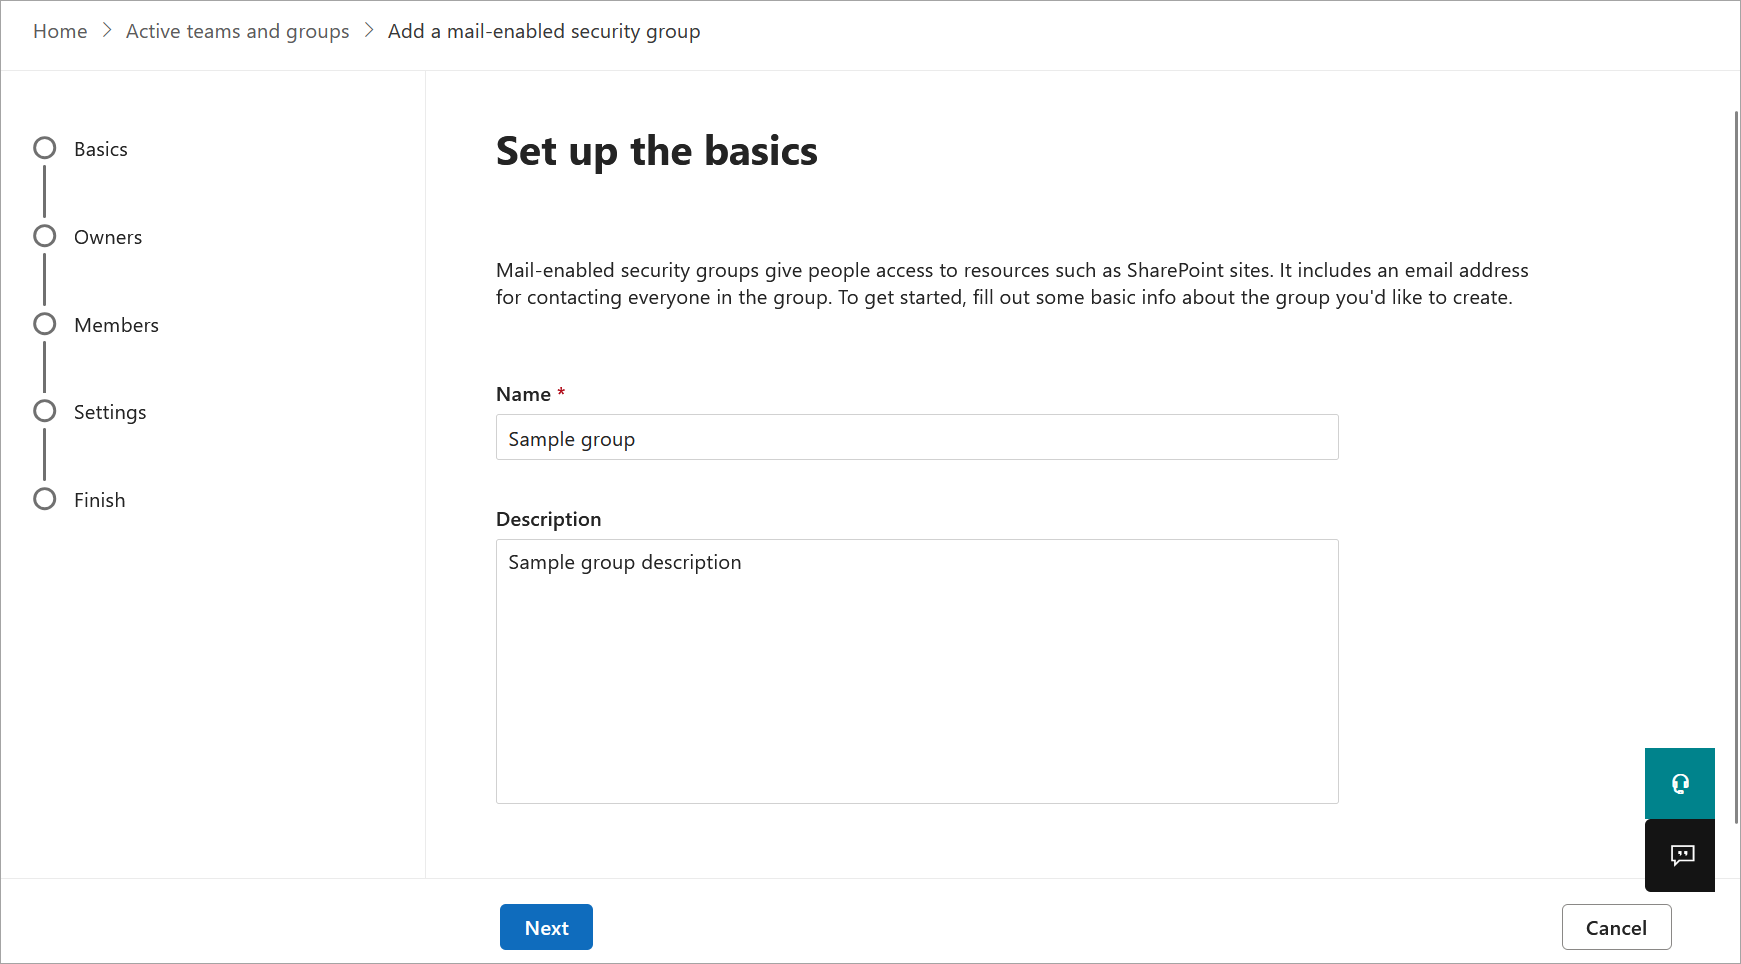
Enter a name and description for your group.
- Select + Assign owners.
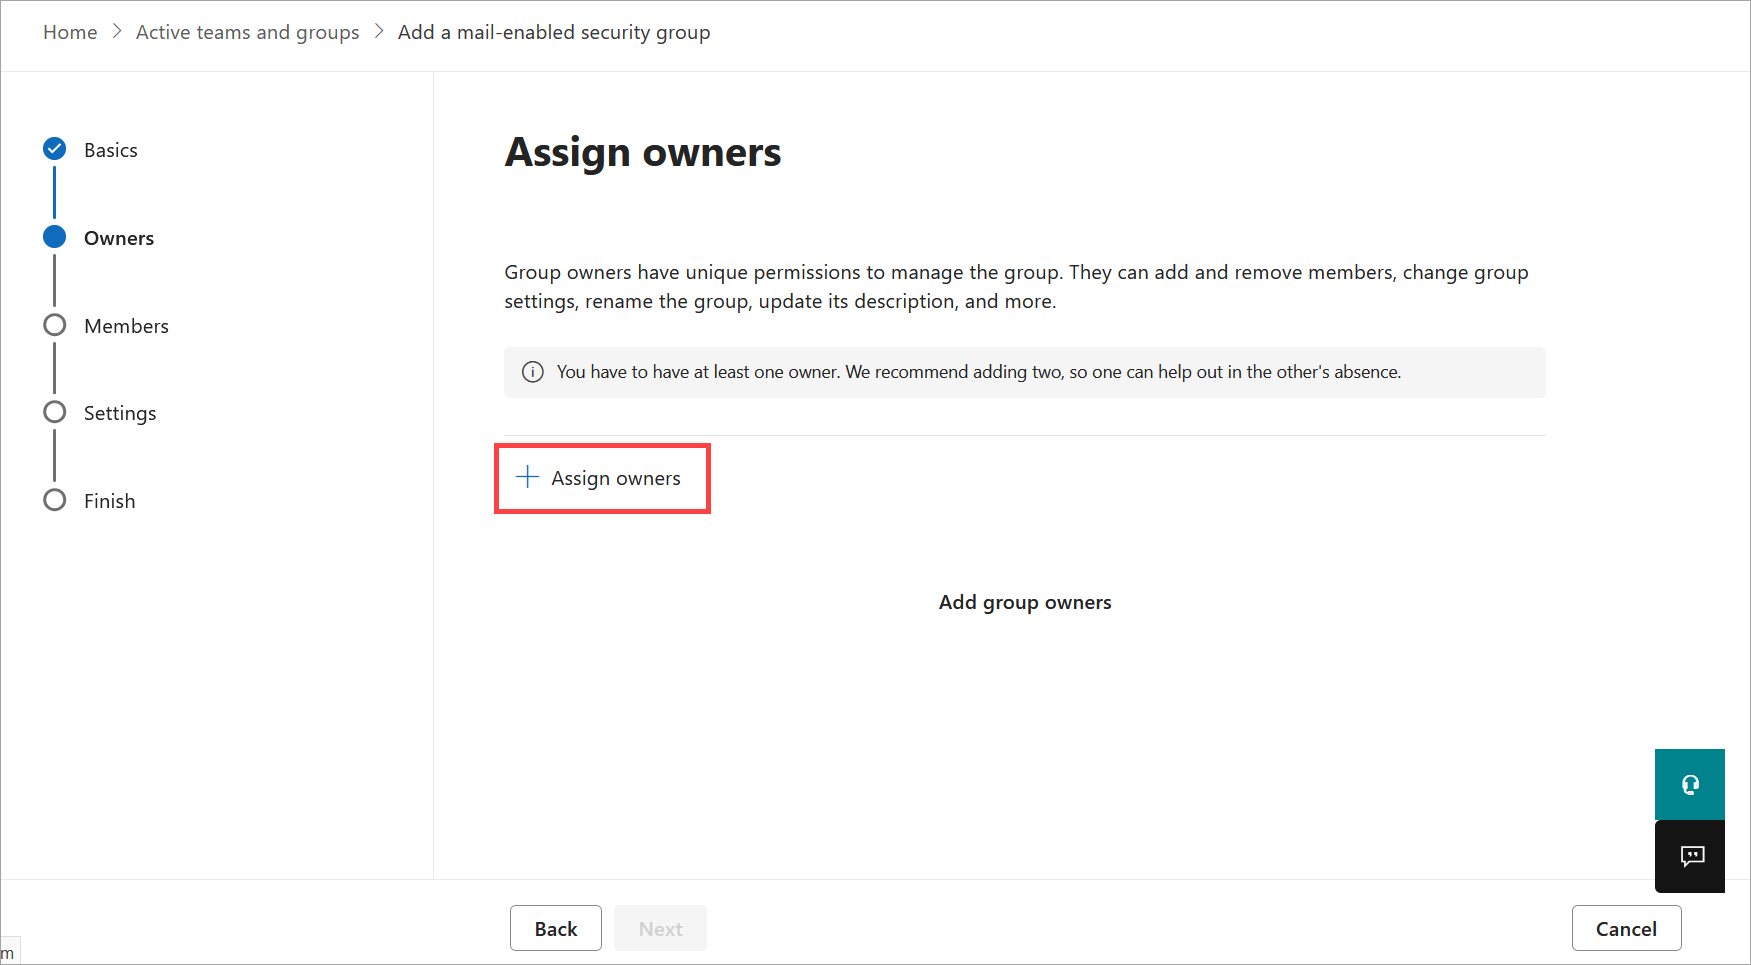
Select +Assign owners.
- In the Assign owners pane, choose up to two owners by selecting the radio buttons next to the user's name, the selecting Add. We recommend assigning yourself as an owner, especially if this is a test group.
Add up to two owners.
- Select Next.
- Select + Add members.
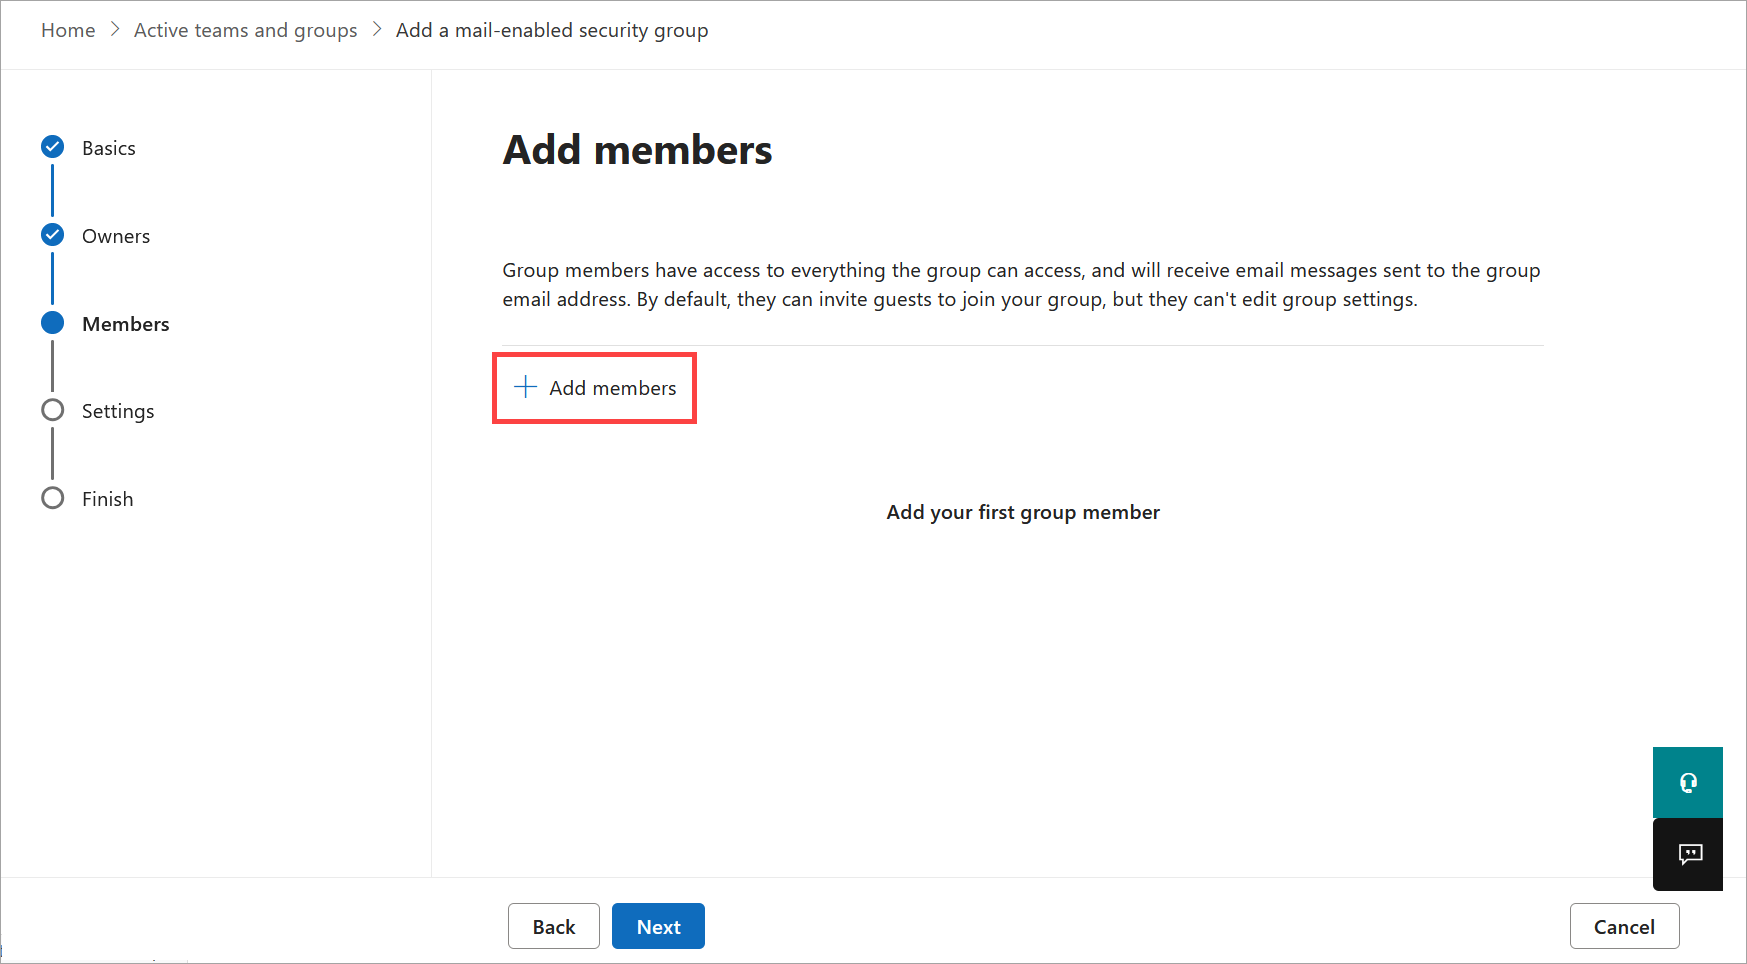
Select + Add members.
-
In the Add members pane, add up to 20 users to the group by selecting the radio buttons next to the user's name, then selecting Add.
NOTE: If this is a test group, add youself as a member.
Add your group members.
- Select Next.
-
In the Group email field, enter an email prefix for your group. The domain is added automatically.
NOTE: The Communication setting on this screen is optional and is not required for Exclaimer. You can choose whether this setting is appropriate for your group.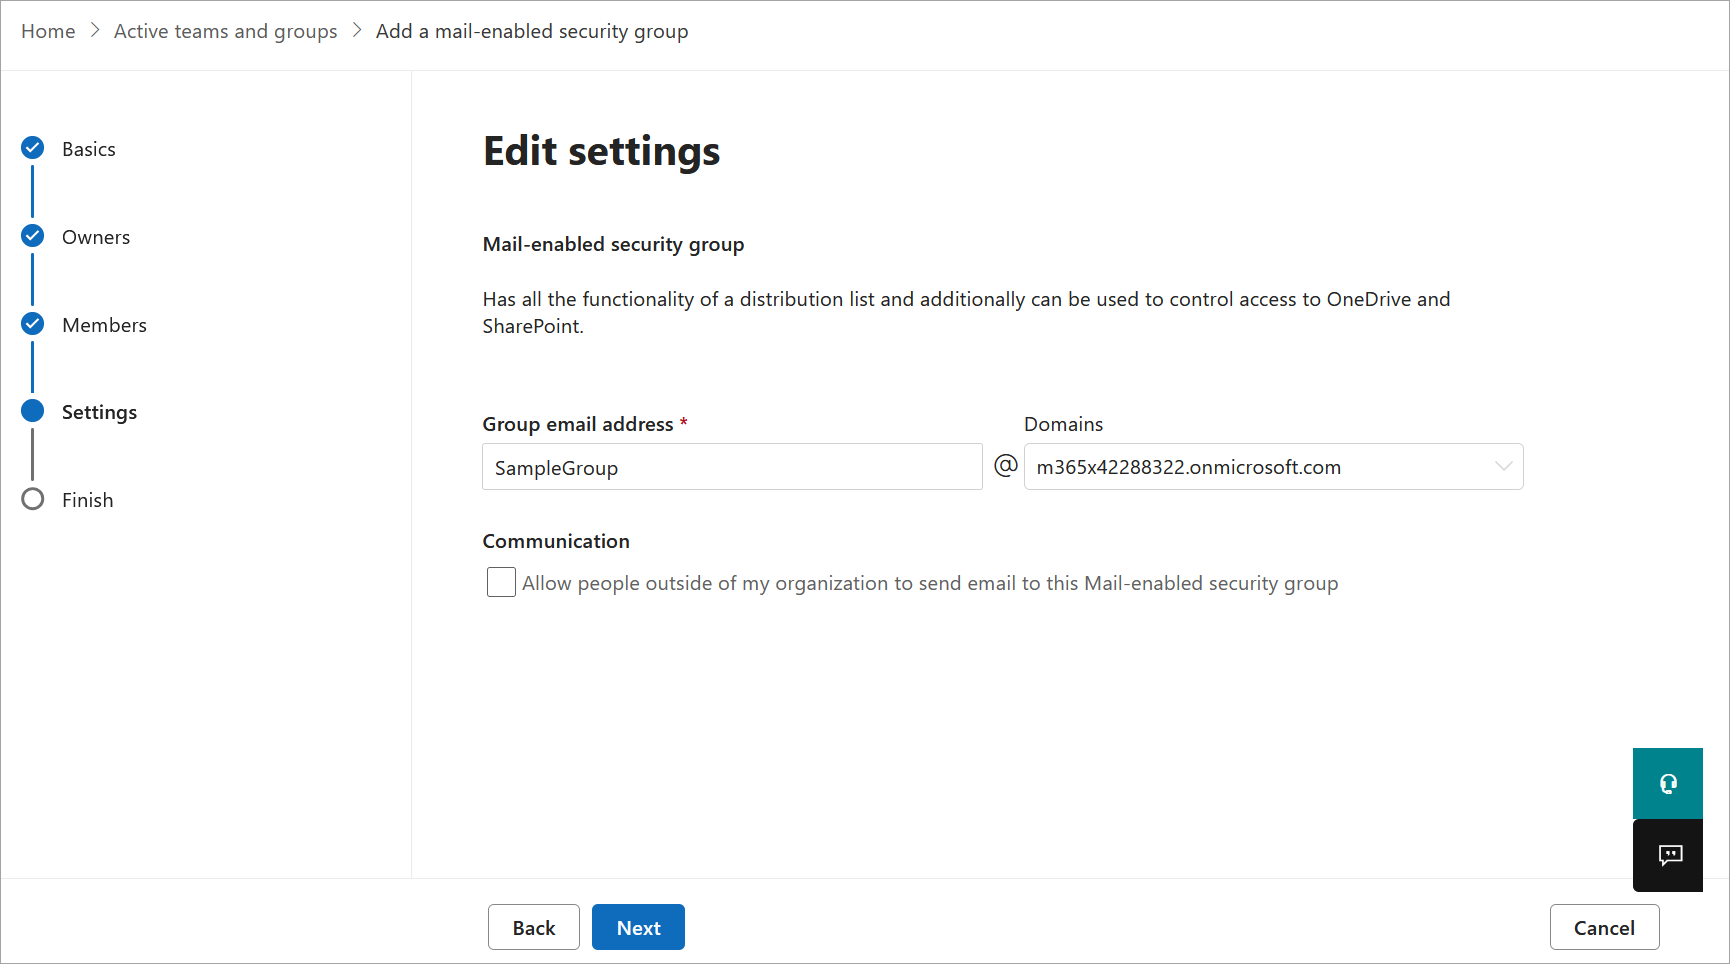
Enter an email address for your group and choose your optional settings.
- Select Next.
- Review your group details. To edit any of your previous choices, select Edit on the respective section. When you are happy with your group details, select Create group.
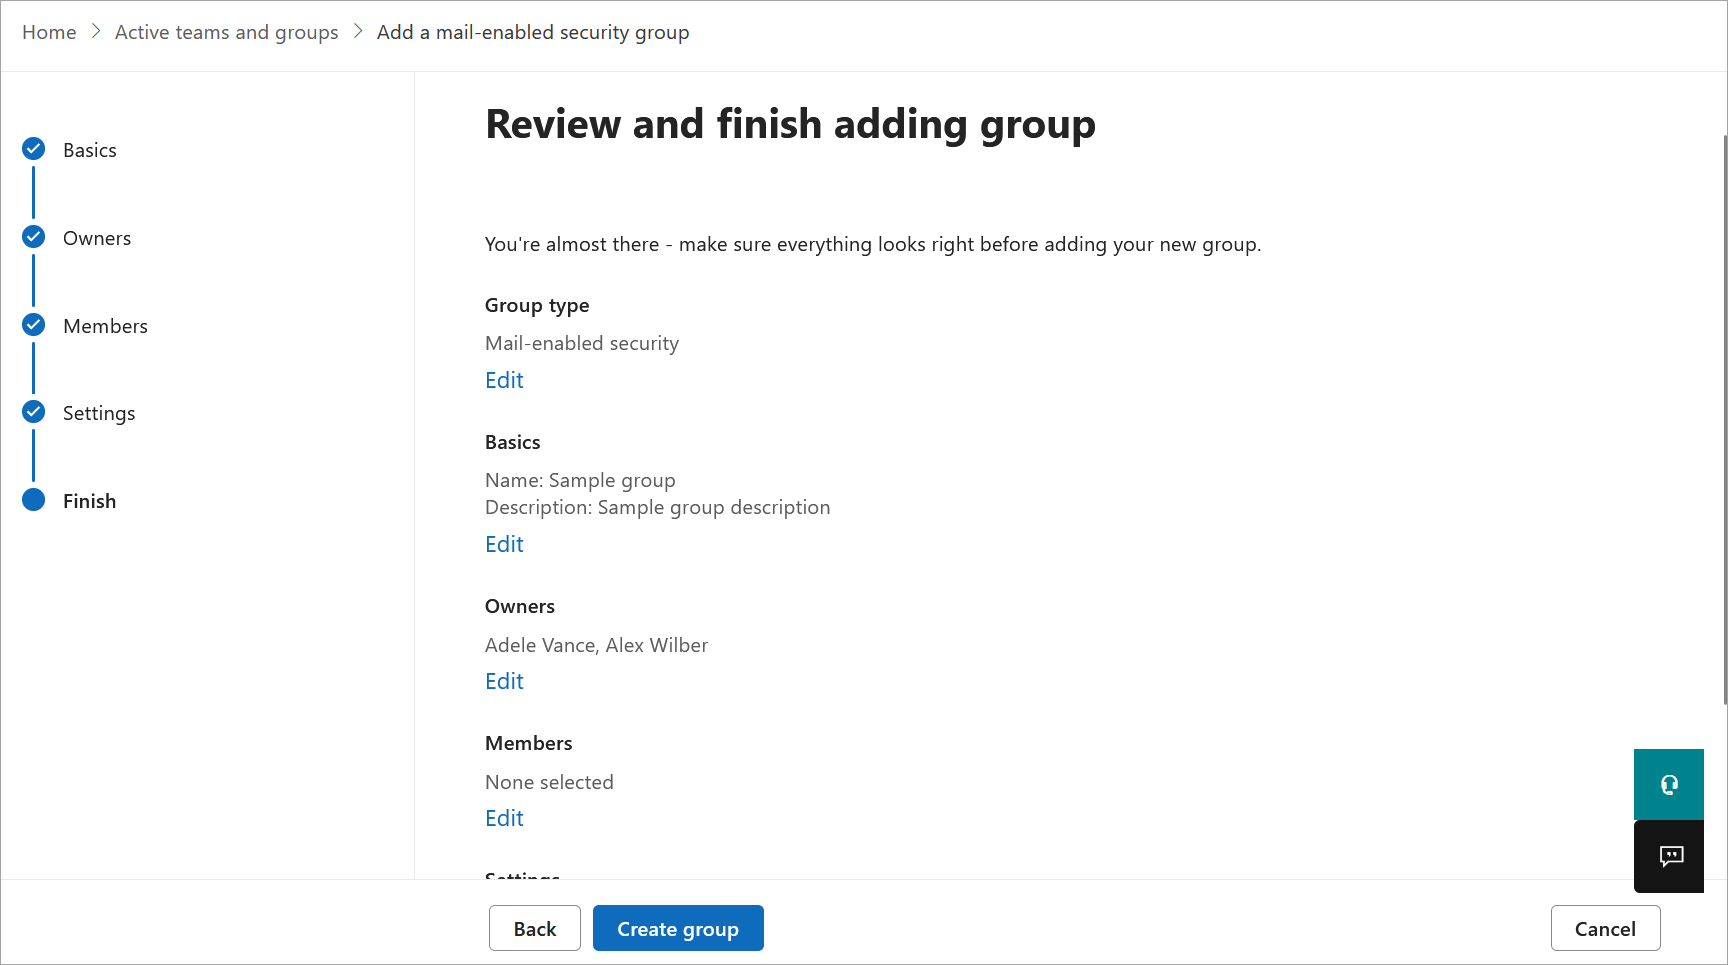
Review your choices and create the group.
- Select Close to return to the Groups page.
Once you have created your group, it may take up to one hour to appear on the Groups page. Your group is then ready to sync with Exclaimer.