
Description
The Exclaimer Outlook Add-in feature lets you choose the most appropriate email signature whilst you compose your email in Outlook, from the list of all your signature templates. The signature templates can be used for different messages, for example, to represent different marketing brands.
This article guides you through the process of how you can install the Exclaimer Outlook Add-in for a single user or deploy it to your Microsoft 365 tenant.
Pre-requisites
Before you install the Exclaimer Outlook Add-in, make sure you have:
Mailbox type:
- Microsoft 365 mailboxes only
Windows
- Outlook on Windows (Microsoft 365 Subscription) [version 2409 (Build 18025.20000)]
- Outlook on Windows (Retail Perpetual) [version 2501 (Build 18429.20132)]
- Outlook 2024 on Windows (Volume-licensed perpetual) [version 2408 (Build 17932.20222)]
- Microsoft Outlook Web Access
- Microsoft Windows 10, Windows Server 2016 or above
Mac
- Outlook on Mac [version 16.89 (24090815) or above]
NOTE: Only the New Outlook interface is supported. Go to Outlook > New Outlook to enable it.
Mobile:
- Outlook on Android: Outlook version 4.2433.0 or above
- Outlook on iOS: Outlook version 4.2433.0 or above
Microsoft 365 Plan
- Your Microsoft 365 plan must allow access to deploy Microsoft 365 Apps through Microsoft AppSource. Certain plans, such as Office 365 E2 do not support this.
For more information on checking your compatibility, see Microsoft's guide on using Add-Ins.
• Install the Exclaimer Outlook Add-in from Integrated apps in Microsoft 365. Do not install it from an XML file or the Outlook app store, as these methods do not provide the Add-in's full functionality.
• Do not use the Add-in alongside the Exclaimer Signature Update Agent for Windows, as it can cause inconsistent behavior.
• E1 license subscription to Microsoft 365 is not supported.
• The Outlook Add-in is not supported for GoDaddy-managed accounts. There is currently no workaround available.
Deploying Exclaimer Outlook Add-in to your Microsoft 365 tenant
Microsoft 365 Global Administrator credentials
As a Global Administrator, you can easily deploy signatures to every employee (end-user) within your organization, irrespective of where the employees are based. The end-user doesn't have to be connected to the network and as there is no separate application to manage, this reduces IT overhead.
Follow these steps to deploy the Exclaimer Outlook Add-in to your Microsoft 365 tenant:
- Log on to the Microsoft 365 Portal as a Global Administrator.
- Open the admin center.
- From the menu sidebar, select Settings then select Integrated apps.
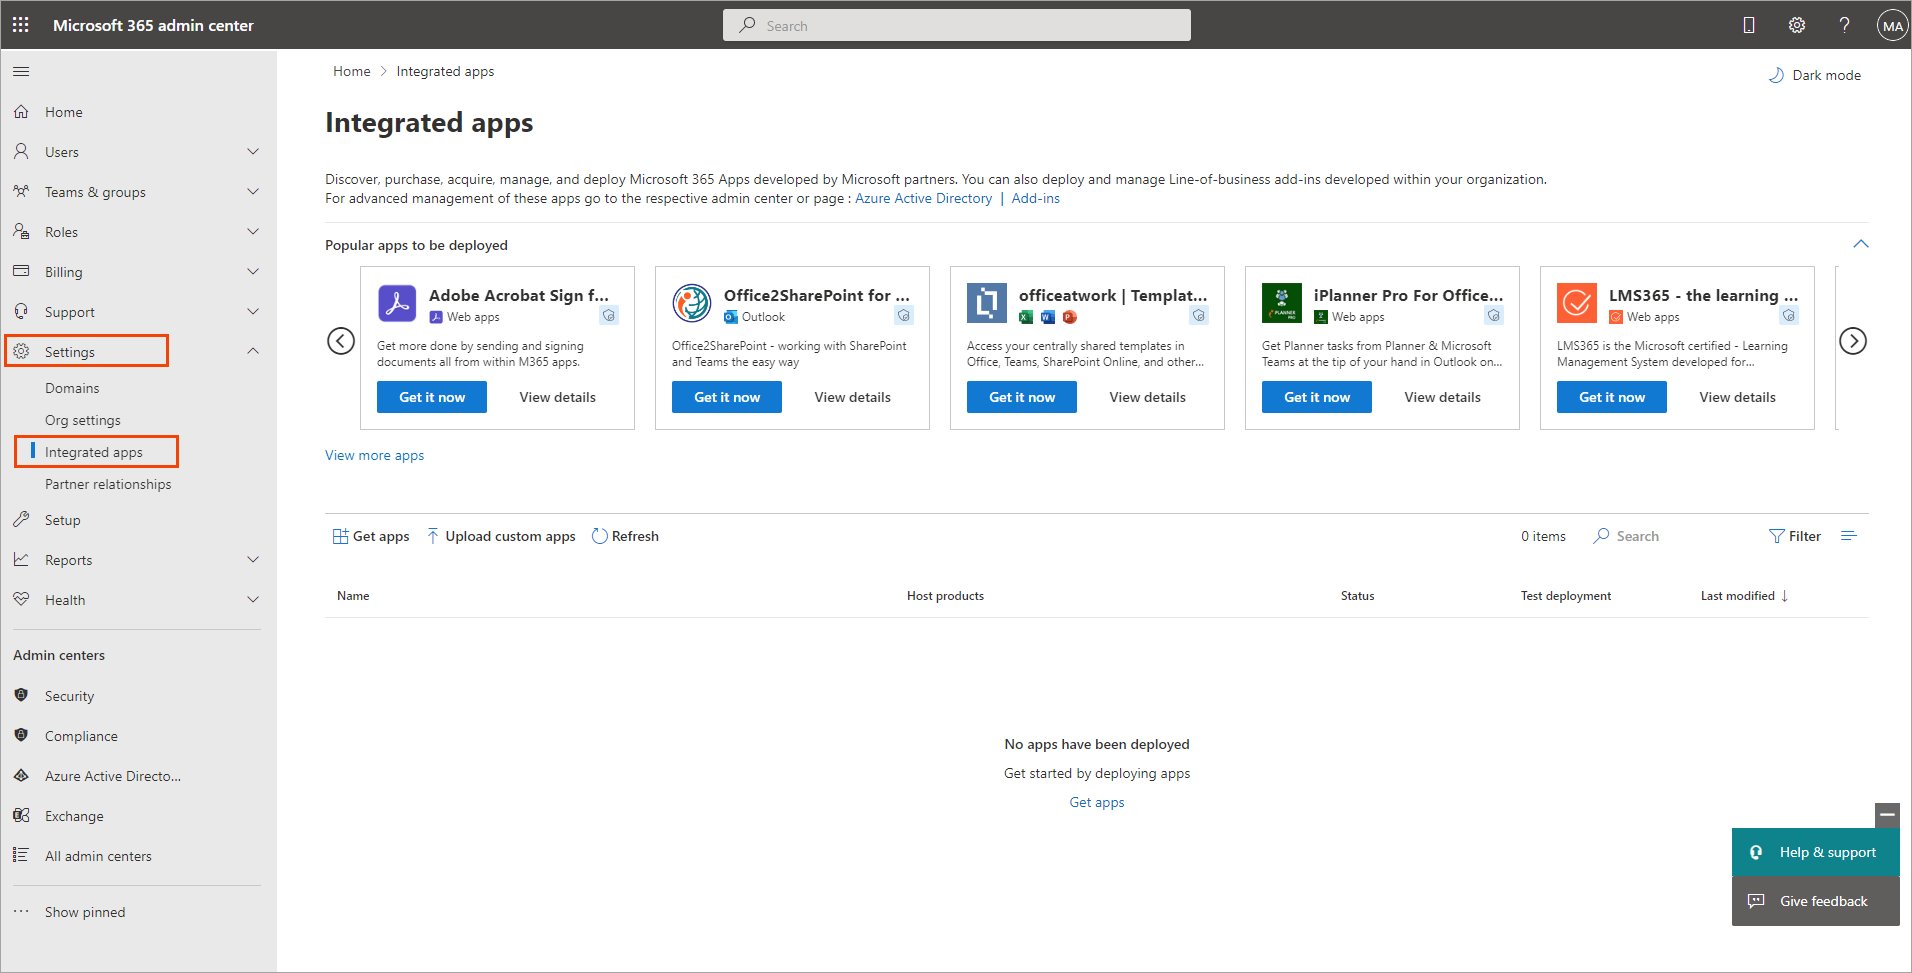
From the menu sidebar, select Settings, then select Integrated apps.
- Select Get apps to open the App Store.
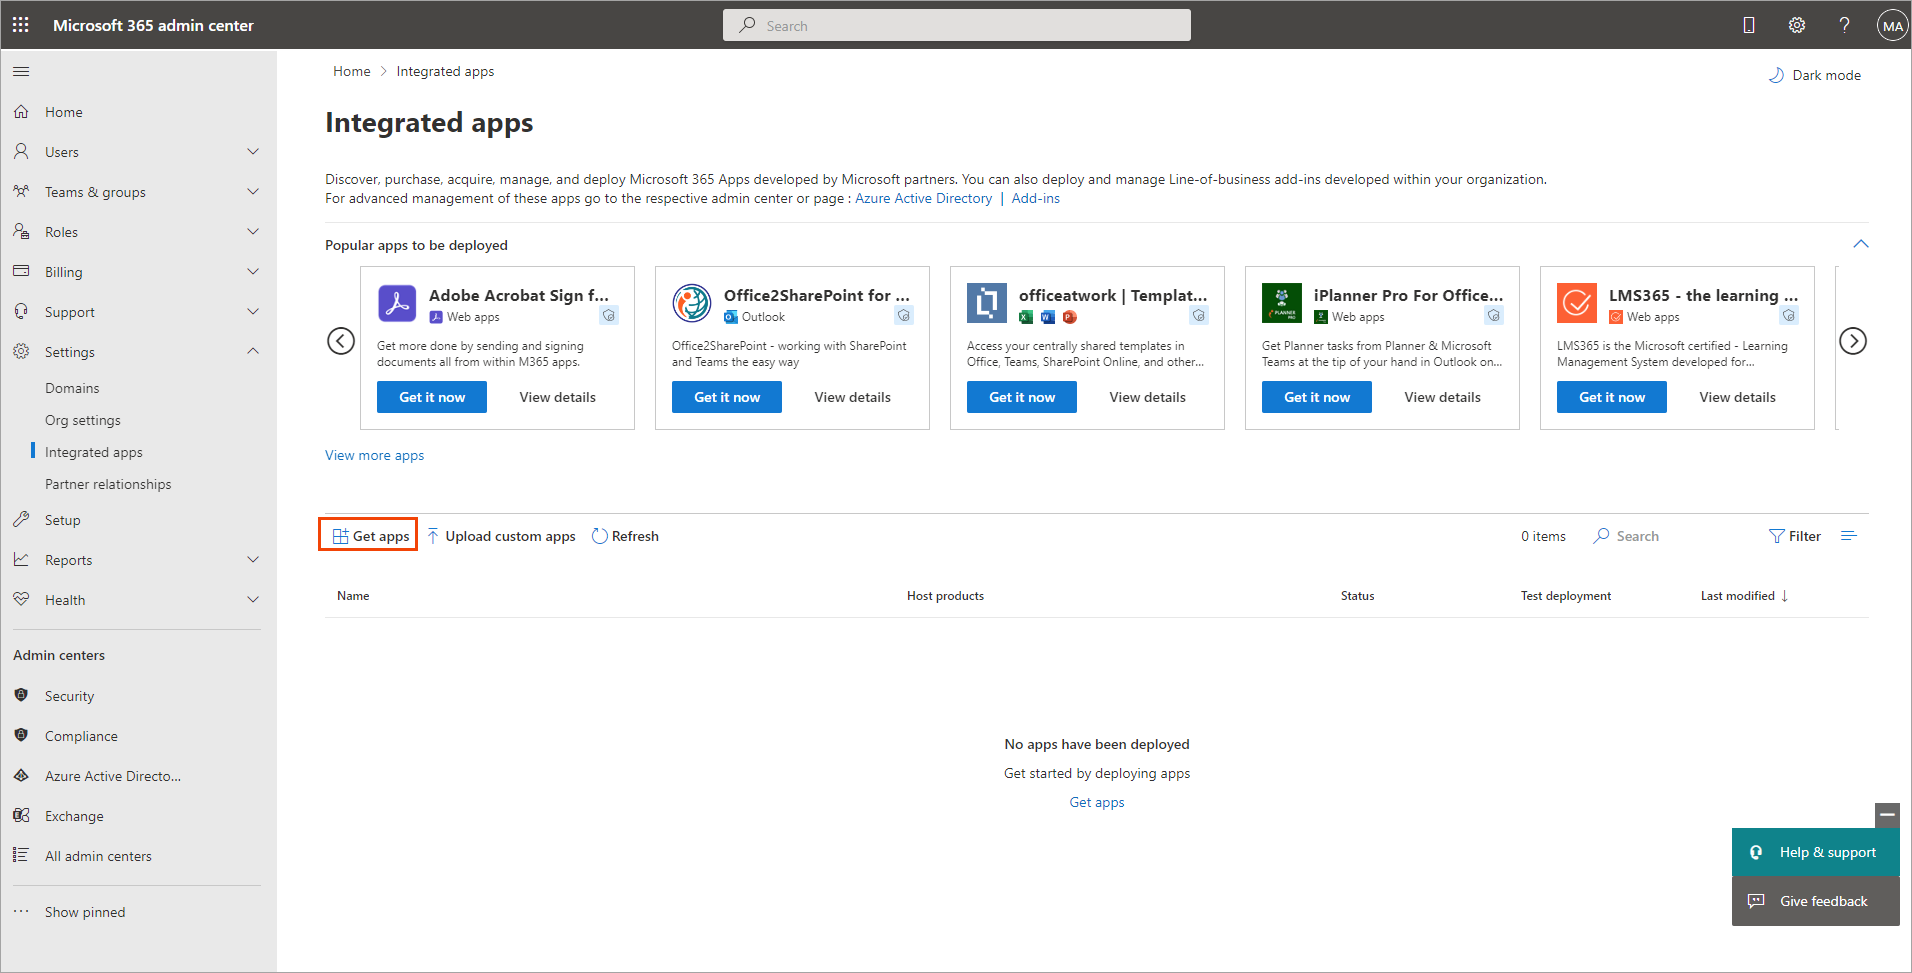
Select Get apps to open the App Store.
The Microsoft 365 App store window is displayed.
- In the search box, type Exclaimer for Outlook.
- Once the app loads, select Get it now.
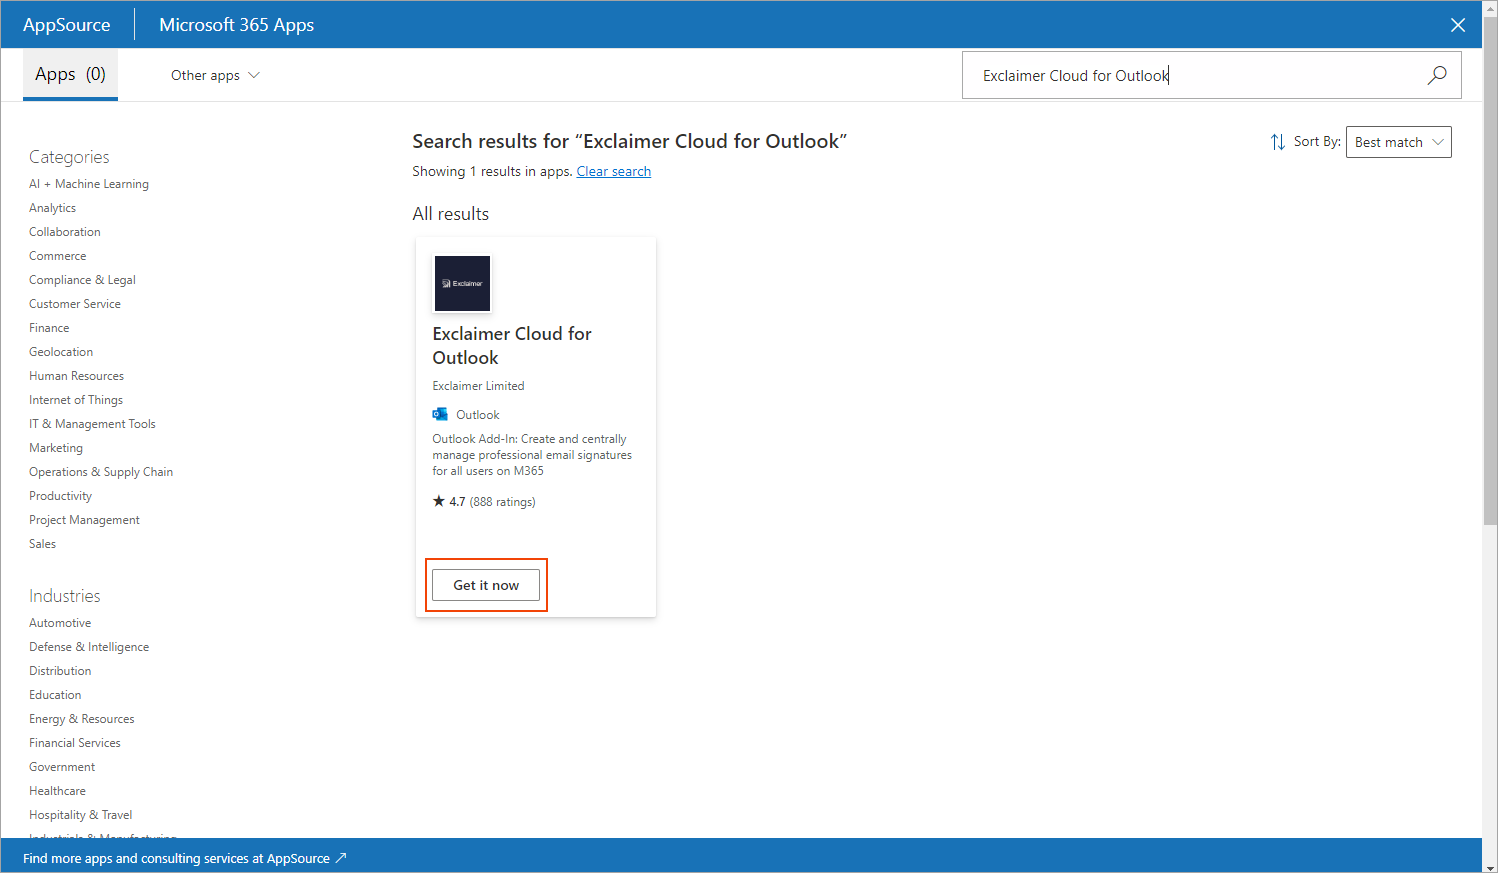
Select Get it now.
The Confirm to continue window is displayed.
Select Get it now to start the deployment process.
- Select Get it now.
The deployment process of the Exclaimer for Outlook app starts.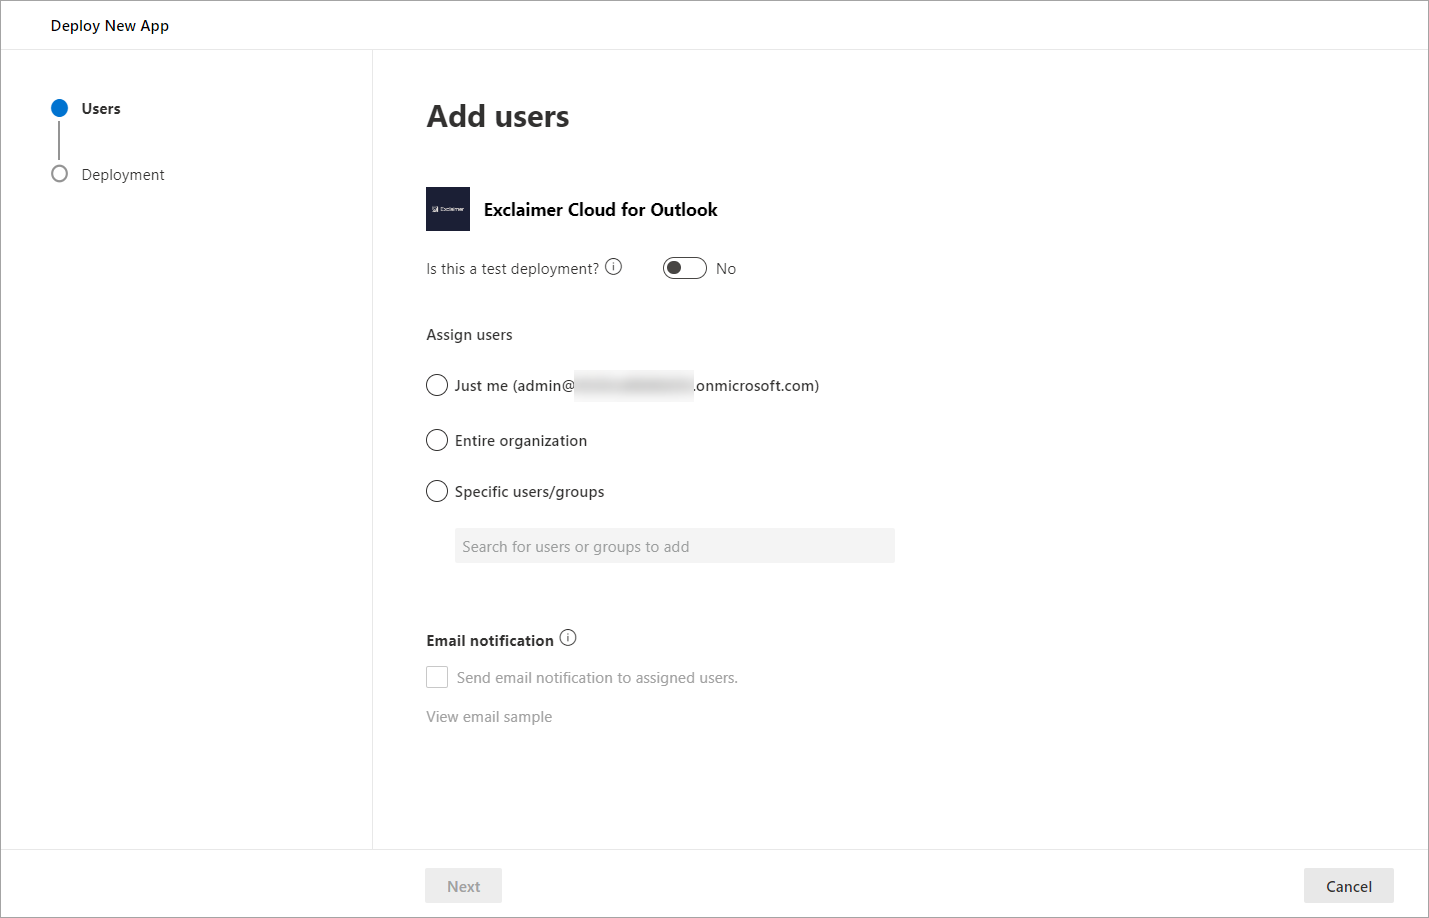
Deployment of the Exclaimer for Outlook app.
-
As required, select which assigned users should have access to the Exclaimer Outlook Add-in:
- Just me: Select to assign only yourself, in your organization, access to the Exclaimer Outlook Add-in.
- Entire organization: Select to assign everyone in your organization access to the Exclaimer Outlook Add-in.
- Specific users/groups: Select to assign specific users or groups within your organization access to the Exclaimer Outlook Add-in. Enter a specific user or group name; this is a predictive text field, so it will display any matching users or groups as you start to type.NOTE: You cannot use nested groups.Here, we have selected the Entire organization option.
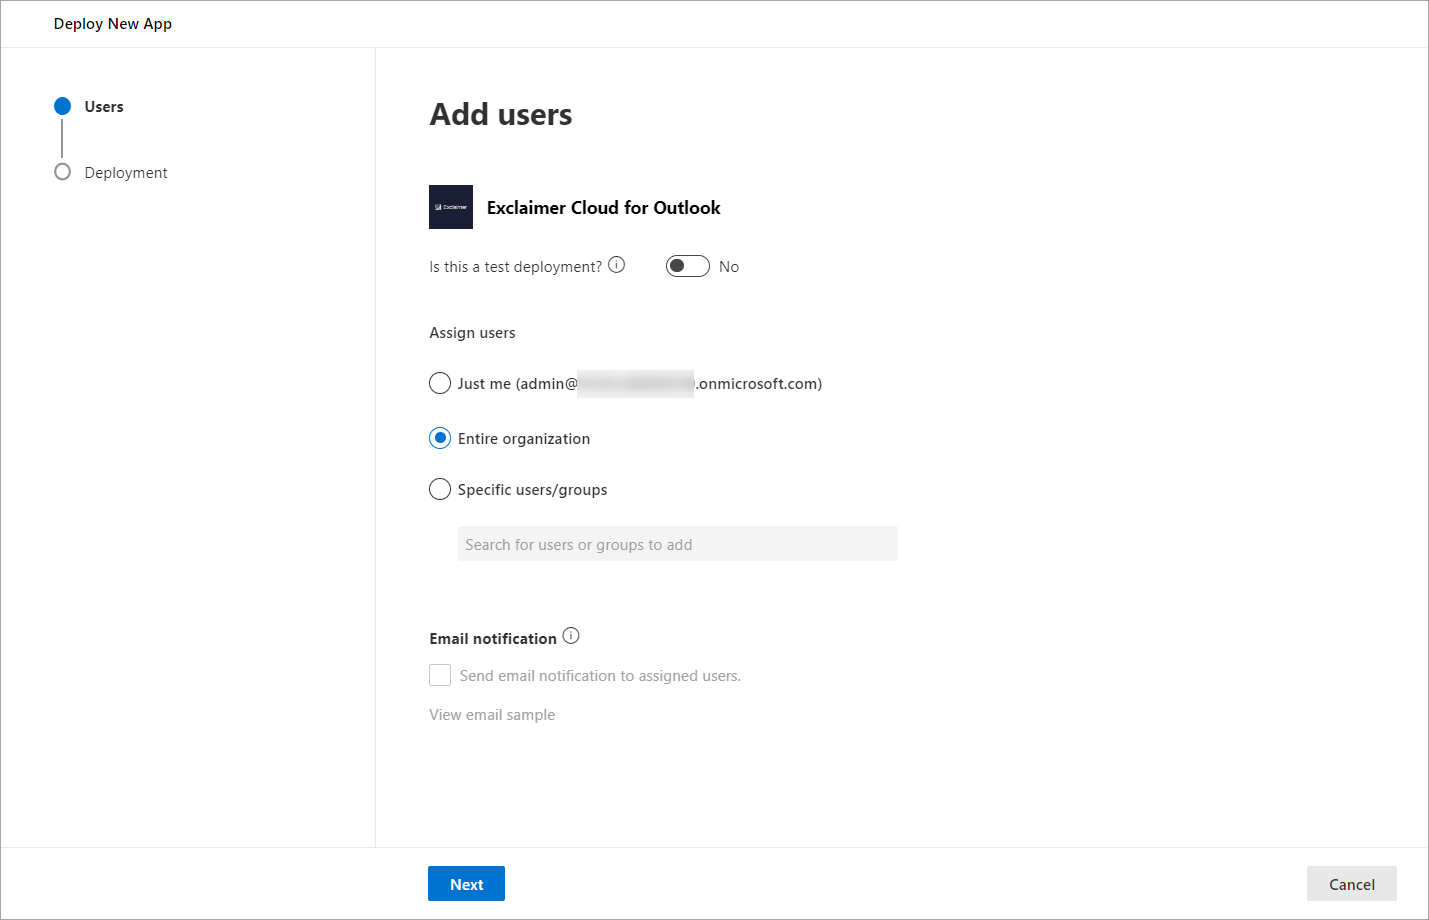
Select which assigned users should have access to the Exclaimer Outlook Add-in. In this example, the Entire organization option is selected.
- Select Next to proceed.
- Select Accept permissions for the new app.

Select Accept permissions.
- You are prompted to sign in to Microsoft 365 as a Global Administrator (be sure that you are entering the credentials for the correct Microsoft 365 tenant).
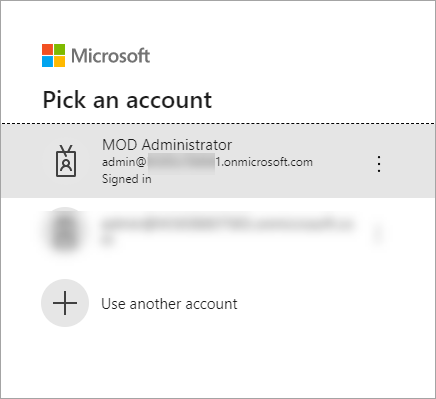
Sign in to your Microsoft 365 account as a Global Administrator.
Once signed in, you are prompted to accept a permissions request for Exclaimer - Signatures for Outlook. This will allow the Add-in to verify that the user is authorized to download the signatures.
- Select Accept.
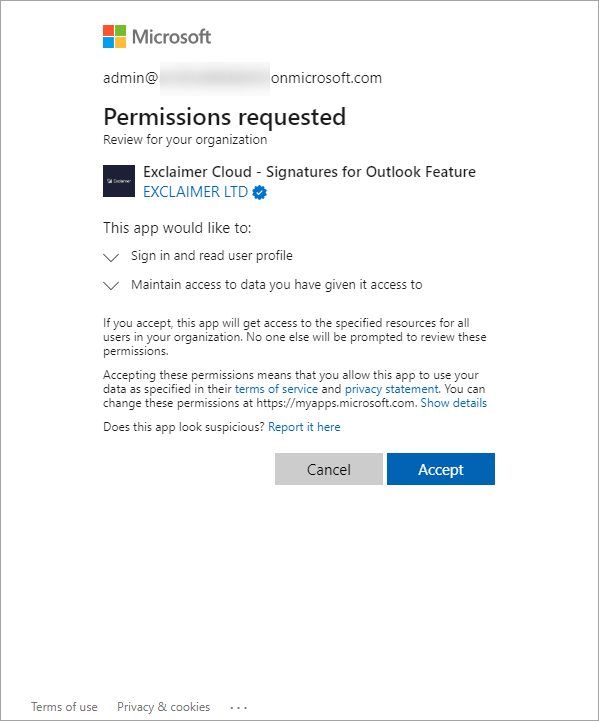
Select Accept.
- Once you accept the permissions, select Next to proceed.
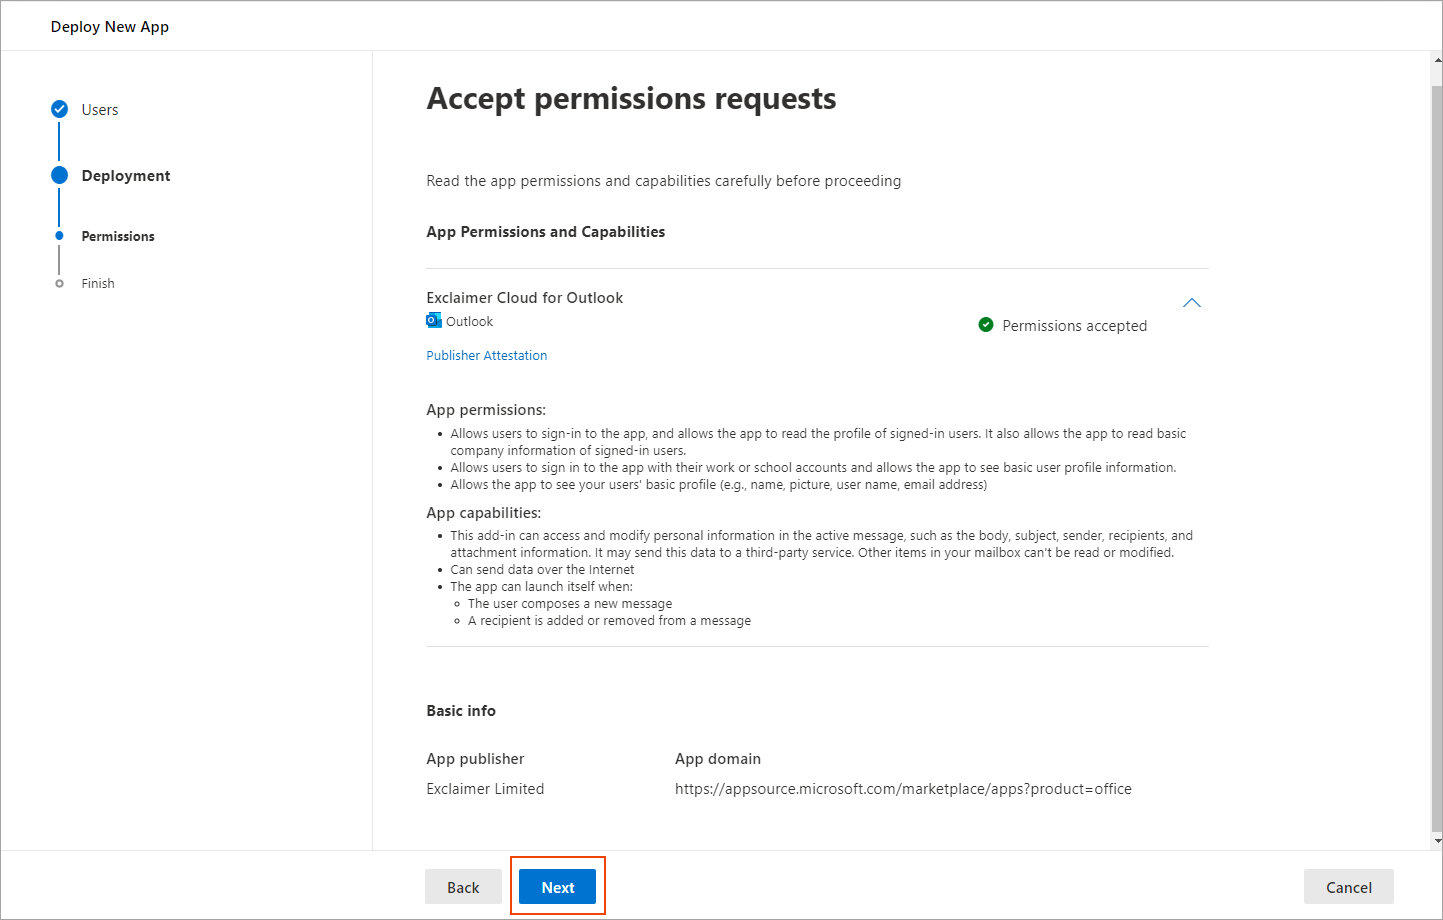
Select Next to review the deployment settings.
- Review the deployment settings.
- Once you have reviewed and are happy with the options selected, select Finish deployment to complete the deployment process.
The Deployment in process... is displayed.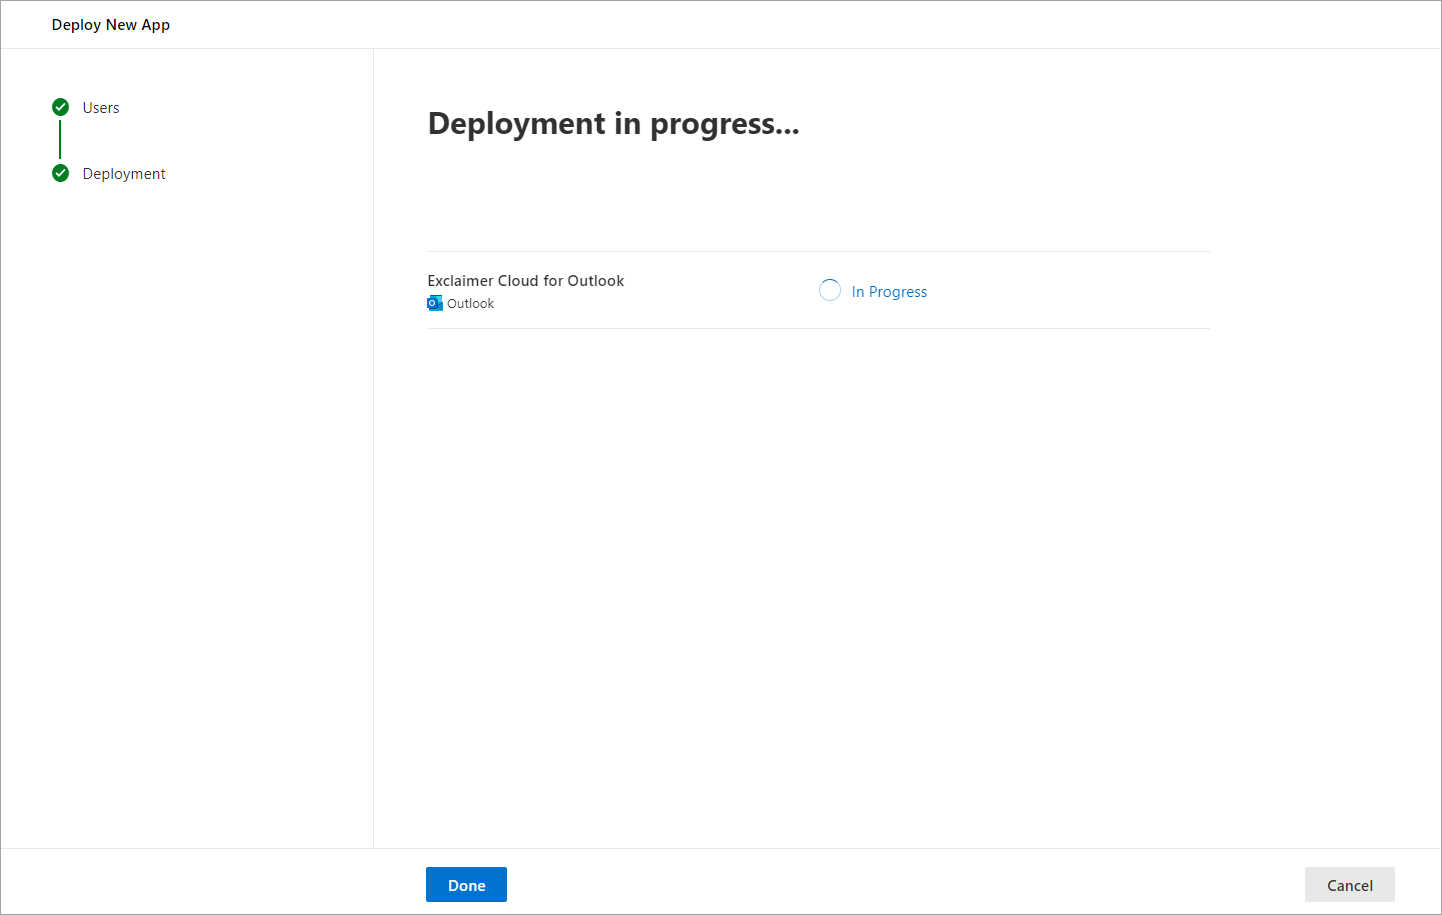
Deployment in progress.
Once the deployment is complete, you will see a screen similar to this.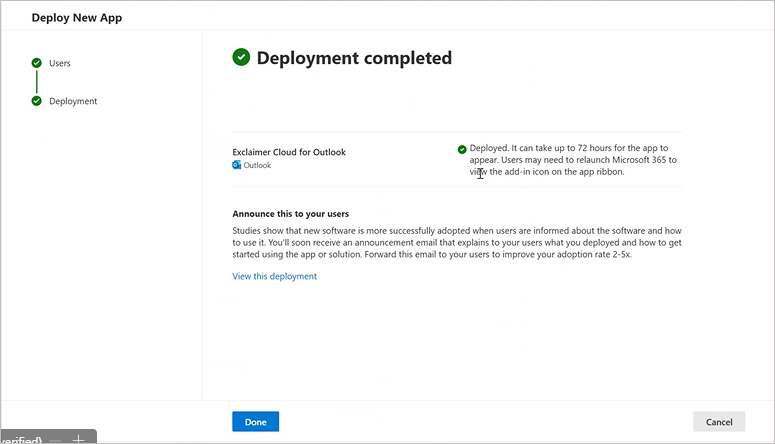
Deployment complete.
-
Select Done to proceed.
The Integrated apps screen is displayed, listing the Exclaimer for Outlook app.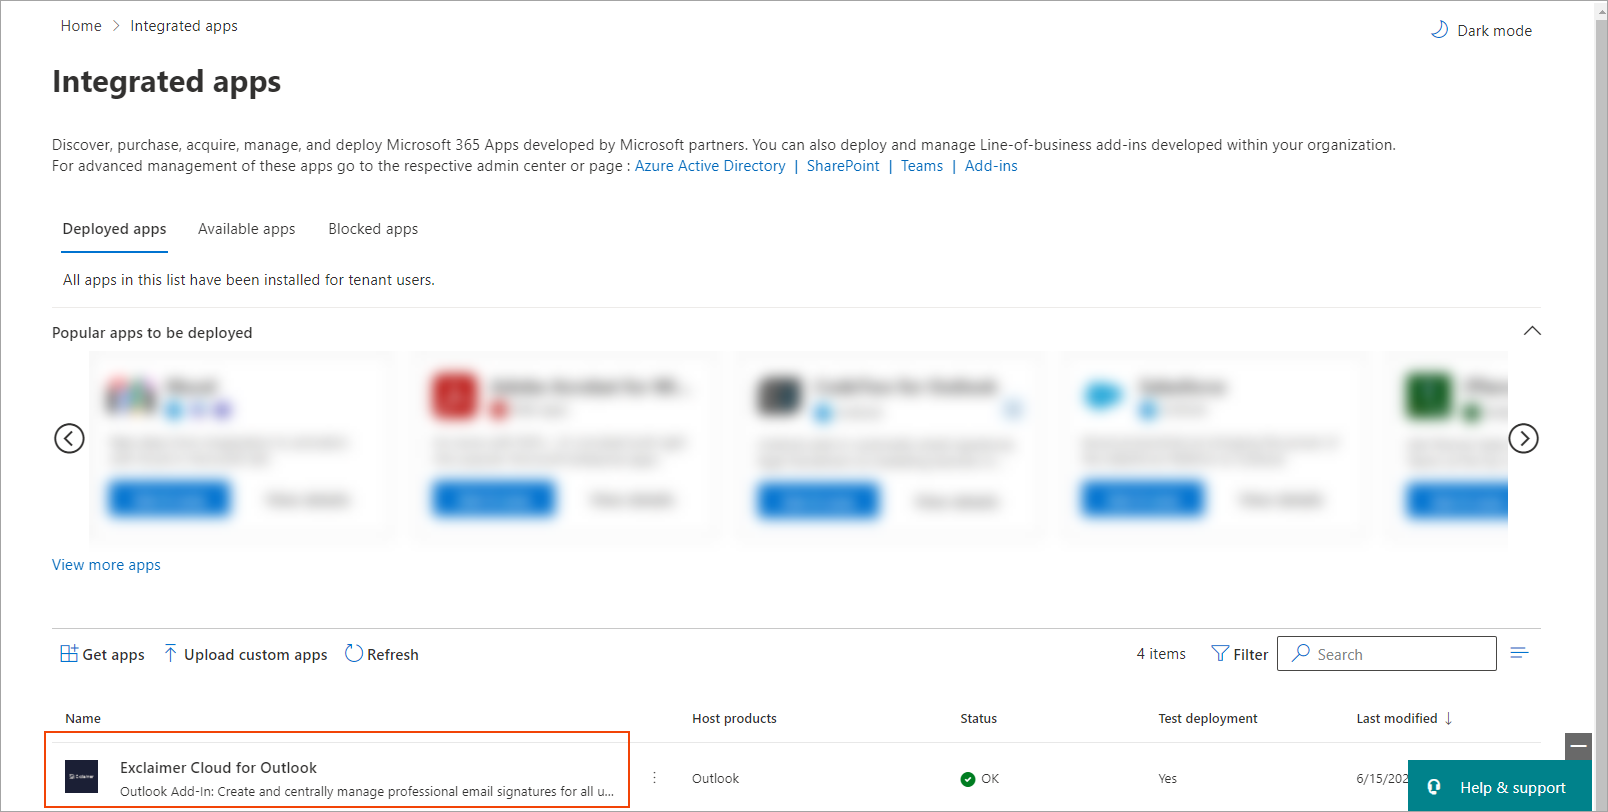
The Integrated apps screen with the Exclaimer for Outlook app.NOTE: It may take some time for the Exclaimer for Outlook app to appear within the Integrated Apps list. Select Refresh to refresh the list. - Select the Exclaimer for Outlook app. A description pane is displayed on the right-hand side, listing all the options selected.

Select the Exclaimer for Outlook app. A description pane is displayed.
- Select Edit users if you wish to edit the assigned users.
- Select Remove app to remove the Exclaimer for Outlook Add-in app.
Once the Exclaimer Outlook Add-in has been successfully deployed, users can start to execute Client-Side email signatures. Users can find the Exclaimer icon at the bottom toolbar or as an option within the ellipsis in their Outlook Web App.
For more information, see how you can use the Exclaimer Outlook Add-in.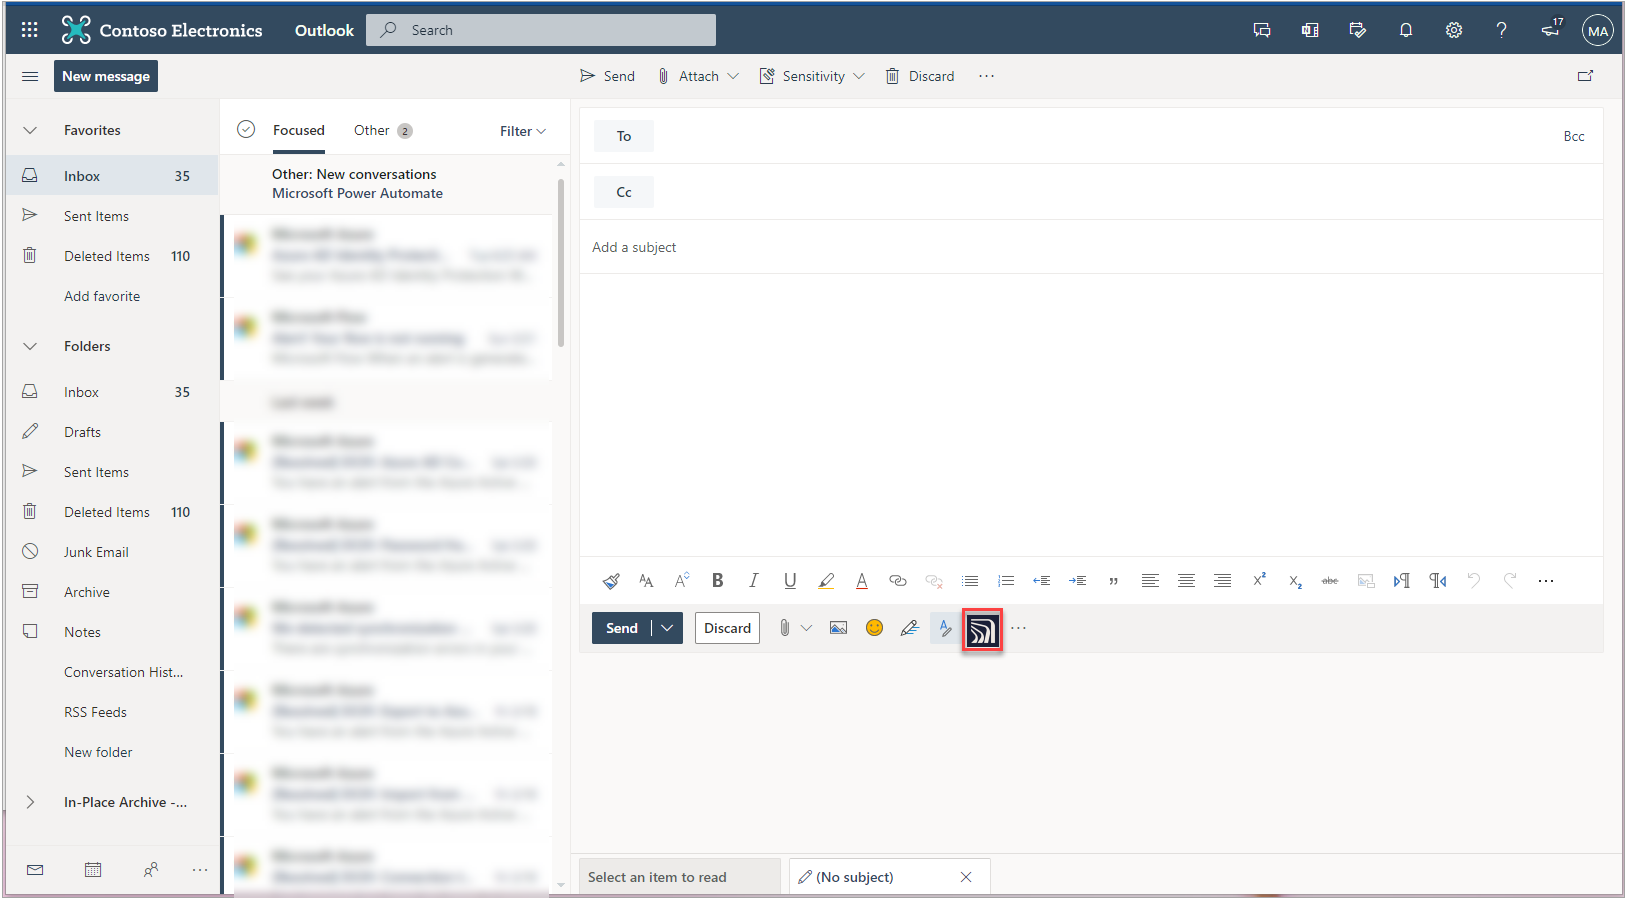
Example of the Exclaimer Add-in icon in Outlook Web.
WARNING! There have been cases where Add-in deployment and group creation failed despite Global Administrator permissions being in place. Microsoft has advised that custom app Add-ins are a known issue.
Workaround:
- Sign in to the Exchange Online admin portal as an Administrator.
- From the menu sidebar, select Roles, then select Organization Management.
-
Make sure Org Custom Apps and Org Marketplace Apps are enabled.
Allow a few hours for permission changes to propagate before retrying the deployment.