
Scenario
To use the Exchange On-Premises feature, you need to install the Exclaimer Exchange Transport Agent.
Resolution
Pre-requisites:
Before starting the setup, make sure you have the following:
-
System requirements for the Exclaimer Exchange Transport Agent
- Windows Server 2016 and above
- Exchange 2016 CU18 and above
- PowerShell version 4 or above
- .Net Framework 4.7.2 or above -
A domain administrator account for the on-premise domain
To have the required permission level to install the Exclaimer Exchange Transport Agent, you will need to be signed in with an account that is a domain administrator.
To download the Exclaimer Exchange Transport Agent:
- From the header bar, select the cogwheel icon, then select Exchange On-Premises.
- Select Download to download the Agent.
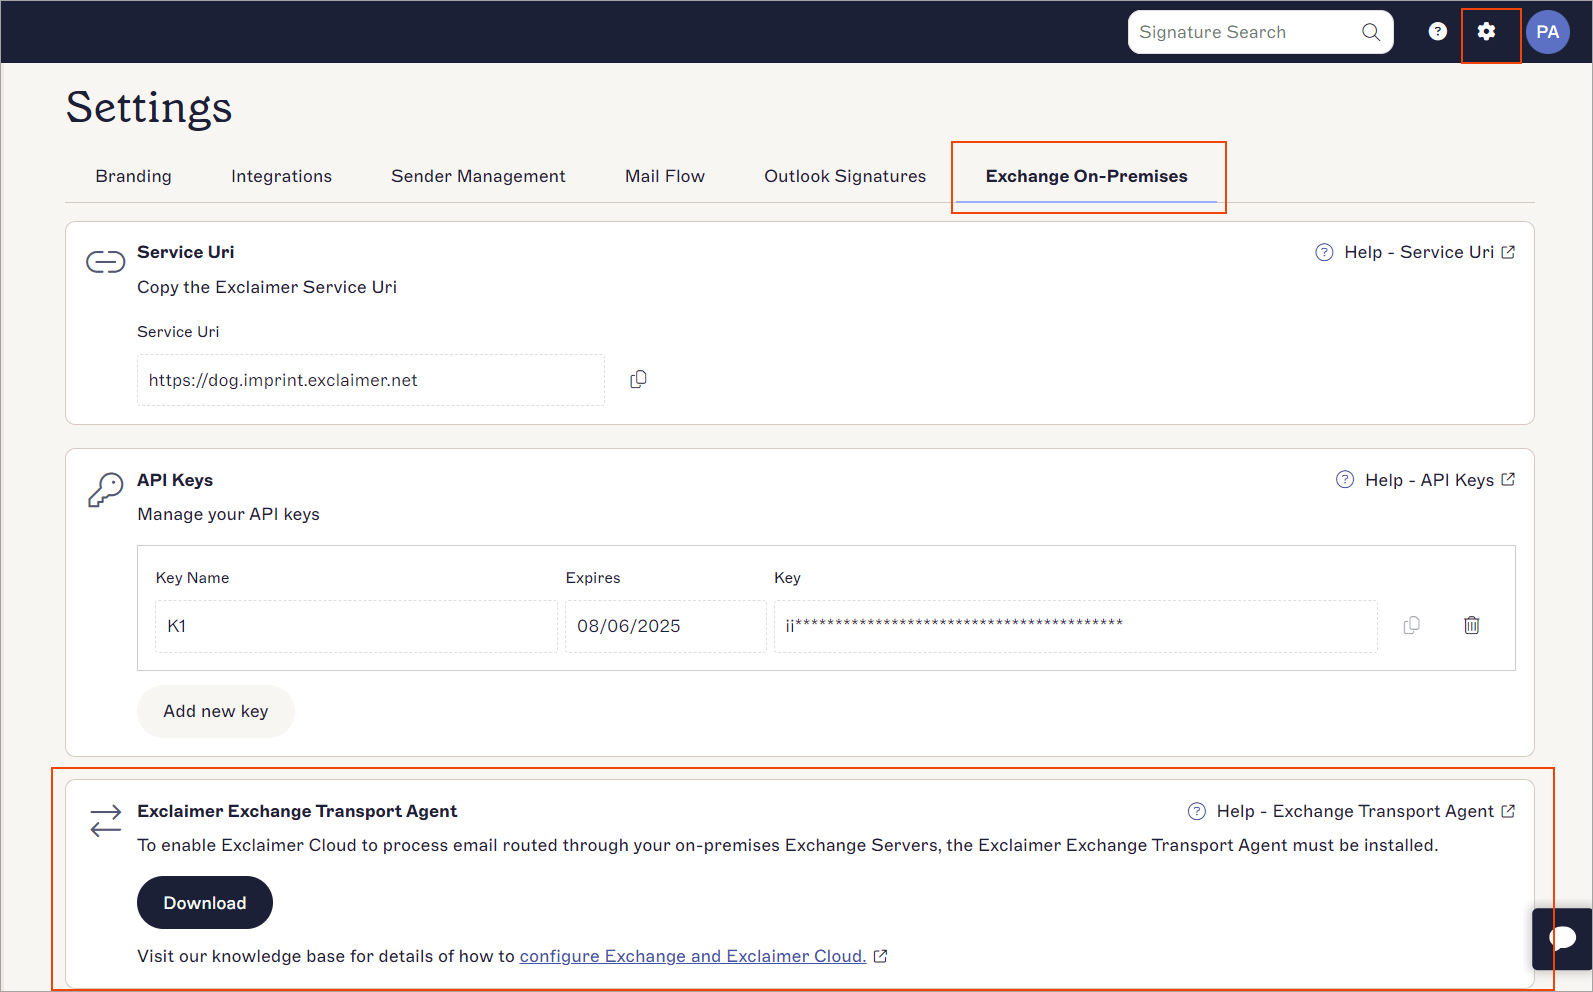
Select Download to download the Agent.
For more details, see Exclaimer Exchange Transport Agent.
To install the Exclaimer Exchange Transport Agent on Windows Server Core:
- Run the PowerShell.
-
Navigate to the folder path where the file has been downloaded.
For example: cd 'C:\Users\"username"\Downloads'NOTE: In most cases, Windows stores the Downloads folder under your user profile. To navigate to the Downloads folder quickly, type in the following PowerShell command:
cd $env:userprofile\downloads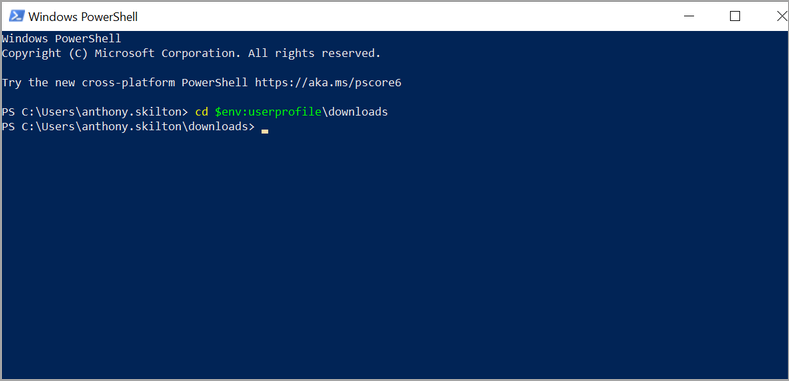 Windows PowerShell
Enter the following command to run the installer:
msiexec /i "full path to MSI"
For example:
msiexec /i “C:\Temp\ExclaimerCloudForExchange.msi”
- Follow the steps on-screen to complete the installation.
Additional Install optionsAs it is a Microsoft Installer (MSI), there are a number of values you can pass to the MSI when installing it via msiexec to allow for an installation that requires little graphical interaction.
The different parameters you can pass in the MSI are listed below with examples:
Name Required Description IMPRINTFRONTEND_URL Yes The URL is given in the Portal - this is the address of the imprint server your emails will pass through in order to receive a signature.
Example:
msiexec /i “C:\Temp\ExclaimerCloudForExchange.msi” IMPRINTFRONTEND_URL="https://us.imprint.exclaimer.net" API_KEY="*****************************************************" /q
For more information, see Service Uri in Exclaimer Signatures for Exchange.API_KEY Yes The API Key you created within the Portal - this needs to be validated in order to route an email to the Exclaimer service.
For more information, including how to add and remove API keys, see the API Keys section in Exclaimer Signatures for Exchange.INSTALLFOLDER No The location where the routing agent will be installed.
We recommend it to be on the root drive of the server, that is C:\Program Files\ACCEPTED_SENDERS No This is a comma-separated array of SMTP email addresses. It is used to limit the routing agent to a specific list of sender addresses that will be processed. ACCEPTED_GROUPS No This is a comma-separated array of distribution group display names. It is used to limit the routing agent to a specific list of distribution groups whose members will be processed. NOTE: Once you have installed the Exclaimer Exchange Transport Agent, you can modify the settings defined during installation using PowerShell.
For more information, please see: How to manage Exclaimer Signatures for Exchange settings using PowerShell?Next Steps: Once you have completed your configuration, you can start creating your first signature.