
Scenario
Within your organization, emails are sent from on-premises mailboxes and you would like these emails to have Server-Side signatures applied.
Resolution
To apply Server-Side signatures to emails sent from on-premises mailboxes, configure the Exchange On-Premises feature for Exclaimer.
Pre-requisites:
Before starting with the configuration process, make sure you have the following:
-
An Entra ID subscription
A Microsoft Entra ID (formerly Azure Active Directory) subscription is required for Exclaimer to connect to and synchronize data. Subscriptions are automatically provided with most Microsoft 365 plans; however, you can sign up for free if you do not have an Entra subscription. See How to configure and synchronize Entra ID for use with Exchange On-Premises.
-
Microsoft Entra Connect configured and synchronizing
To ensure all the user data is automatically synchronized between the on-premise AD and Entra, it is necessary to have Microsoft Entra Connect configured and synchronizing. See how you can set up Microsoft Entra Connect to use the tenant.
-
Credentials for a Global Administrator account within your Microsoft subscription
During the setup, you will be prompted to sign in with an account to authenticate various Azure apps. The level of permissions required for the account used during setup is given by the Global Administrator admin role.
If the account is configured to require multi-factor authentication, then this may also be required during the setup process.
-
System requirements for the Exclaimer Exchange Transport Agent
- Windows Server 2016 and above
- Exchange 2016 CU18 and above
- Powershell version 4 or above
- .Net Framework 4.7.2 or above
-
A domain administrator account for the on-premise domain
To have the required permission level to install the Exclaimer Exchange Transport Agent, you will need to be signed in with an account that is a domain administrator.
Select an option below to view the related instructions:
To access the Exchange On-Premises onboarding options:
You can access the Exchange On-Premises onboarding options in either of the following ways:
Option 1:
-
Navigate to:
https://<region code>.signatures.exclaimer.net/configure/onboarding -
Follow the steps on screen.
To check your region code:
NOTE: You need to be an Exclaimer Admin to view the subscription management page.
1. Log in to the Exclaimer portal (portal.exclaimer.com) using the email address provided when you created the subscription.
2. Under Your Subscriptions, select Manage...
NOTE: If you cannot see the Manage option next to the required subscription, then you are not the subscription administrator.
3. Under Subscription details, locate the Server to view your region.
Region codes (Microsoft 365):
AU Australia CA Canada DE Germany EU Europe UAE UAE UK United Kingdom US United States
Region codes (Google Workspace):
EU Europe US United States
Option 2:
- Submit a request with the Exclaimer Support team to enable you to access the legacy onboarding experience.
- When you are granted access, log into your Exclaimer account and launch your subscription.
- From the menu sidebar, select Connect.
Configuring Exchange On-Premises
To configure Exchange On-Premises when following Option 2:
To authorize Exclaimer to read user data from your on premise directory:
- Select Connect.
- Sign in to Microsoft 365 as a Global Administrator.
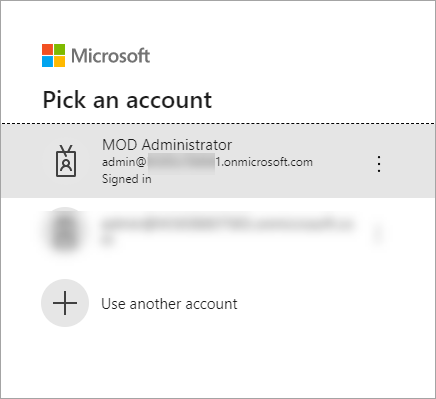
Sign in to Microsoft 365 as a Global Administrator.
- Once signed in, you are prompted to accept a permissions request for the Exclaimer to read your Azure AD data. Select Accept.
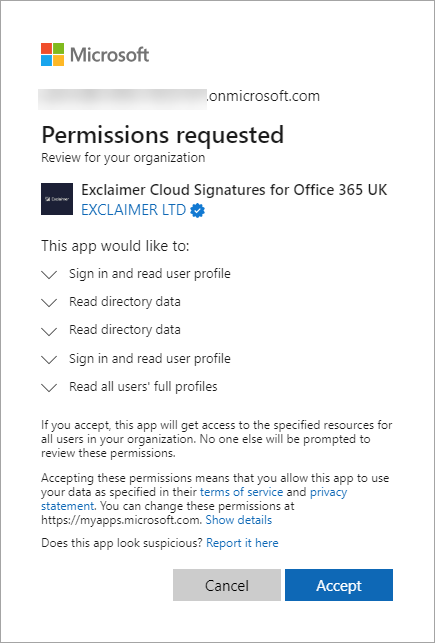
Accept the permissions request.
The Authorization Successful message is displayed.
- Select Need to support Exchange On-Premise?
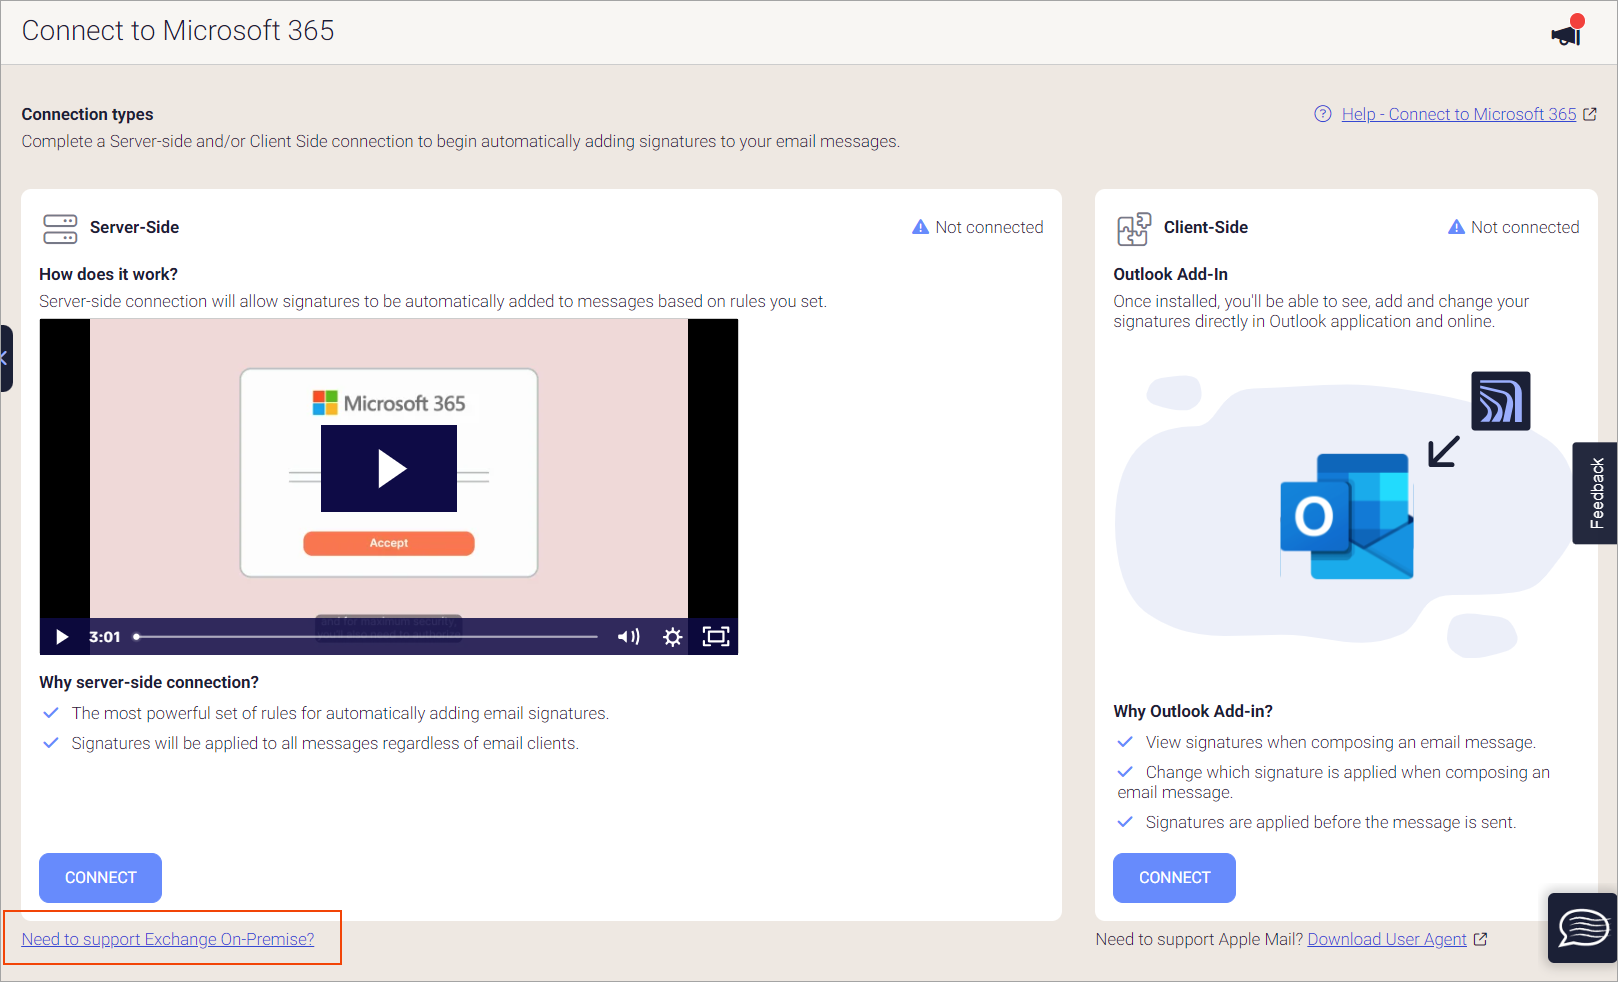
Select Need to support Exchange On-Premise?
- From the Exchange On-Premises section, select Enable support.
-
Create an API key and copy the value of the key for use later on.
- Download the Exclaimer Exchange Transport Agent.
-
Run the Exclaimer Exchange Transport Agent installation on every on-premises Exchange server with the Mailbox role in your environment.
See the installation instructions for both Server Core and Desktop Experience versions of Windows Server:Install Exclaimer Exchange Transport Agent (on Windows Server Desktop Experience)
Install Exclaimer Exchange Transport Agent (on Windows Server Core)
To manage the settings for the Exclaimer Exchange Transport Agent:
Use the Powershell commands described in How to manage settings for the Exclaimer Exchange Transport Agent using Powershell.