
Scenario
You are designing a signature in Exclaimer's Signature Designer and you wish to add more separation between elements, such as lines on edges or extra space, or adjust the line spacing in your text.
Resolution
To add space between elements, you can add a border to any side of an element block to create visual sections, and use padding to add more space at an edge. Both borders and padding are element properties, found in the Properties pane. You can add both or either property to your elements.
To add space to lines of text within an element, group, or table, you can adjust the Line Height element property, found in the Text section of the Properties pane.
An example of a signature with a border on a single edge with padding on both surrounding elements to separate the two columns of details.
Select an option below to view the related instructions:
A border is a colored line that appears at the edge(s) of an element. You can use Border properties to set a border's line style, thickness, and color.
To add a border:
- Open your signature in the Signature Designer.
-
Select an element, group, or table cell using the colored borders around them on the canvas. For more information in how the colored borders work to section items and groups, see Colored borders, grouping, and inherit properties in the Signature Designer.
NOTE: Your selection is shown by a highlight. The border will be applied to the area selected. This means that if you select a group of elements, the border will appear around the group, not around each element within. - In the Properties pane, expand the Border section.
Select your element or group of elements and open the Border properties.
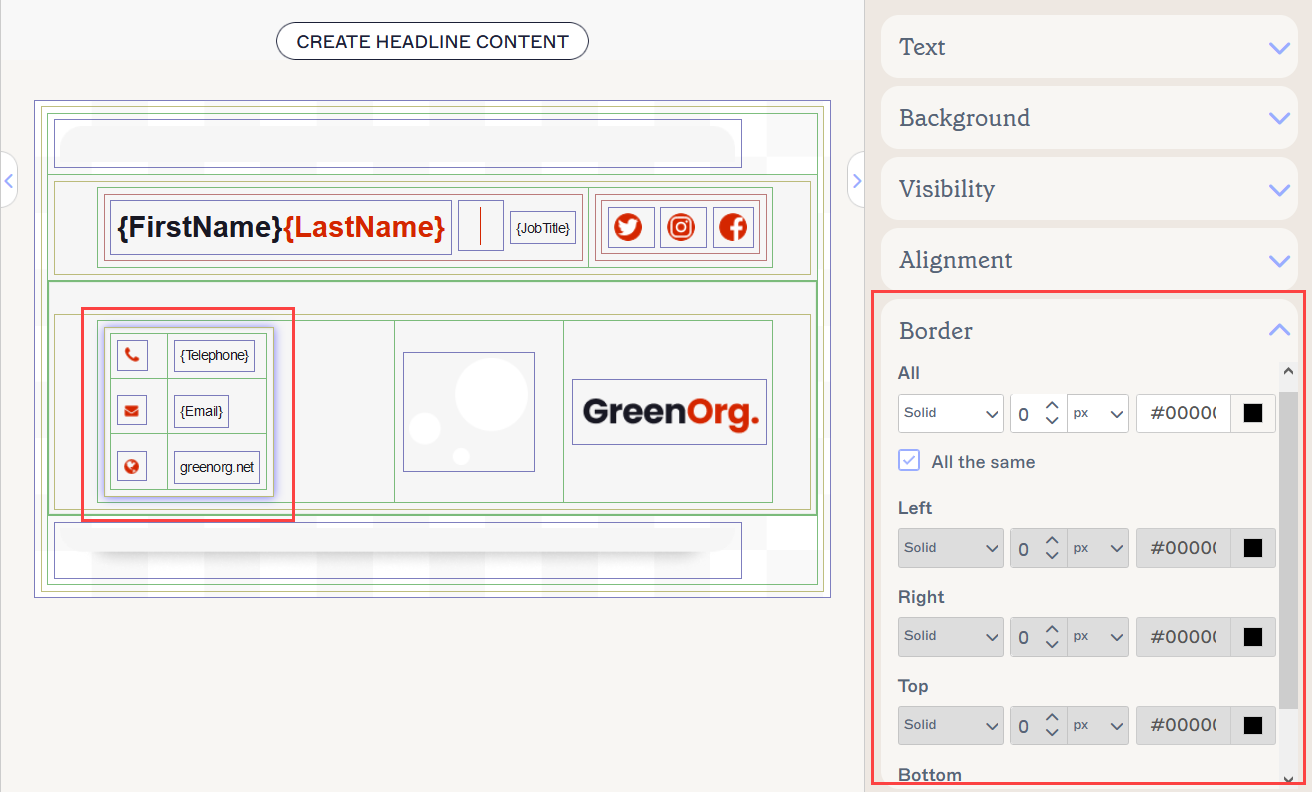
- Choose an area to apply the border. All applies the border to all four sides of the element equally. Deselect the All the same checkbox to enable the entry fields for individual sides: Left, Right, Top, and Bottom of the element.
- Add your border by entering a value in the number entry field, or using the arrows to increase or decrease the set value. Your border appears on the side(s) of the element.
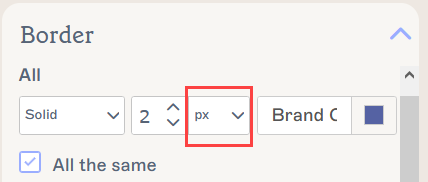
- From the px/pt drop-down, choose whether to set your border width in pixels (px) or points (pt). For more information on pixels and points, see Pixel to Point conversions.
Choose whether to set your border width in pixel or points. This example is for All edges - uncheck the All the same box to enter individual edge values.
- [Optional] Select a line style from the first drop-down to change the appearance of your border.
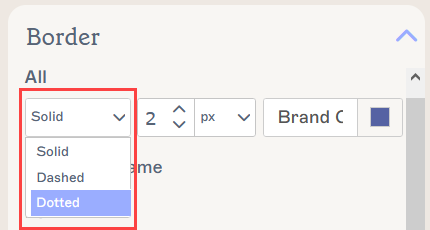
Select a line style. The default style is Solid.
- [Optional] Enter a hexcode value or select the colored square to use the color picker in the final entry field to set a color for your border. Brand Kit colors are found by selecting the colored square.
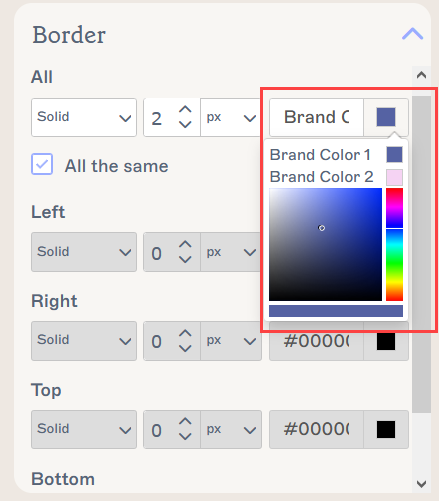
Enter a color code in the entry field or select the colored square to access Brand Kit colors and the gradient picker.
- Review your border in the Preview pane when formatting for an accurate representation of how your template will look in your emails.

An example of a 2 pixel solid border in a custom color applied to a group of Personal {Field}s. The formatting is shown on the canvas and the Preview pane shows how this affects the look of the signature.
- Select Save Changes to save your template.
Padding adds empty space at the edge(s) of an element. The element edge remains the same, and the element content is 'pushed across' by the padding.
To add padding:
- Open your signature in the Signature Designer.
-
Select an element, group, or table cell using the colored borders around them on the canvas. For more information in how the colored borders work to section items and groups, see Colored borders, grouping, and inherit properties in the Signature Designer.
NOTE: Your selection is shown by a highlight. The padding space will be applied to the area selected. This means that if you select a group of elements, the padding will appear around the group, not around each element within. - In the Properties pane, expand the Padding section.
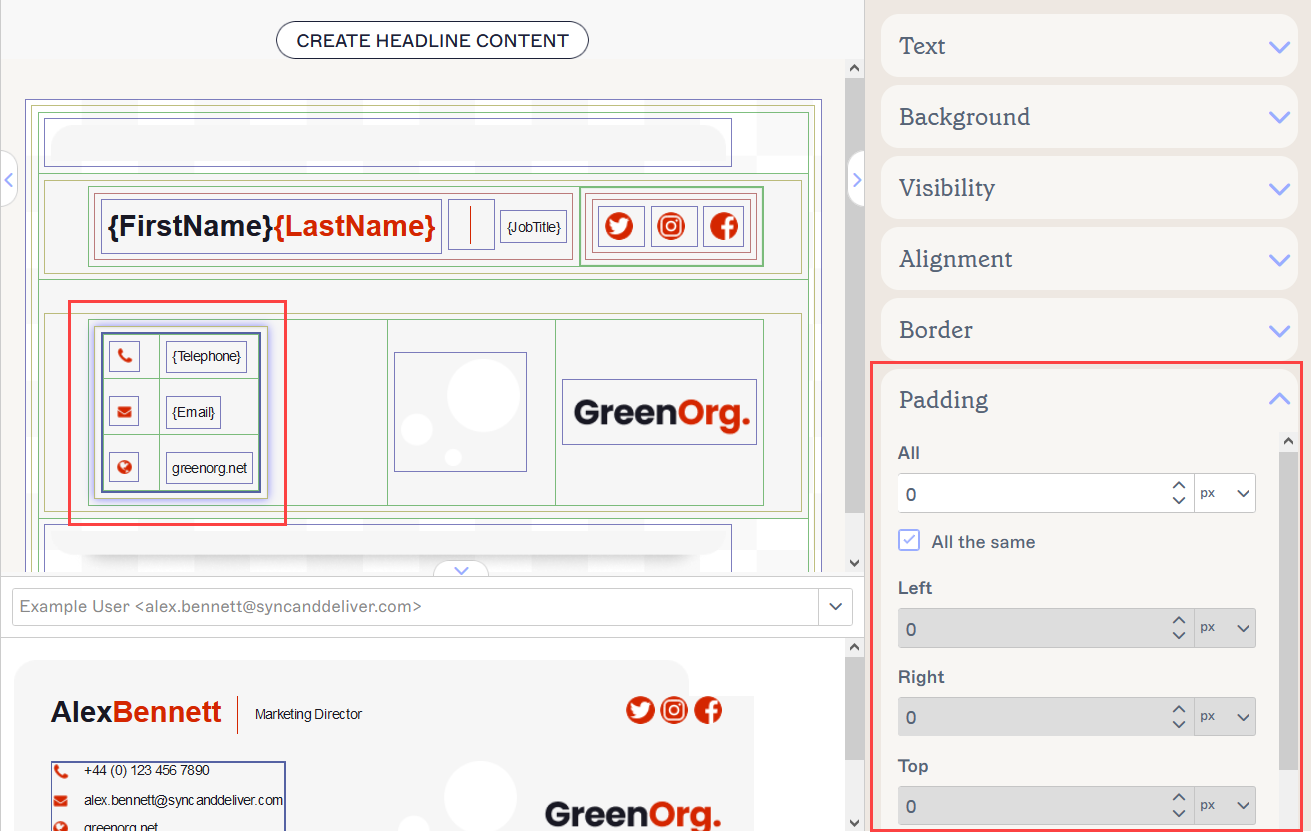
Select your element or group of elements and open the Padding properties.
- Choose an area to apply the padding. All applies the padding to all four sides of the element equally. Deselect the All the same checkbox to enable the entry fields for individual sides: Left, Right, Top, and Bottom of the element.
- Add your padding by entering a value in the number entry field, or using the arrows to increase or decrease the set value. Your padding appears on the side(s) of the element.
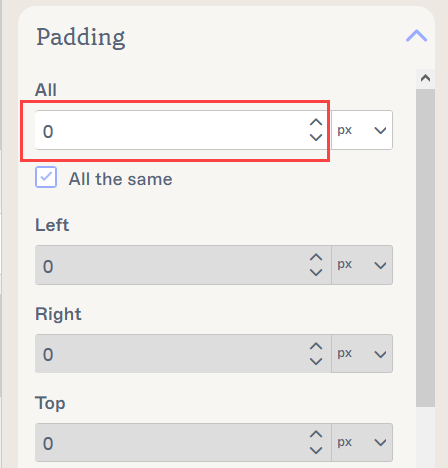
Enter a number or use the arrows to increase or decrease the value. This example is for All edges - uncheck the All the same box to enter individual edge values.
- From the px/pt drop-down, choose whether to set your padding width in pixels (px) or points (pt). For more information on pixels and points, see Pixel to Point conversions.
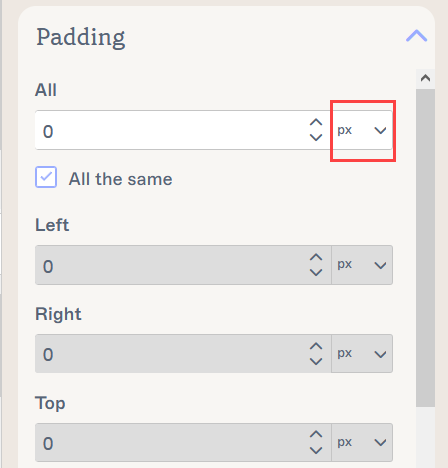
Choose whether to set your Padding width in pixels or points.
- Review your padding in the Preview pane when formatting for an accurate representation of how your template will look in your emails.
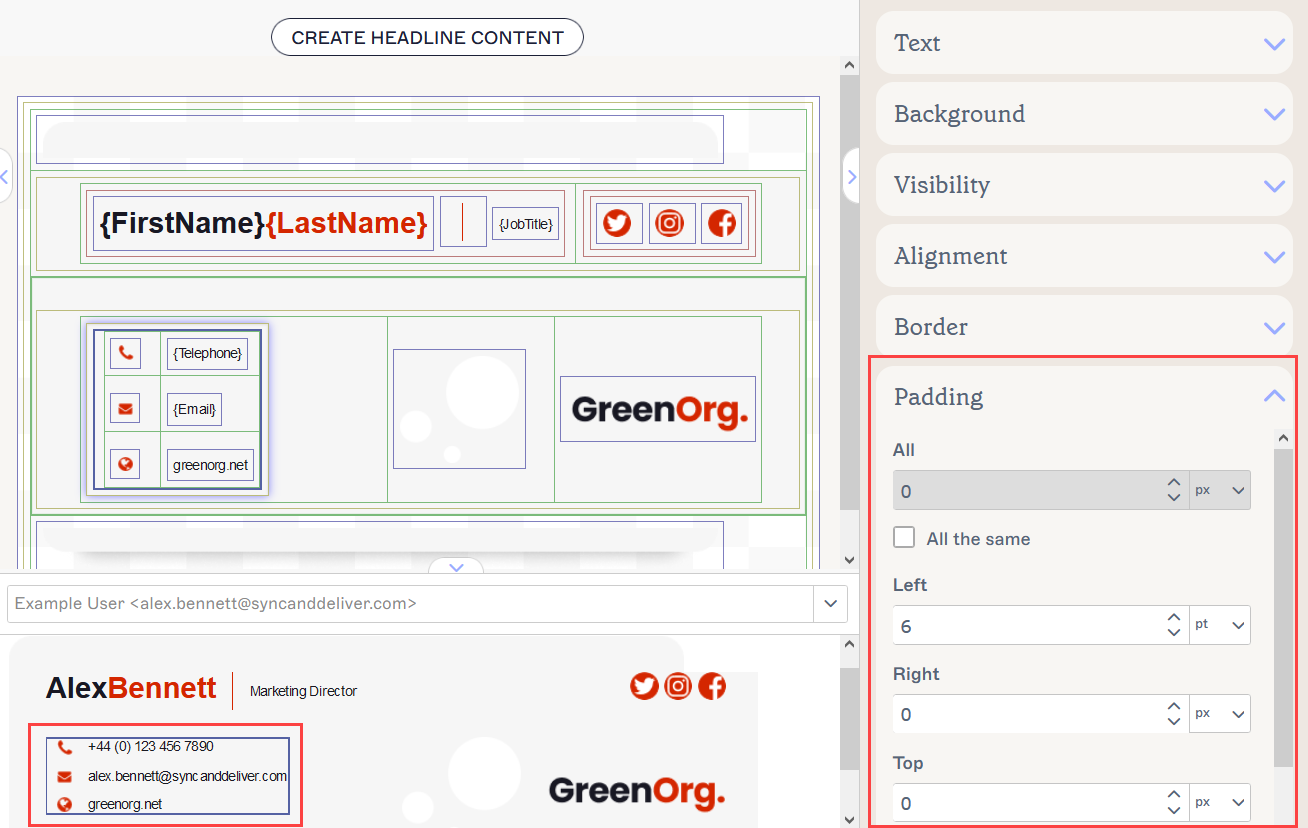
An example of 15 pixels of padding on the right edge applied to a group of Personal {Field}s. The formatting is shown on the canvas and the Preview pane shows how this affects the look of the signature.
- Select Save Changes to save your template.
To change the line height of text:
- Open your signature in the Signature Designer.
-
Select an element, group, or table cell using the colored borders around them on the canvas. For more information in how the colored borders work to section items and groups, see Colored borders, grouping, and inherit properties in the Signature Designer.
NOTE: Your selection is shown by a highlight. The line height will be applied to all text within the area selected. - In the Properties pane, expand the Text section.
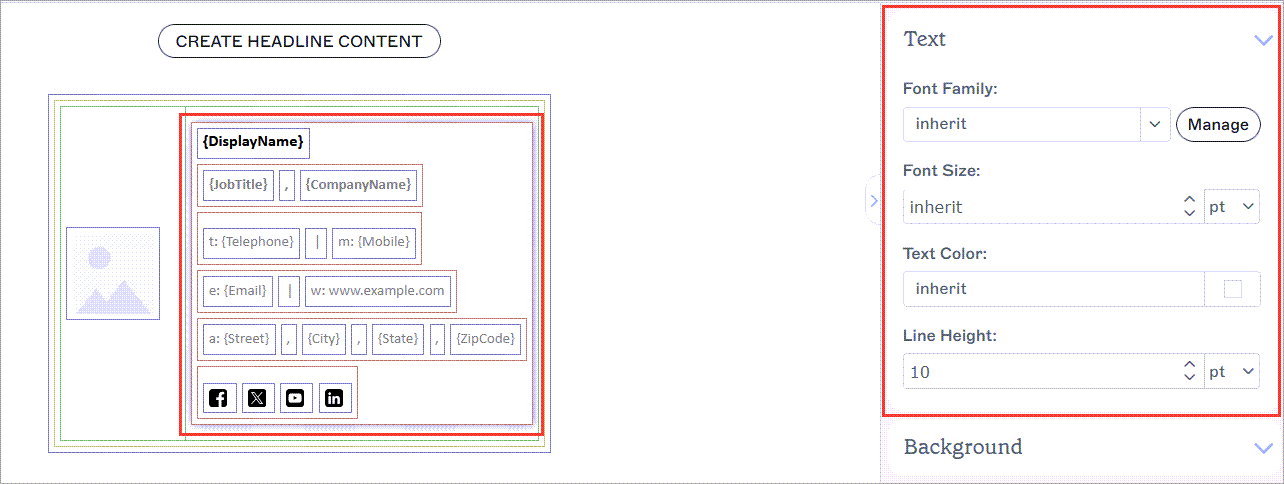
Select your element or group of elements and expand the Text Properties. The contents of this section will differ depending on what you have selected.
-
In the Line Height entry field, select or enter a value to set the line height.
NOTE: The default Line Height is inherit - this means that the line height value is inherited from the canvas properties or a parent element if inside a group. For more information, see Colored borders, grouping, and inherit properties in the Signature Designer. If working with the whole canvas, this value reads normal.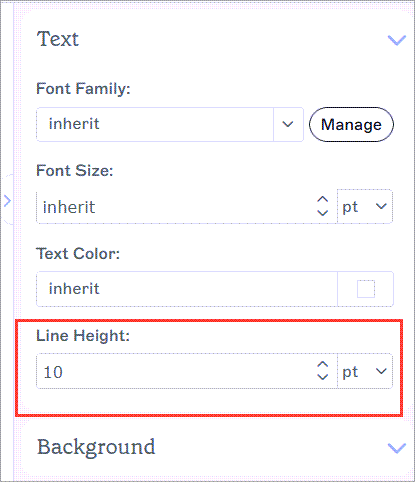
Enter a value or use the arrows to increase/decrease the number.
- From the px/pt drop-down, choose whether to set your padding width in pixels (px) or points (pt). For more information on pixels and points, see Pixel to Point conversions.
- Review your text in the Preview pane when formatting for an accurate representation of how your template will look in your emails.
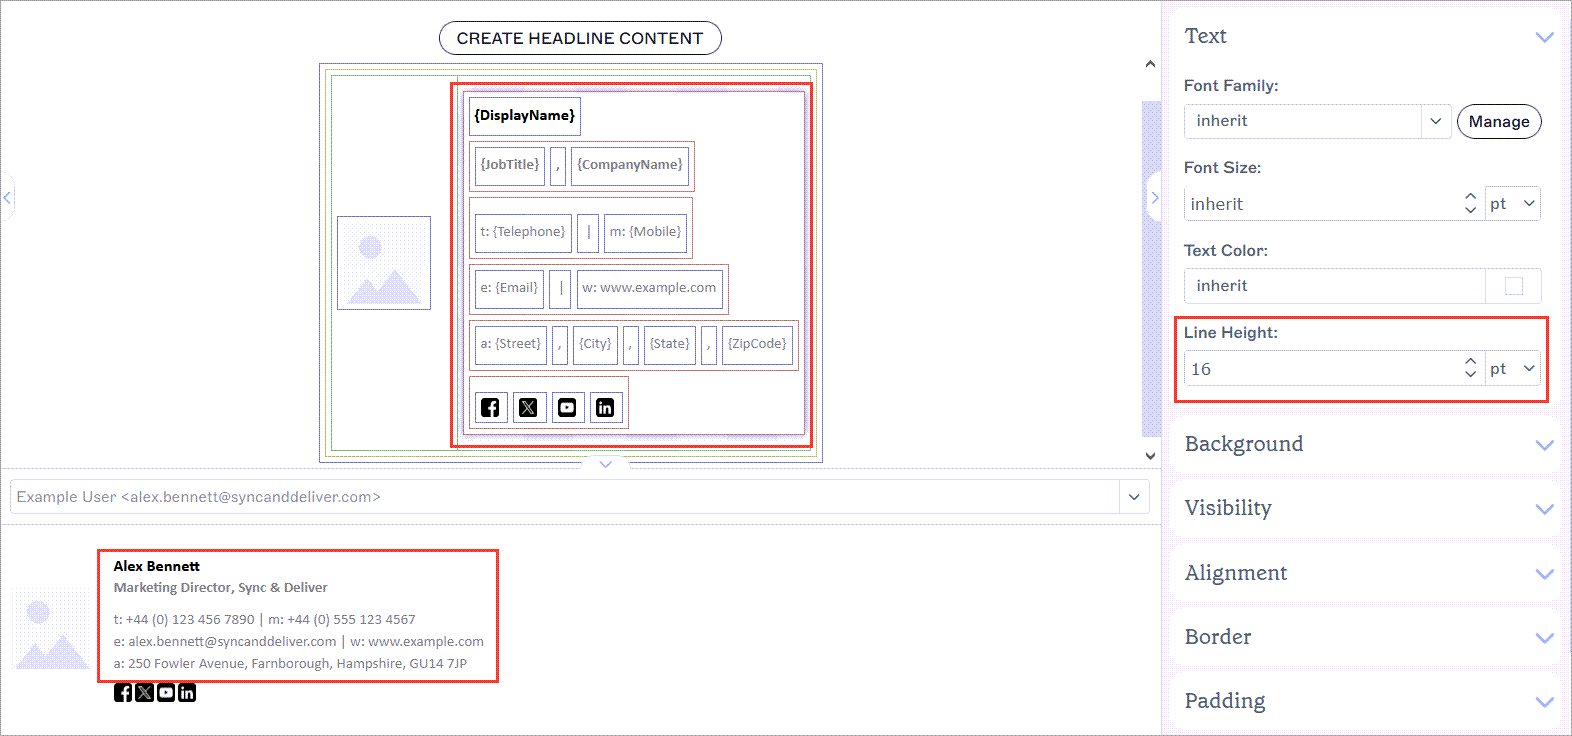
An example of 16 points of line height added to a group of {Fields} elements. The formatting is shown on the canvas and the Preview pane shows how this affects the look of the signature.
- Select Save Changes to save your template.