
Deze sectie behandelt alle opties om uw Exclaimer-abonnement succesvol te configureren met een on-premises Exchange-omgeving. De Exchange On-Premises functie maakt het mogelijk om Server-Side handtekeningen toe te passen op e-mails die vanuit on-premises Exchange-mailboxen worden verzonden.
Exchange On-Premises
Hoe u toegang krijgt
Om toegang te krijgen tot de Exchange On-Premises optie tijdens de initiële configuratie:
- Log in op uw Exclaimer-account en start uw abonnement.
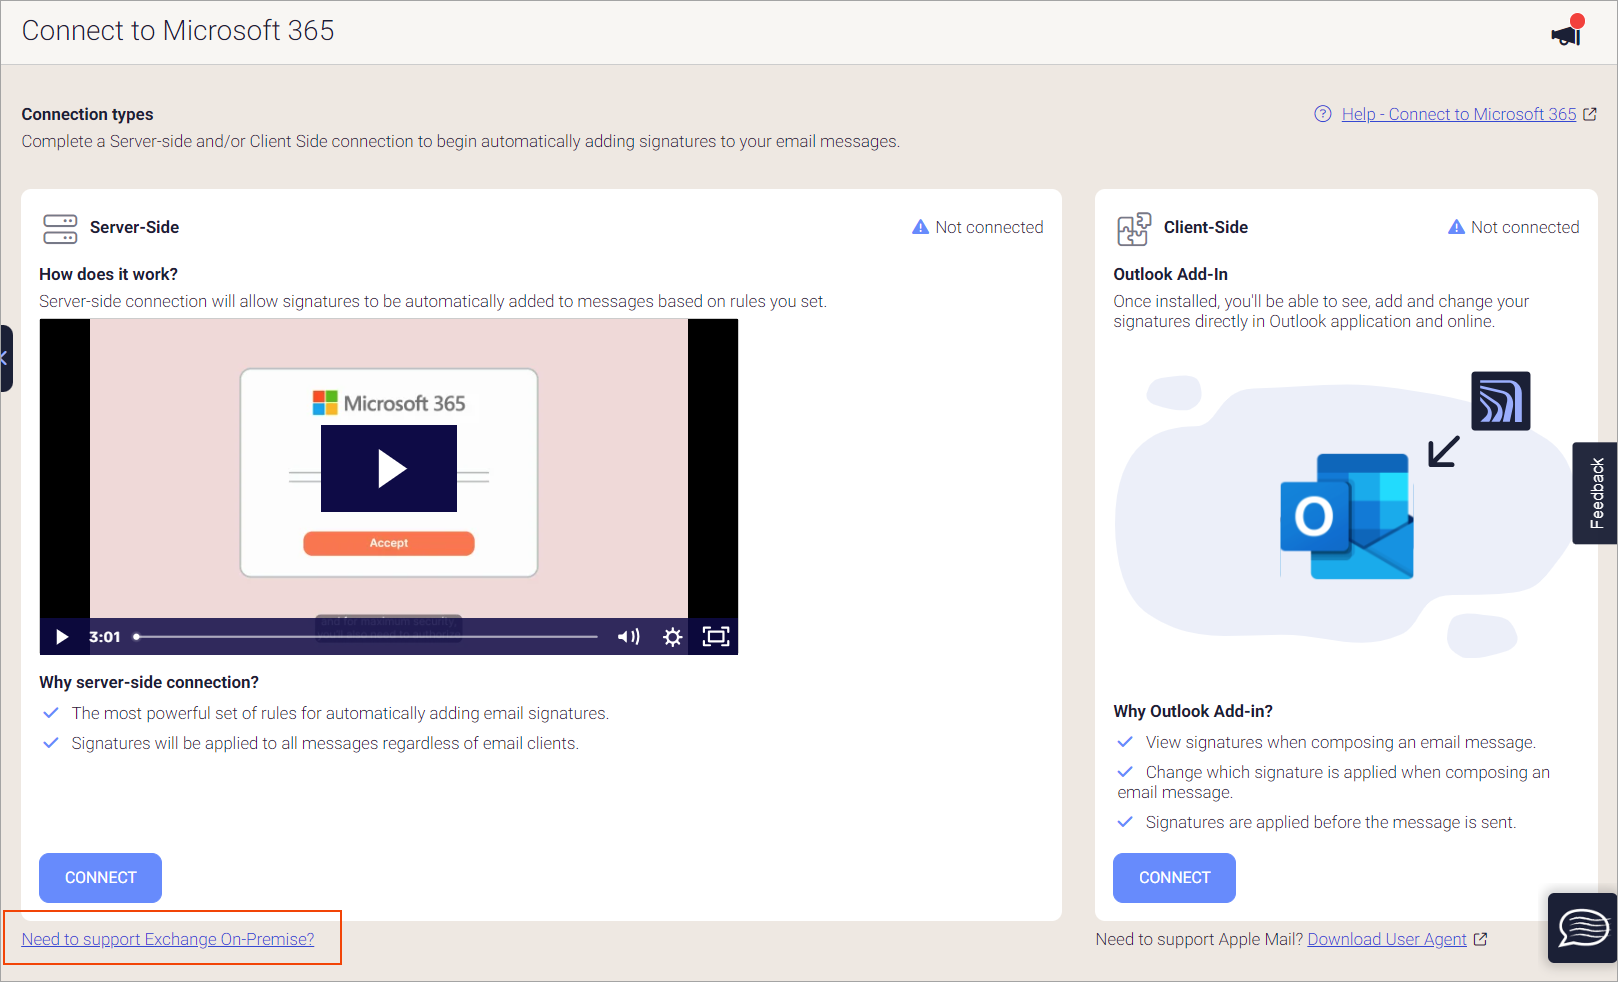
- Log in op Exclaimer en selecteer Verbinden met Microsoft 365 in de zijbalk van het menu
-
Configureer het abonnement om ofwel Server-Side of Client-Side handtekeningen te gebruiken.
OPMERKING:
- Het is verplicht om ofwel Server-Side of Client-Side handtekeningen te configureren voordat u de Transport Agent installeert.
- Als u alleen Server-Side handtekeningen voor Exchange On-Premises mailboxen wilt toepassen, raden we aan om de Client-Side setup uit te voeren (zonder de User Agent te installeren) in plaats van de Server-Side setup. We raden deze aanpak aan omdat klanten zonder Exchange Online de Server-Side setup niet kunnen voltooien.
Voor meer informatie, zie
Onboarding Exclaimer voor Server-Side (Microsoft 365)
Onboarding Exclaimer voor Client-Side (Microsoft 365)
- Selecteer Moet Exchange on-Premise ondersteunen om de Transport Agent te installeren.
Selecteer Moet Exchange on-Premise ondersteunen om de Transport Agent te installeren.
De Exchange On-Premises sectie wordt weergegeven.
Om toegang te krijgen tot de Exchange On-Premises optie na de initiële configuratie:
- Selecteer vanuit de bovenste balk het tandwielpictogram en selecteer vervolgens Exchange On-Premises.
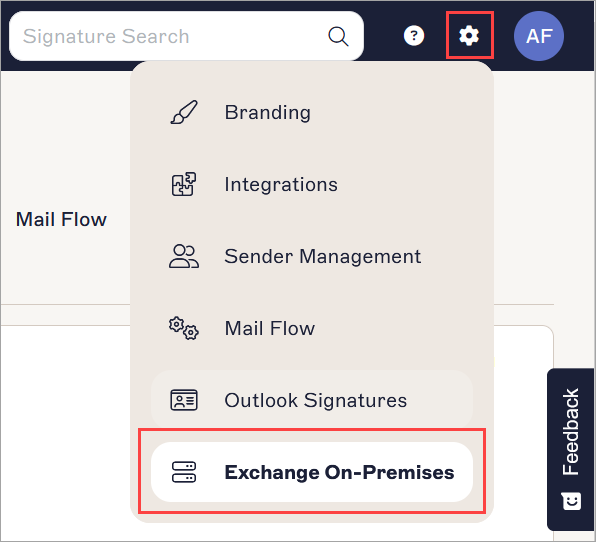
Selecteer de Exchange On-Premises optie.
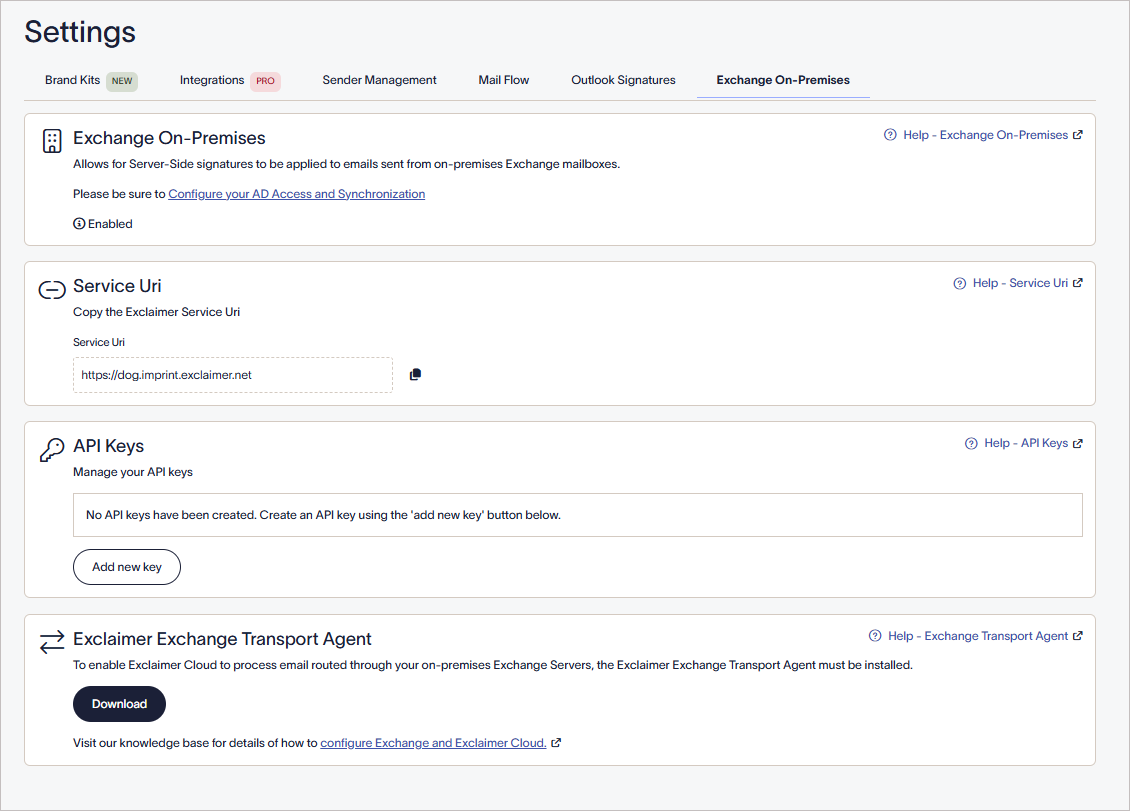
Het Exchange on-Premises tabblad is geselecteerd.
Exchange On-Premises tab
Instellingen
De verschillende opties die beschikbaar zijn binnen Exchange On-Premises zijn:
Exchange On-Premises - Als ingeschakeld, kunnen server-side handtekeningen worden toegepast op e-mails die vanuit on-premises Exchange-mailboxen worden verzonden.
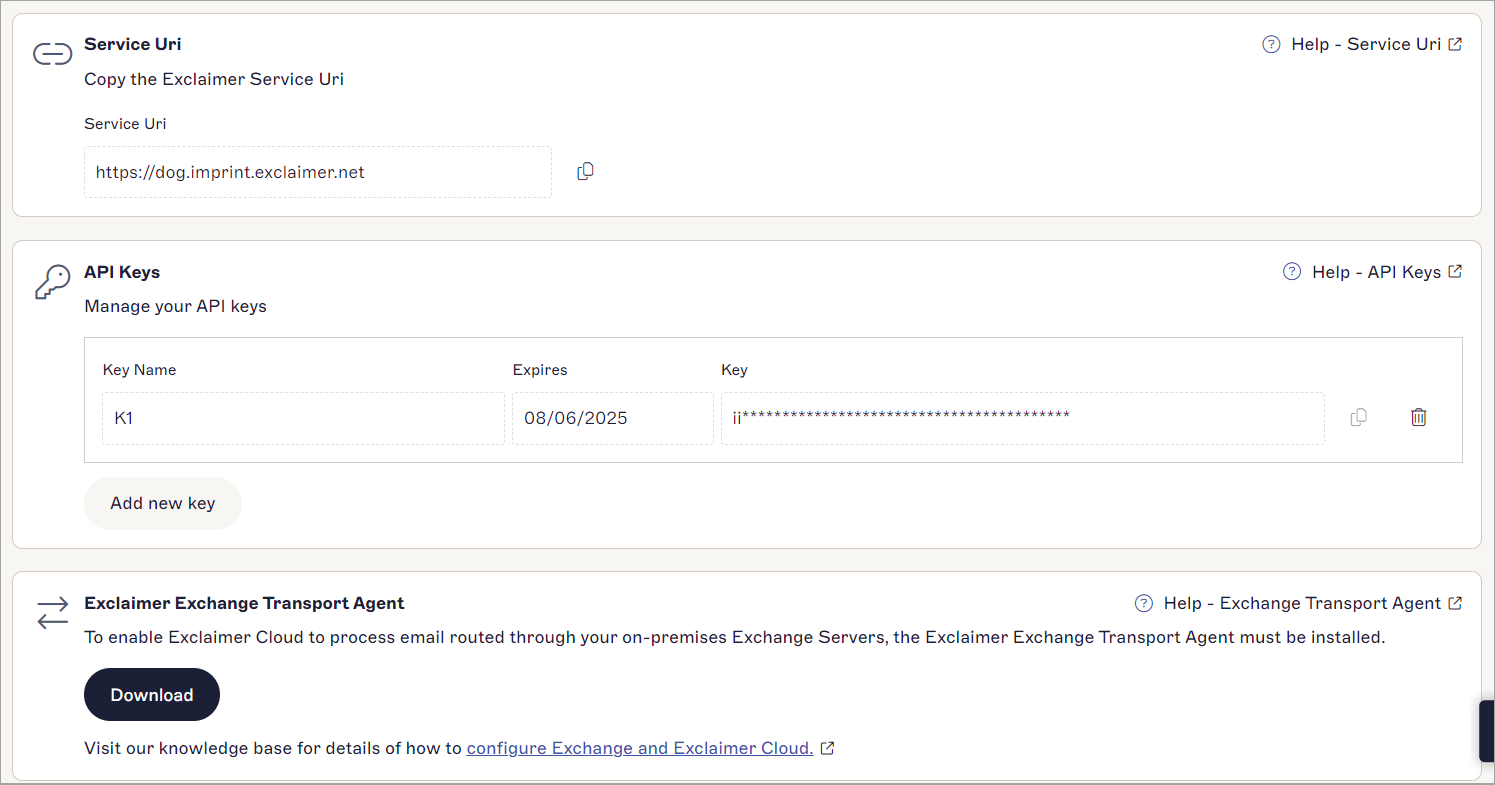
Service-URI - Dit is het adres van de imprintserver waar uw e-mails doorheen gaan om een handtekening te ontvangen. Dit adres is vereist tijdens de installatie van de Exclaimer Exchange Transport Agent op uw on-premises Exchange-servers.
API-sleutels - Deze opties stellen u in staat om de lijst van API-sleutels te beheren die de Exclaimer Exchange Transport Agent gebruikt om veilig te authenticeren van de on-premises Exchange-server naar de Exclaimer-omgeving.
Exclaimer Exchange Transport Agent - Dit biedt toegang om de Exclaimer Exchange Transport Agent te downloaden, die vereist is voor Exchange On-Premises.
De verschillende opties die beschikbaar zijn binnen Exchange On-Premises.