
Scenario
You are using a signature with elements that have background colors, and you notice that when you send the signature in Microsoft Outlook, white spaces or lines appear between areas with color, or white boxes appear in the design.

An example of a normal signature design compared to how the signature can look when experiencing this issue.
Reason
This is caused by the way Microsoft Outlook renders colors and is not something Exclaimer can control. However, you can take steps in the Signature Designer to minimize the effect of this issue.
Resolution
We recommend the following to minimize color rendering issues with Microsoft:
- Assign your background color to all elements, tables, and groups in the signature, instead of the whole canvas.
- Set a stretch alignment on elements to minimize gaps between them.
- Set row and columns widths in tables to minimize gaps between them due to resizing.
Assigning a background color
To assign a background color:
- Open your signature in the Signature Designer.
- Select an element, table, table cell, or group on the canvas. For more information on selecting signature content, see Colored borders, grouping, and inherit properties in the Signature Designer.
- In the Properties pane, expand the Background section.
- This section of the Properties pane may look different depending on what you have selected on the canvas. If applicable, select the Color radio button.
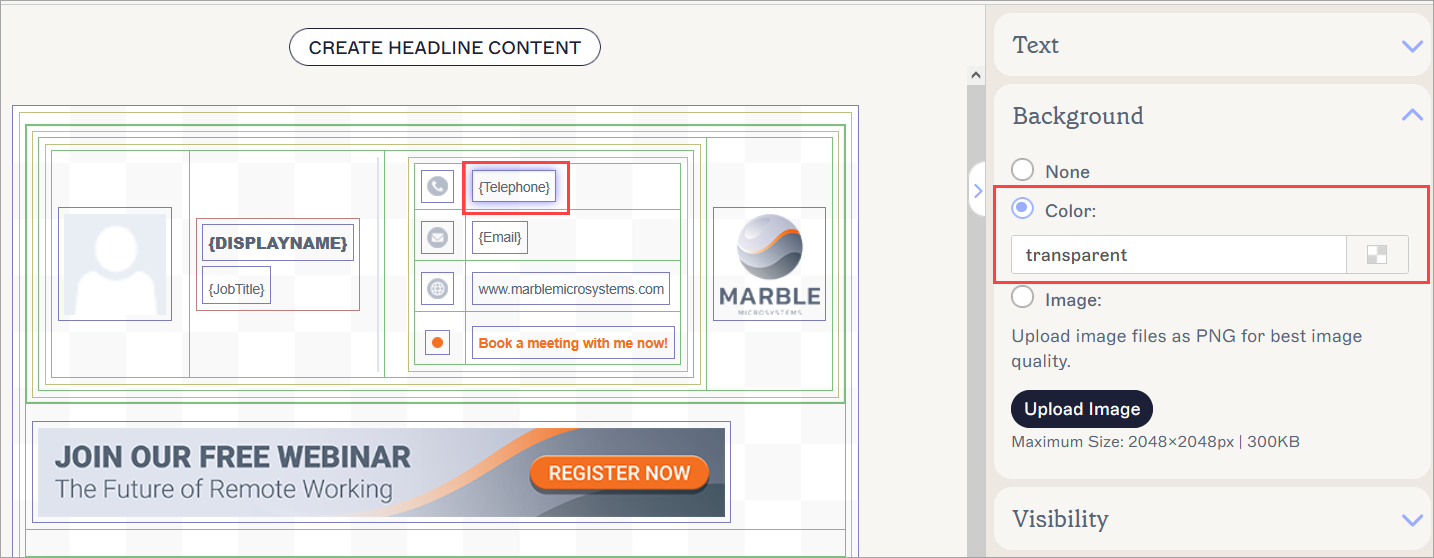
An example of the Background properties for a Contact {Fields} element. Some content may only have the color entry field in this section.
- EITHER:
Enter a color hexcode in the entry field.
OR
Select the colored square next to the entry field to open the color picker. Within the color picker, you can use the color slider and/or the gradient map to choose your color, or select any previously-defined Branding colors.
Tip! You can also enter a color name in the entry field to auto-match a basic color. For example, entering 'red' will assign a color of #ff0000. Only one-word color names are accepted and not all colors are available.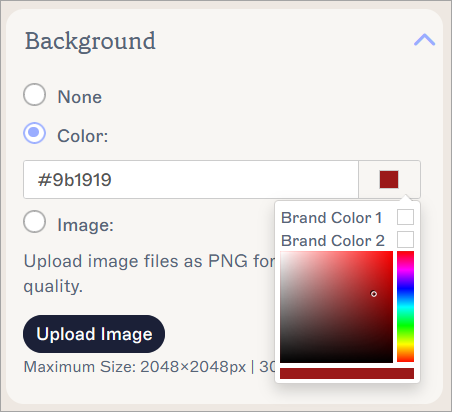
The color picker. Use the the slider sidebar or select on the grid to choose a color in the picker, or enter your color code in the entry field.
- Repeat this process for all elements, tables, table cells, and groups on the canvas.
NOTE: This must be done for every piece of content in the template. For example, after adding the background color to a table, you must then add it to the individual table cells. This so the mail client renders the color for everything in your signature. - In the unsaved changes banner, select Save.
Setting Stretch alignment
To set elements to Stretch:
- Open your signature in the Signature Designer.
- Select an element, table, or group on the canvas. For more information on selecting signature content, see Colored borders, grouping, and inherit properties in the Signature Designer.
- In the Properties pane, expand the Alignment section.
- Under Horizontal, select Stretch.
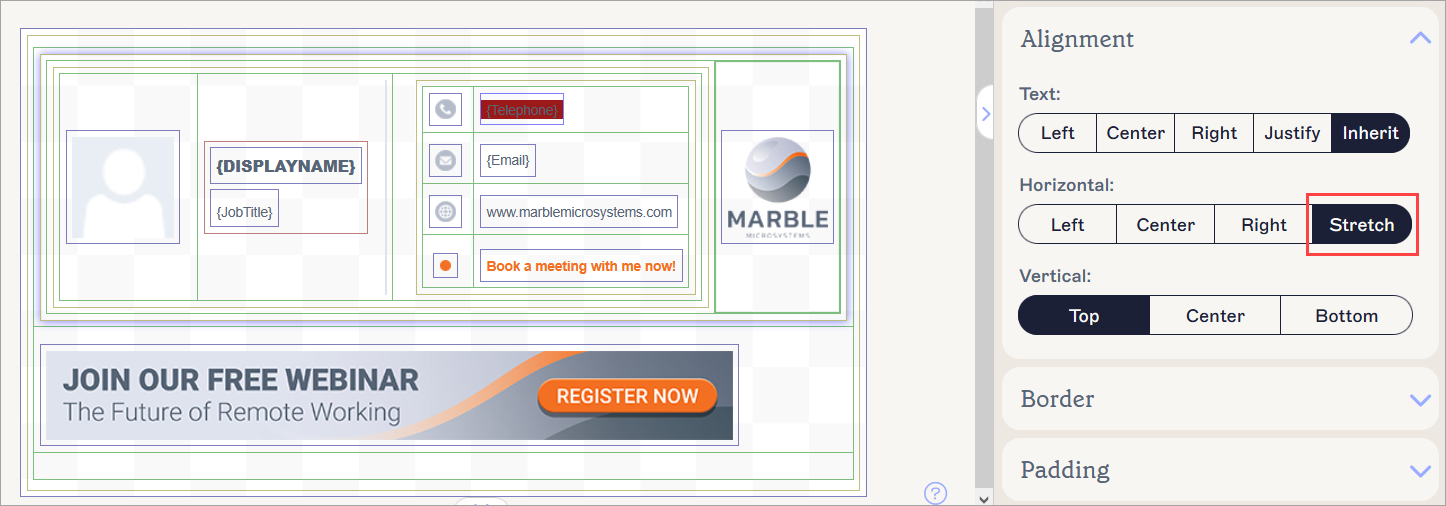
Select Stretch under Horizontal.
- In the unsaved changes banner, select Save.
Setting table heights and widths
Setting fixed heights and widths on rows and columns stop the mail client from resizing them, which minimizes the chance for white lines to appear at edges.
To add fixed heights and widths to rows and columns:
- Open your signature in the Signature Designer.
- Select a table on the canvas. Tables have a gold outline. Select the whole table and not an individual table cell. For more information on selecting tables, see Colored borders, grouping, and inherit properties in the Signature Designer.
- In the Properties pane, expand the Rows & Columns section.
- In the Row Heights entry field, change any instances of 'auto' to a numerical value.
- Repeat Step 4 for the Column Width field.
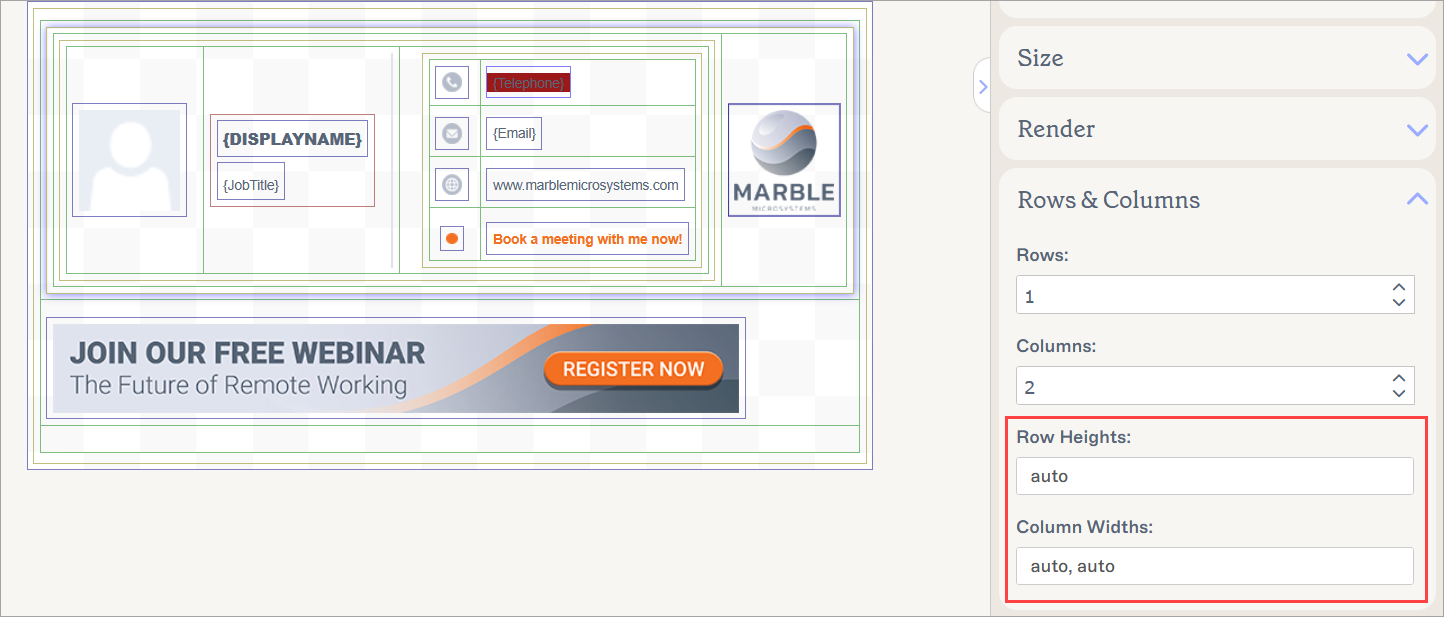
The Rows & Columns section. Change any values of 'auto' to a number to stop the mail client from resizing the signature content.
- In the unsaved changes banner, select Save.