
Description
The Synchronize Additional User Attributes feature is used to allow you to synchronize additional (also known as custom) attributes from Microsoft 365, or Entra ID (formerly Azure AD). When creating or using custom attributes you need to enable them for use with Exclaimer using this feature. This can be done before or after creating the attributes, but must be done before the attributes can be used in your signature.
NOTE: Custom attributes for Google Workspace do not need to be enabled.
How to access it
NOTE: You must be the subscription Owner or have the Admin user role to access this feature. For more information on user roles and permissions, see User Management.
To access Synchronize Additional User Attributes:
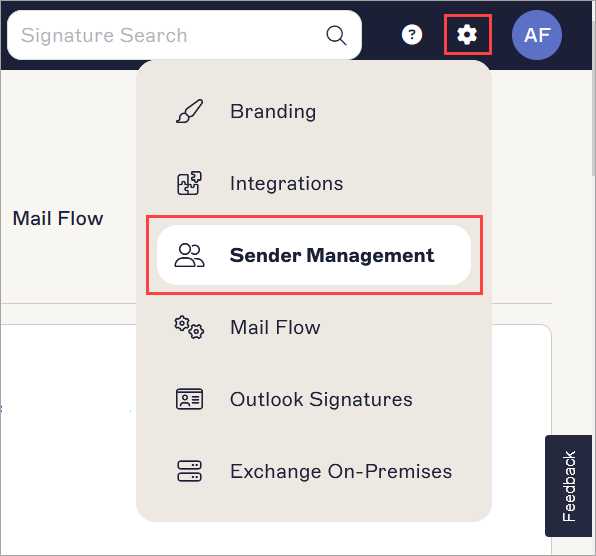
- From the header bar, select the cogwheel icon, then select Sender Management.
- Navigate to the Synchronize Additional User Attributes section.

Enable Additional Attributes section.
Synchronizing the Additional Attributes
To synchronize the additional attributes:
- Select EITHER:
Not Enabled: No additional attributes will be available for use. The only attributes available for use in your signature will be the standard attributes.
OR
Synchronize selected additional attributes from local AD via Microsoft Entra ID: Up to 100 single-value attributes from an on-premises AD will be synchronized for use in Exclaimer. This requires configuration changes to Microsoft Entra Connect. This does NOT synchronize the 15 Custom Attributes from Exchange Online.
OR
Synchronize Custom Attributes 1-15 from Microsoft Exchange Online: The 15 Custom Attributes available from Exchange Online will be synchronized for use in Exclaimer.
- Select Save Changes.
- Perform a manual data synchronization to synchronize the new attributes.
Locating the additional attributes in your environment
To locate additional attributes in the Exchange Online admin portal:
- Log in to the Exchange Online admin portal (https://admin.exchange.microsoft.com) as an Administrator.
This opens the Exchange admin center.
- From the navigation menu, select Recipients, then select Mailboxes.
- Select the relevant mailbox. This opens the Mailbox pane.
- Select the Others tab, then select Custom attributes.
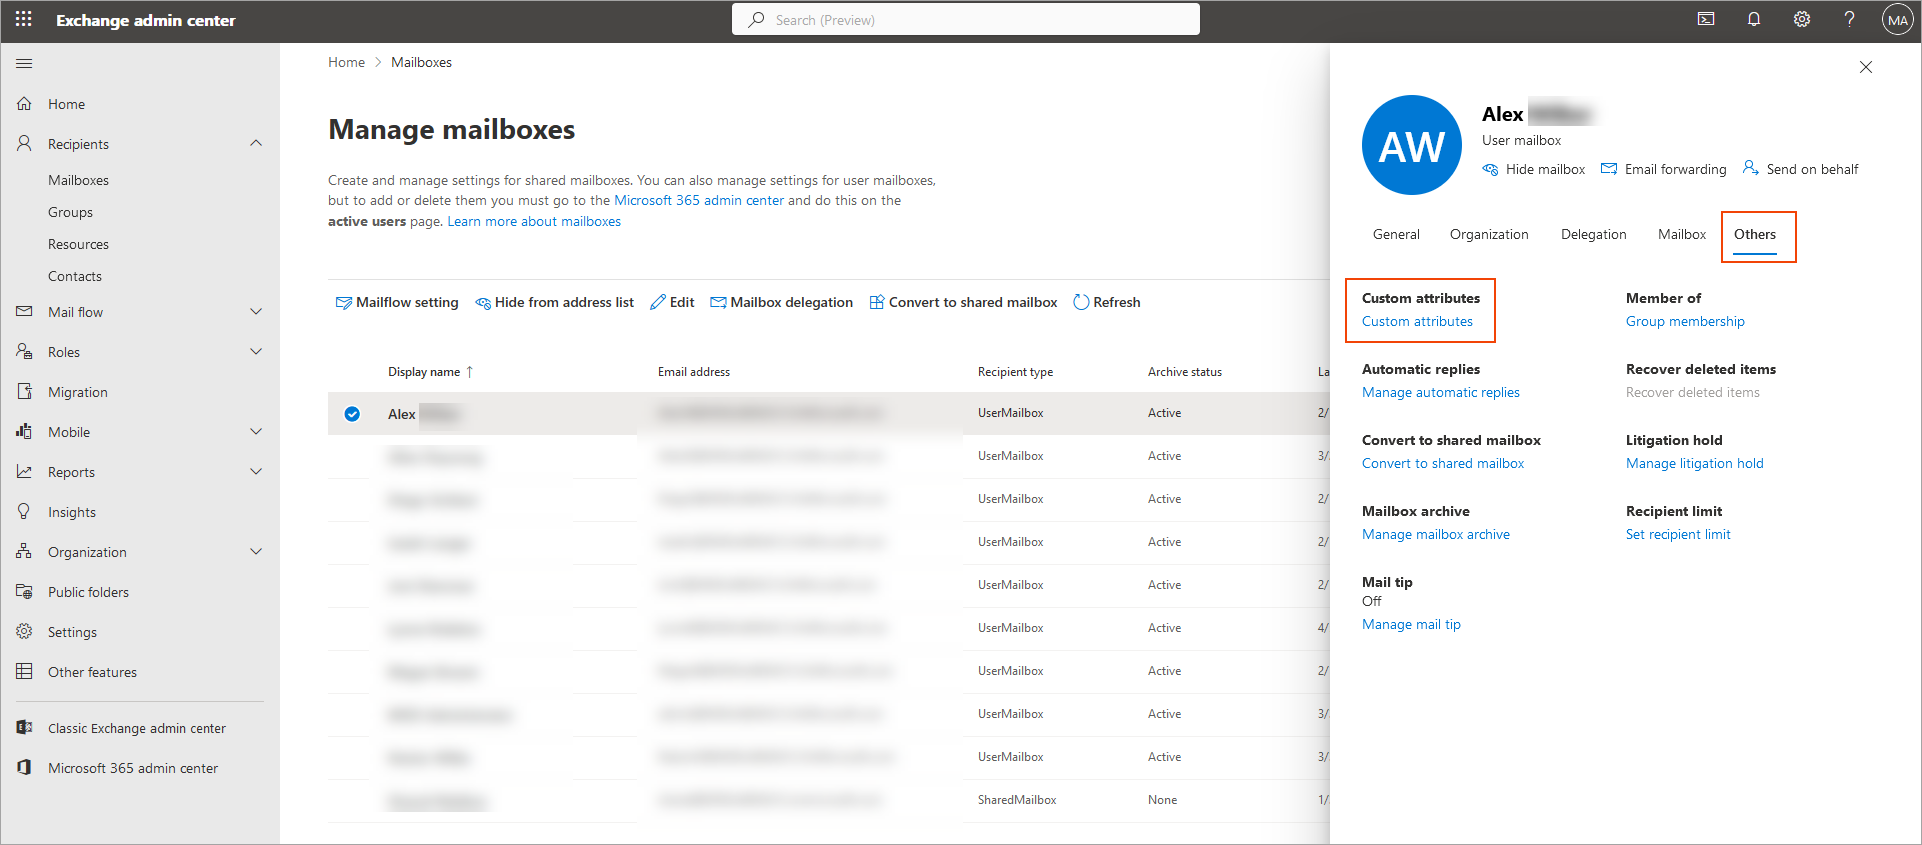
Select Custom Attributes from within the Others tab.
The Manage custom attributes window is displayed, listing all the available custom attributes.
To locate additional attributes in the Active Directory:
Pre-requisites: You must enable advanced features to view the Attribute Editor. Open the View menu and select Advanced Features.
- Open the Active Directory Users and Computers.
- Go to View and select Advanced Features.
- Navigate to the organizational unit which contains the relevant user.
-
Double-click the user to open the account's properties, then open to the Attribute Editor tab.
NOTE: You can synchronize up to 100 additional single-value attributes to Exclaimer from the Active Directory, including extension attributes 1-15 (also known as custom attributes 1-15). For more information on choosing single-value attributes, see Which fields are multi-value and cannot be synced to Exclaimer?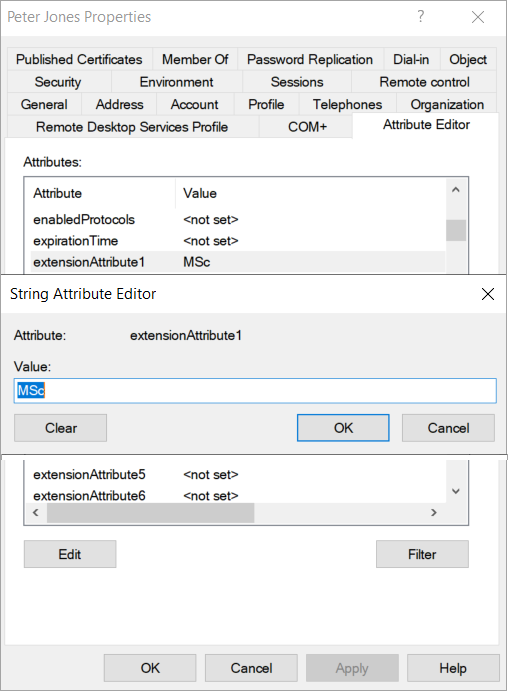
An example of a custom attribute in the Attribute Editor.
Next steps: If you have not yet created and populated your custom attributes, see our knowledge base guide on How to create and add data to custom attributes. If you have already created and populated your custom attributes, you can now use this data in your signature template. For more information on using attribute data in your signature, see our knowledge base resources on using the All, Address, Contact, and Personal {Fields} elements.
Have you got a question? Take a look at our Frequently Asked Questions page.