
Description
You can use BambooHR as a data source for Exclaimer to automatically synchronize employee details for email signatures and meeting branding.
This integration uses Bindbee to authenticate and connect BambooHR to Exclaimer securely.
This integration is available for Exclaimer subscriptions using Microsoft 365 and Google Workspace.
Set up BambooHR for Exclaimer integration (BambooHR)
Follow the steps to prepare BambooHR before connecting it to Exclaimer:
• You must have Bamboo Admin access to complete these steps. Use your organization’s unique BambooHR URL to log in.
• Plan the integration setup in your HRIS system in advance.
Follow these steps to find your BambooHR Domain for OAuth authentication.
- Sign in to BambooHR.
- In your browser address bar, locate the BambooHR URL.
-
Copy the value between https:// and .bamboohr.com.

Example image of the BambooHR Domain Name - do not copy this. Check your dashboard to find your BambooHR URL.
This value is the BambooHR Domain Name.
- Save the BambooHR Domain Name. You will need it later during the Exclaimer connection setup.
To set up the Bamboo integration with Exclaimer, make sure you have either
Full Admin Access OR
A custom access level
To set up a custom access level in BambooHR:
- Sign in to BambooHR.
- From the menu sidebar, select Settings, then select Access Levels.
- From the Levels drop-down, select Custom Access Level.
The New Custom Access Level screen is displayed.
- In Name, enter the custom access level name.
- In Description, enter a clear and meaningful description.
-
Enable the required permissions for All Employees.
-
Select Save & Finish.
-
Assign the relevant employee or integration user to the newly created custom access level.
Before proceeding to the Exclaimer integration flow, make sure all required permissions are enabled for the assigned employee.
Exclaimer can only access the BambooHR data that the assigned employee has permission to view.
Access the BambooHR integration in Exclaimer
To access the BambooHR integration:
-
From the header bar, select the cogwheel icon, then select Sender Management.
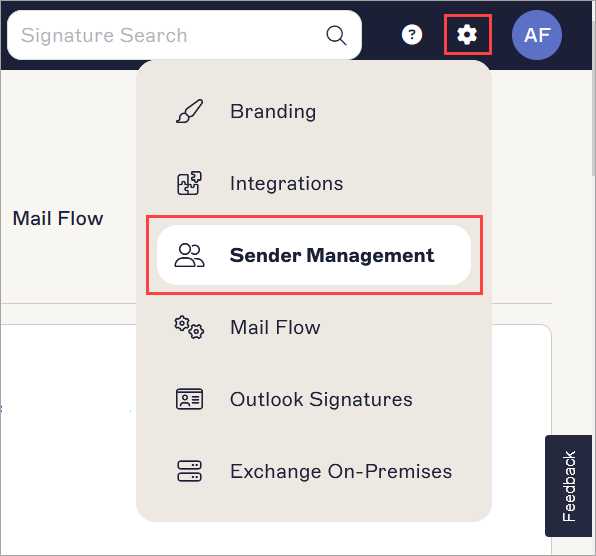
This example image is for a Microsoft 365 subscription and shows the Settings menu.
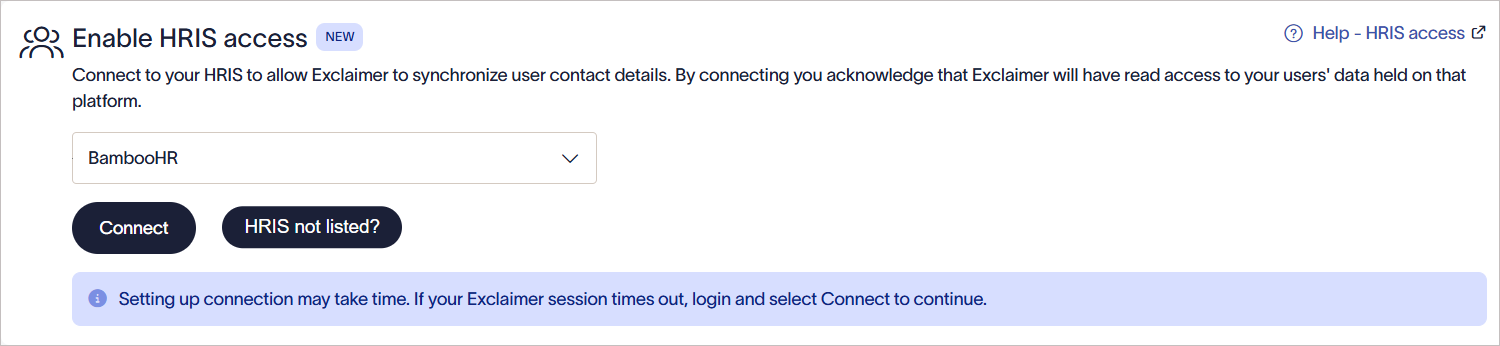
- Navigate to the Enable HRIS access section.
- From the drop-down, select BambooHR.
Connect Exclaimer to BambooHR (Exclaimer)
Follow the steps below to connect Exclaimer to BambooHR:
• Use an Exclaimer Pro subscription
• Allow the required Bindbee domains in your network. These domains must load in the browser for the connection window to work:
• cdn.bindbee.dev
• *.bindbee.dev to cover additional subdomains used during the connection flow (for example, API callbacks and authentication redirects)
• Allow browser pop-ups for the authentication window.
To connect to your HRIS to allow Exclaimer to synchronize user contact details:
- From the drop-down list, select BambooHR.
From the drop-down list, select BambooHR.
-
Select Connect.
The BambooHR authentication window is displayed.TIP! Do not open multiple BambooHR authentication windows at the same time. Complete one connection flow before starting another.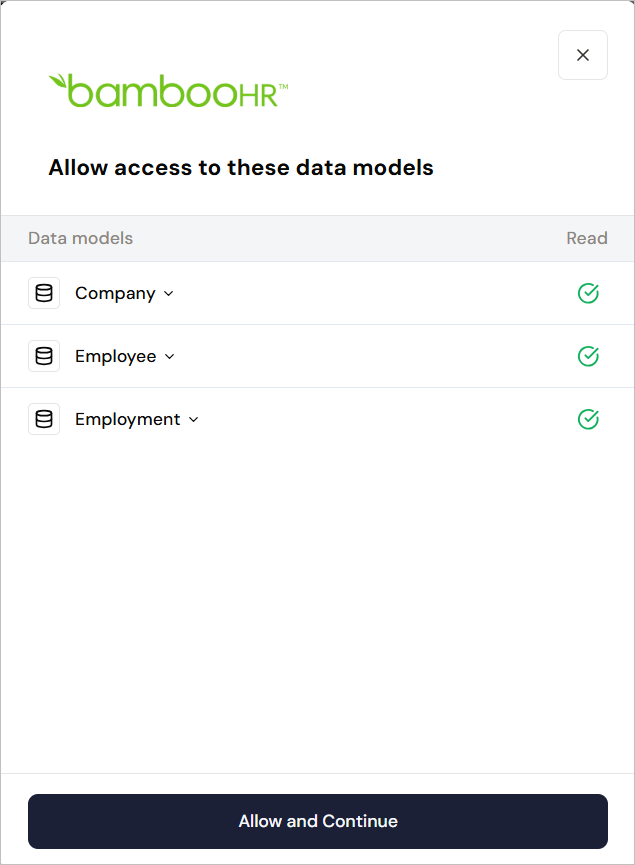
BambooHR authentication window.
-
Select Allow and Continue to grant Exclaimer read-only access to employee data.
WARNING! If the BambooHR Permissions window is not displayed, allowlist cdn.bindbee.dev (and preferably .bindbee.dev) to ensure the Bindbee SDK loads correctly in the browser.
NOTE: If you require additional custom fields, our team can configure them manually. This option is not currently available as a self-service feature. Get in touch with our Support team for help in setting up any required custom fields. Select OAuth Authentication Flow (Recommended).
BambooHR supports multiple authentication methods. Exclaimer supports OAuth Authentication only.NOTE: Before continuing, make sure you have completed the steps in Prepare BambooHR for OAuth Authentication, including configuring the required BambooHR access permissions.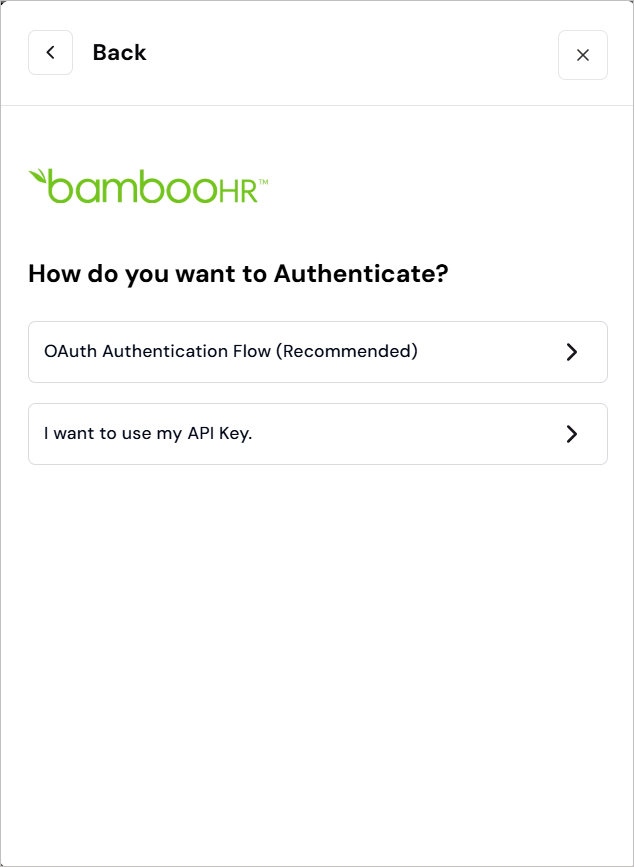
Select OAuth Authentication Flow (Recommended).
- Enter the BambooHR domain name you saved earlier. See the section above for instructions on locating your BambooHR Domain Name.
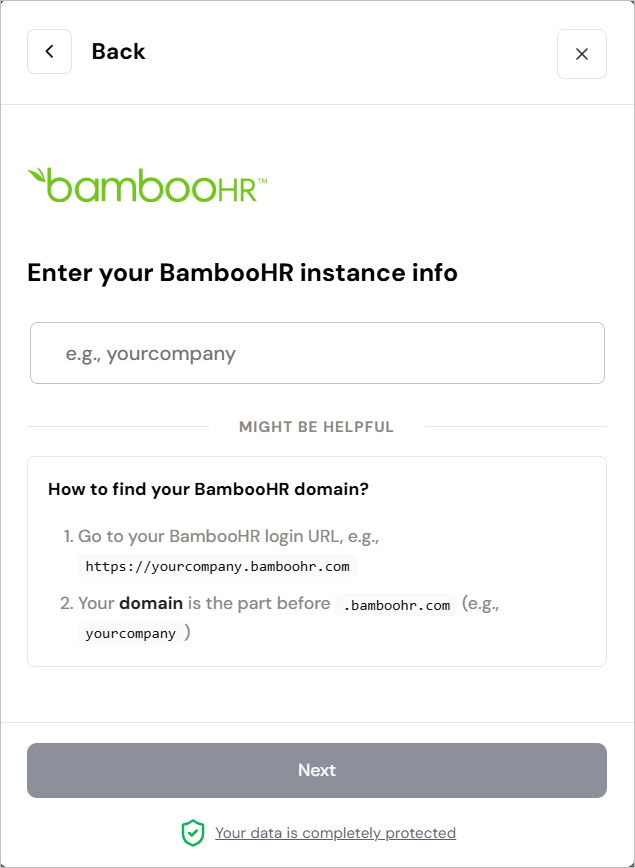
Enter your BambooHR instance information.
-
Select Next. Select Allow Access to grant Exclaimer read-only access to employee data.
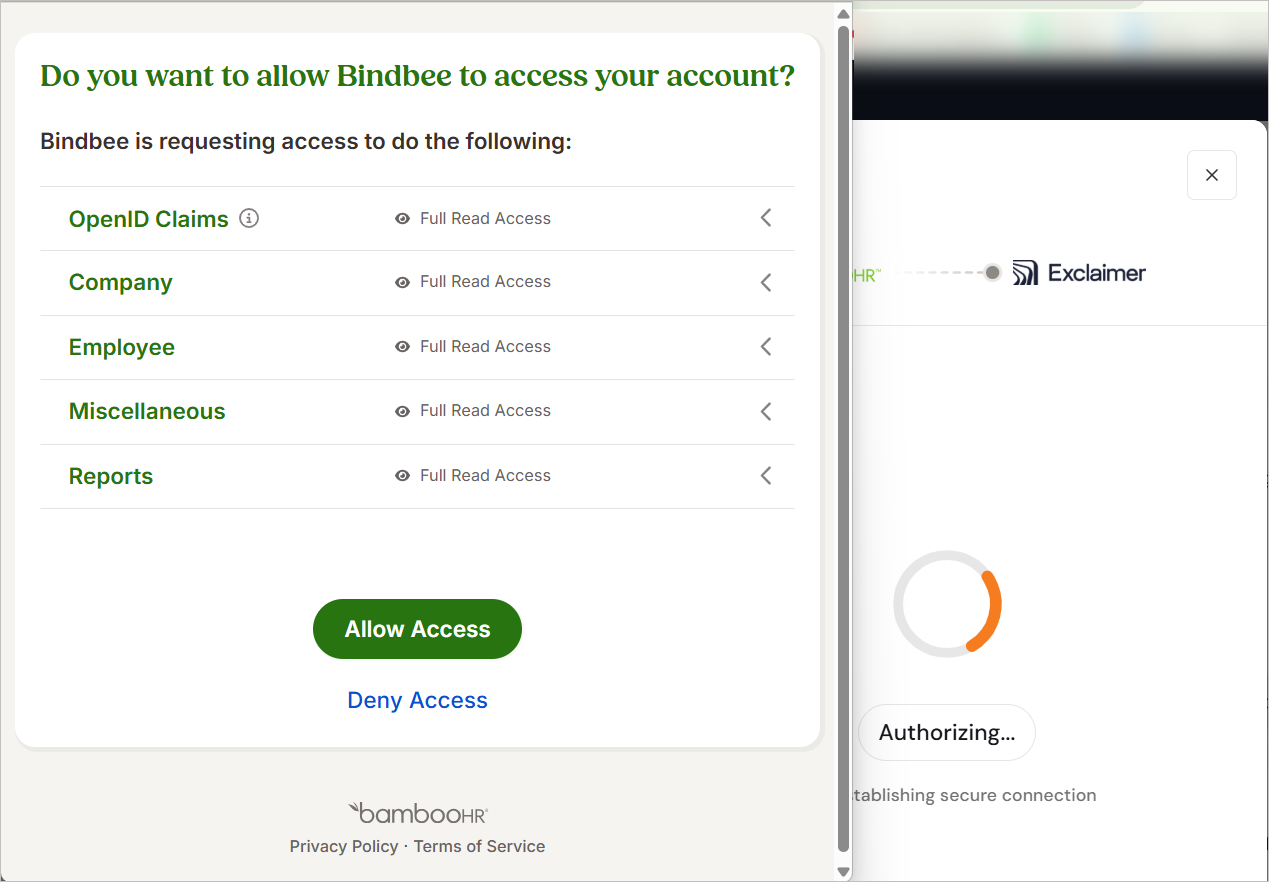
Select Allow Access.
WARNING! Keep the window open until the connection is complete. If you close it too soon, the connection may not finish setting up, and it may not appear as connected in Exclaimer.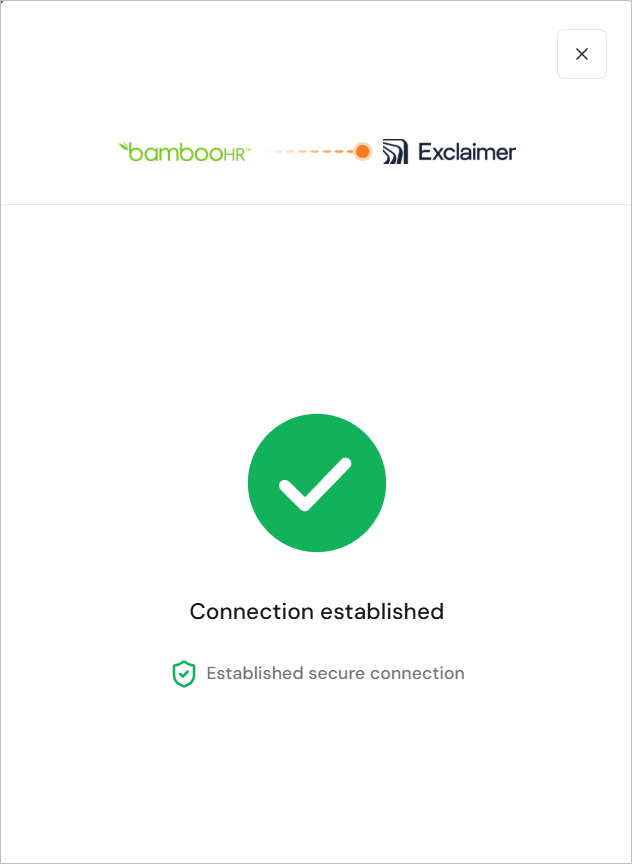
Image showing that the connection has been established.
Once a connection is established with the BambooHR system, the status displays as Connected in Exclaimer.
Once a connection is established with the BambooHR system, the Connected text is displayed within Exclaimer.
Manage your BambooHR connection (Exclaimer)
Follow the options to manage your BambooHR connection:
To re-connect to the BambooHR system:
- Select Re-connect.
A message is displayed that reconnecting will remove the existing BambooHR connection and start a new connection flow.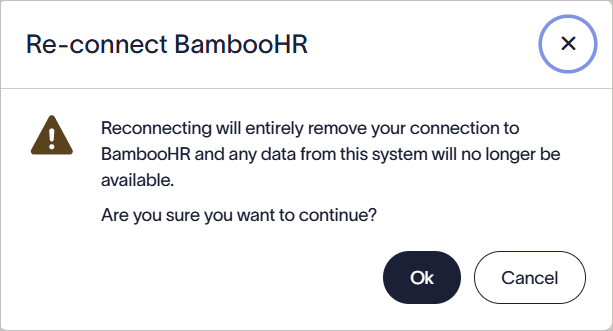
Select OK to reconnect to the BambooHR system.
- Select OK to continue.
To disconnect from the BambooHR system:
- Select Disconnect.
A message is displayed that disconnecting will remove the BambooHR connection from Exclaimer. Any synced BambooHR data will no longer be available in Exclaimer.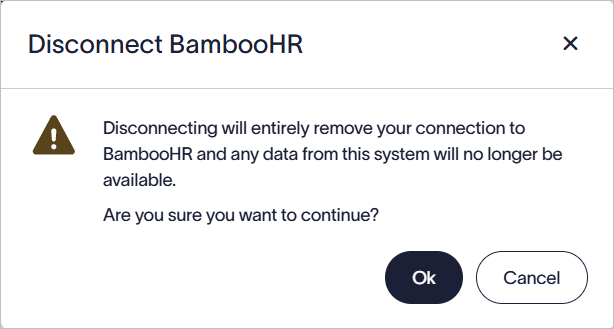
Select OK to disconnect from the BambooHR system.
- Select OK to continue.
BambooHR connectors automatically synchronize data based on a predefined schedule. You can also initiate a manual sync.
To run a manual sync to immediately update employee data in Exclaimer:
-
Select Sync Now.
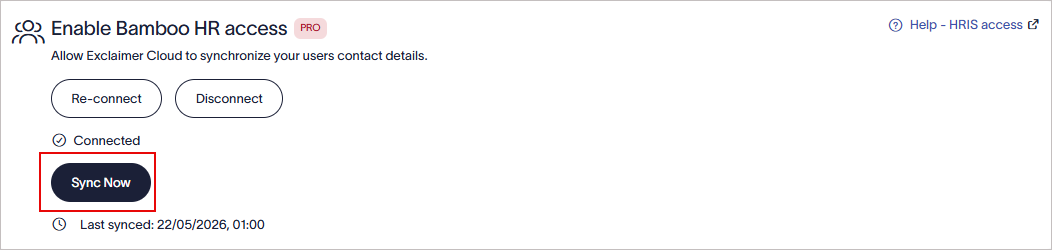
Select Sync Now to start a manual synchronization.
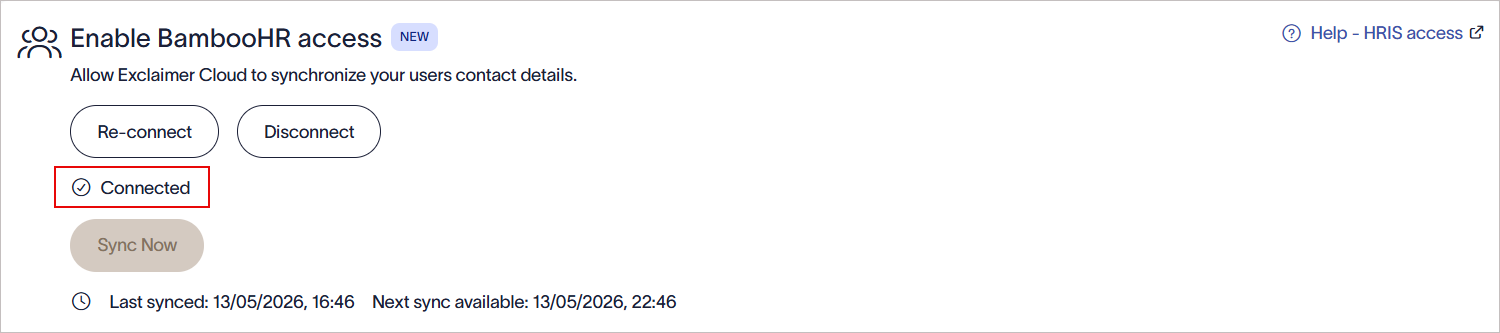
NOTE: The Sync Now button is enabled only after 6 hours since the last successful sync. If the button is not enabled, the next sync date and time are displayed.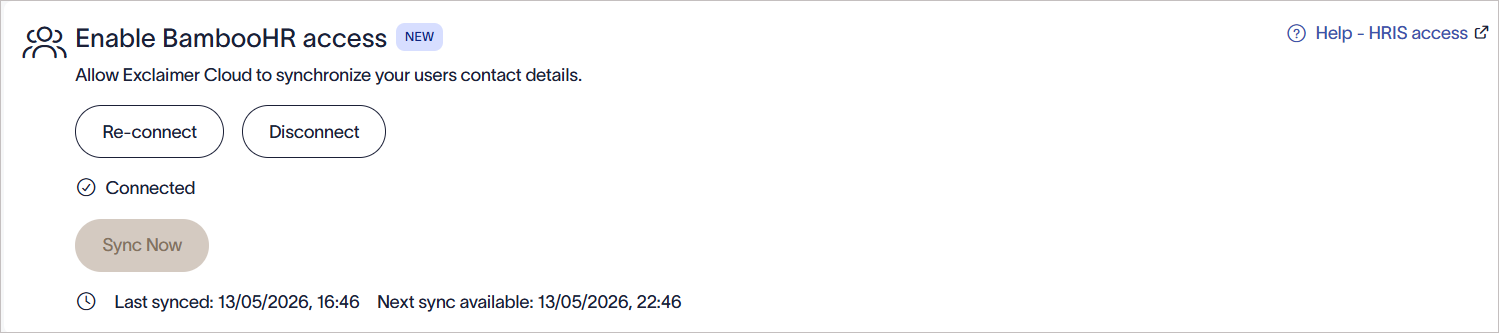
Example image showing that the Sync Now button is not enabled, and the next sync date and time are displayed.
Troubleshooting
If the BambooHR authentication window does not open after selecting Connect:
- Ensure the following domains are allowlisted in your network or browser security tools:
- cdn.bindbee.dev
- *.bindbee.dev
- Verify that browser pop-ups are allowed.
- Check whether browser extensions or content blockers are preventing the authentication window from loading.
- Refresh the browser and try again.
If BambooHR authentication fails during setup:
- Verify that the BambooHR domain name was entered correctly.
- Ensure you selected OAuth Authentication Flow (Recommended).
- Confirm you are signing in with a BambooHR account that has sufficient administrator permissions.
- Verify that the BambooHR session has not expired.
If authentication continues to fail:
- Close all BambooHR authentication windows.
- Sign out of BambooHR completely.
- Start the connection process again from Exclaimer.
If the BambooHR connection does not finish successfully:
- Keep the authentication window open until the setup process completes.
- Do not refresh or close the browser tab during authentication.
- Verify that browser security settings are not blocking redirects or third-party cookies.
- Retry the connection using a new browser session if required.
If Exclaimer displays a message that the connector already exists:
- Do not attempt to create multiple BambooHR connections for the same environment.
- Raise a support ticket so the Support team can assist with the existing connector configuration.
If employee details are not appearing in Exclaimer:
- Verify that the BambooHR connection status displays as Connected.
- Run a manual synchronization if the Sync Now option is available.
- Confirm that the BambooHR account used during authentication still has the required access permissions.
- Verify that the employee data exists in BambooHR.
If the Sync Now button is unavailable:
- Verify that at least 6 hours have passed since the last successful synchronization.
- Review the displayed next synchronization date and time.
- Wait until the next available synchronization window before retrying.