
Description
Provision and set up an Exclaimer subscription through the MSP portal without using Microsoft Marketplace.
• Access to the MSP portal: https://msp.exclaimer.net/
• A dedicated Microsoft 365 account in the format: exclaimer@msp-domain.com
This must be a user account (not an alias or a group), as it will be used for all back-office communications, billing, subscription management, and other operational processes.
• Microsoft 365 Global Administrator credentials for the customer tenant
• Customer domain, company name, and country details
Follow the steps below to provision and set up an Exclaimer subscription using the MSP portal:
To access the subscription management area:
-
Navigate to the MSP Portal: https://msp.exclaimer.net/ and log in with your exclaimer@msp-domain.com 365 account.
NOTE: Do not use a distribution list for this account, as Exclaimer authenticates with this account during subscription creation.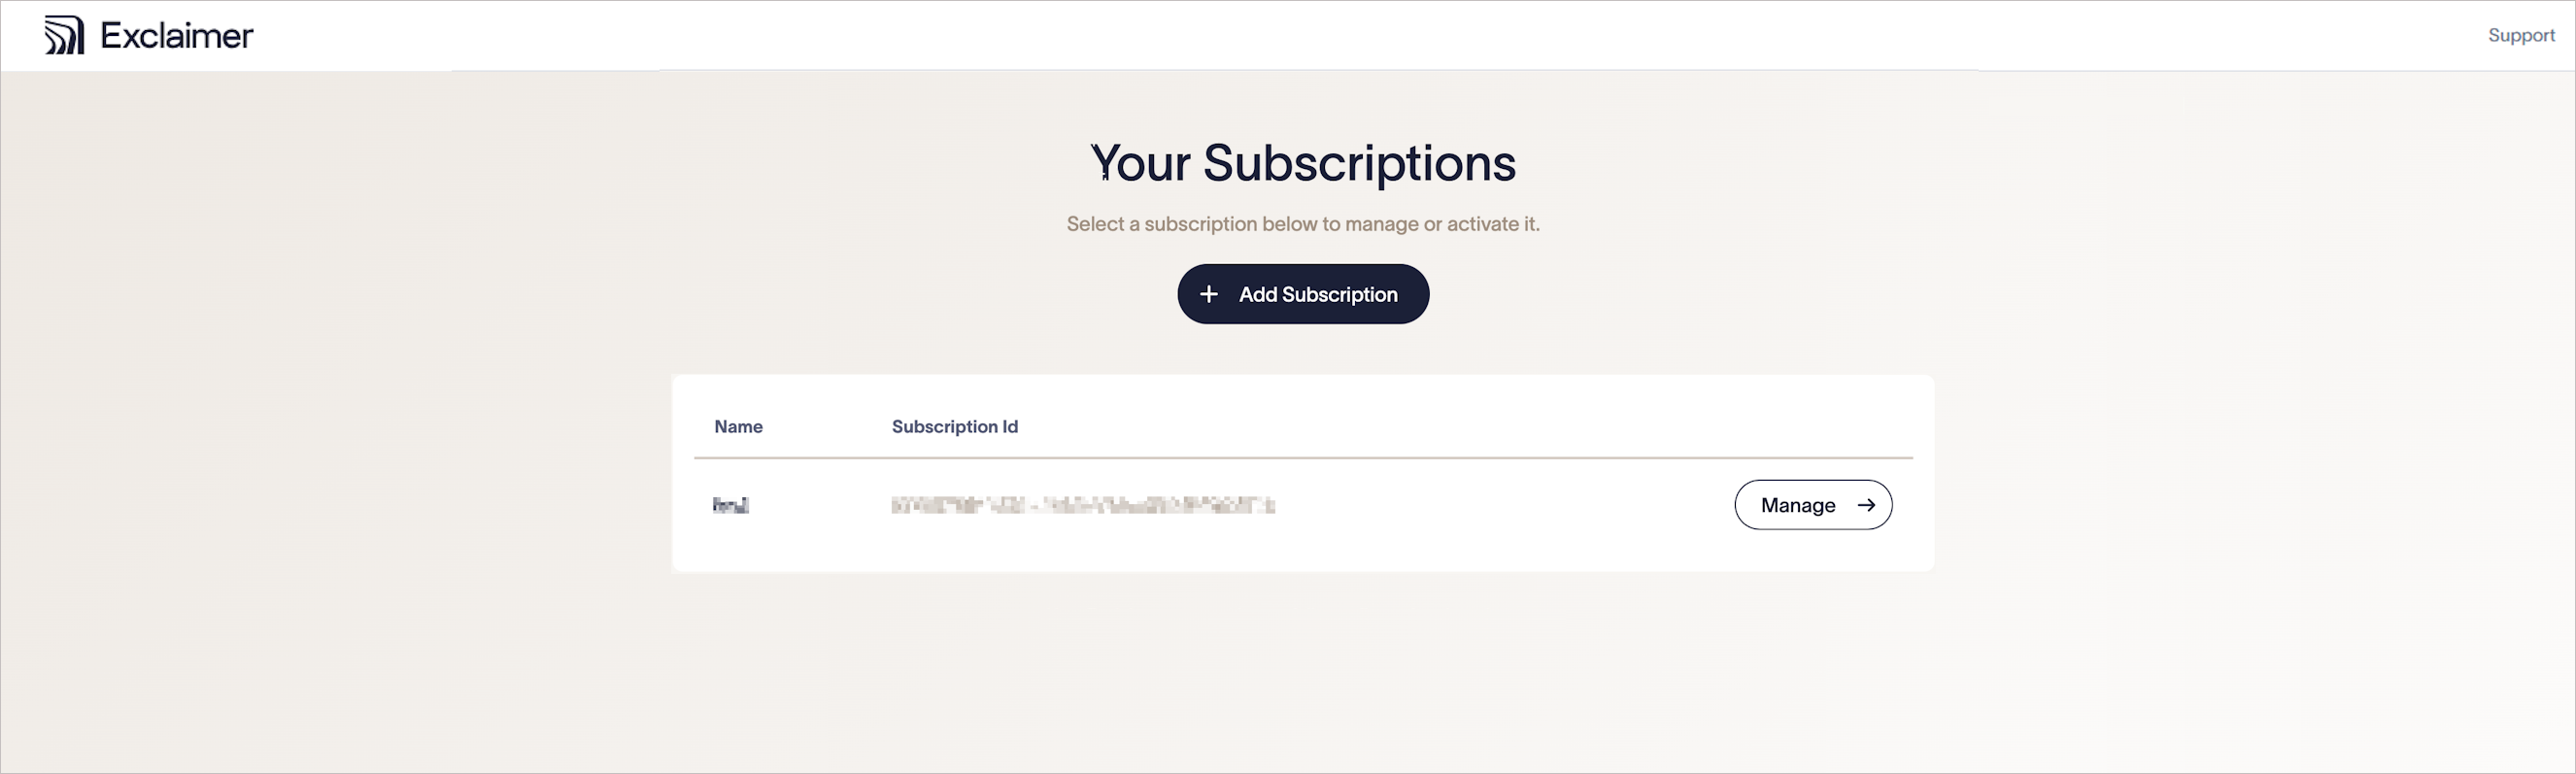
The MSP Portal.
To add a new subscription:
- Select Add subscription.
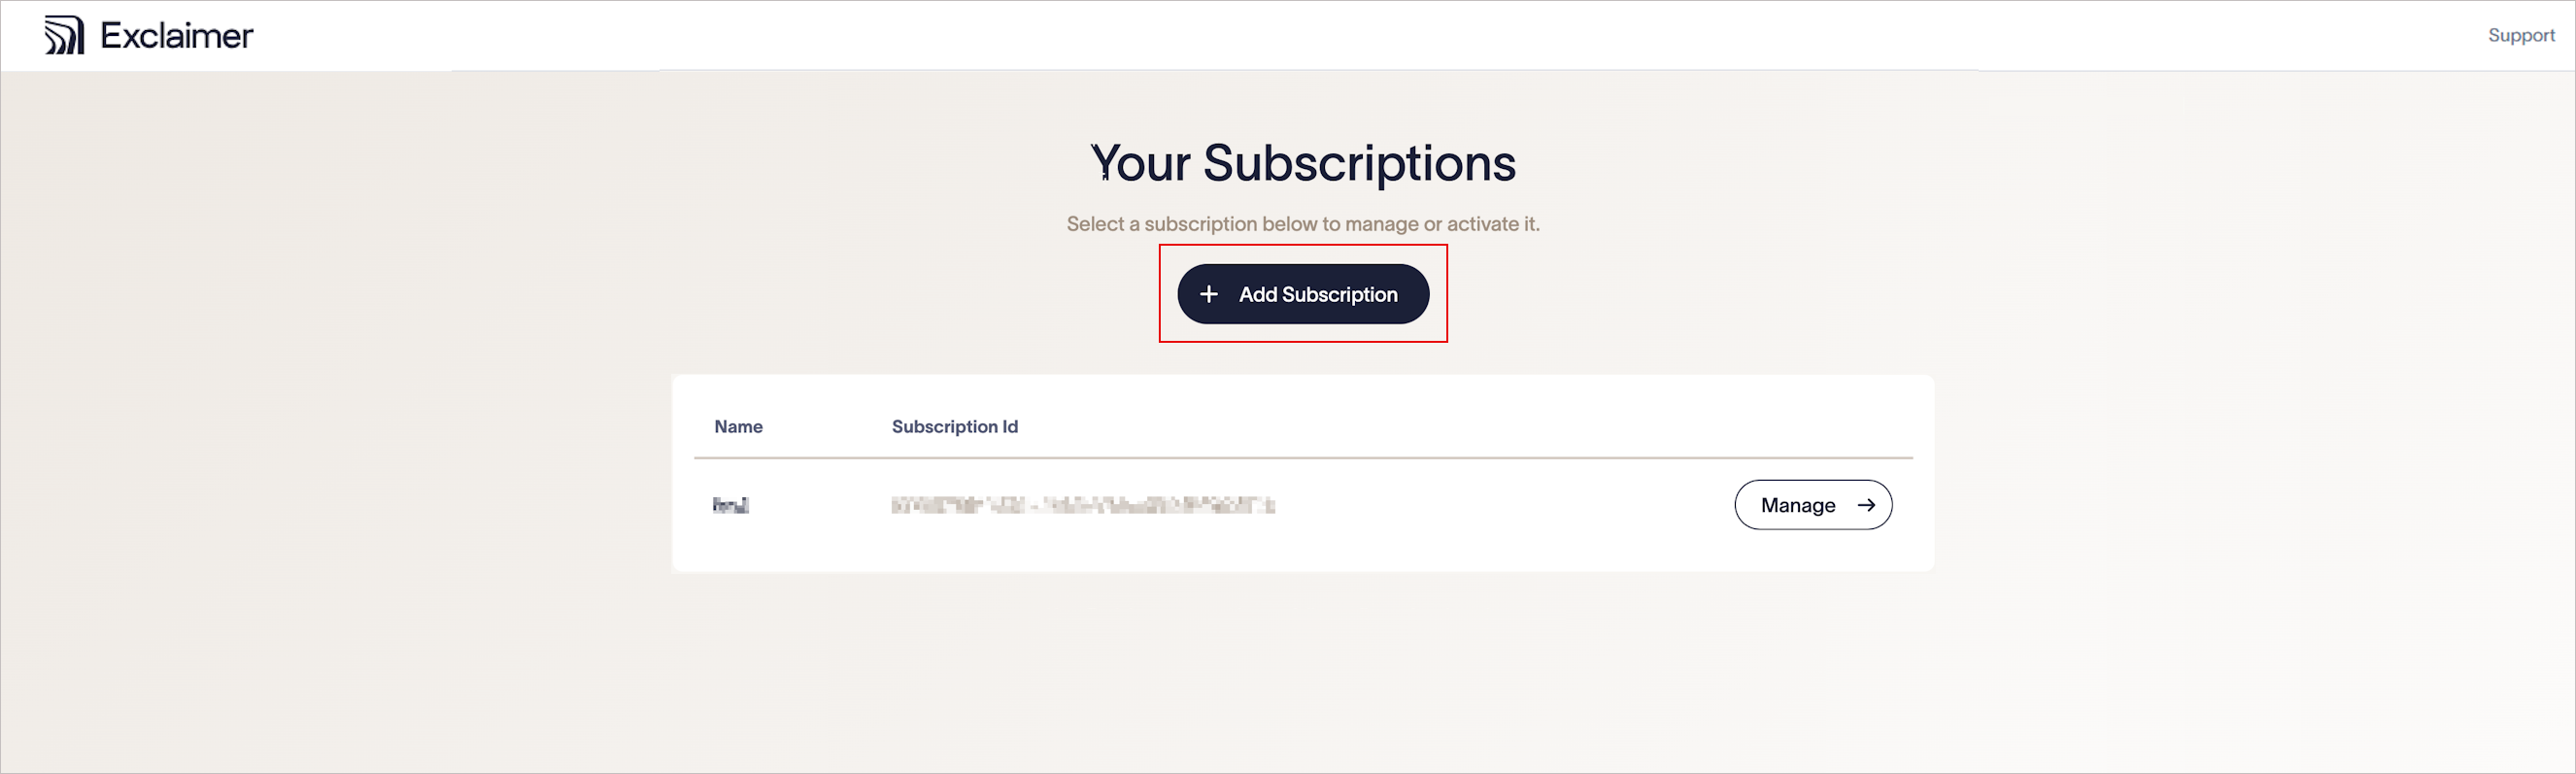
Select Add Subscription.
- In the Provisioning Details section, enter:
-
Datacenter Region: Select the region where the Exclaimer subscription will reside. Use the same region as the customer (end user) Microsoft 365 tenant for best performance.
For these fields, enter the end user details for the subscription. These are required for compliance and Know Your Customer (KYC) validation. - Domain Name: Enter the end user's domain name.
- Country: Select the end user's country.
-
Company Name: Enter the end user's company name.
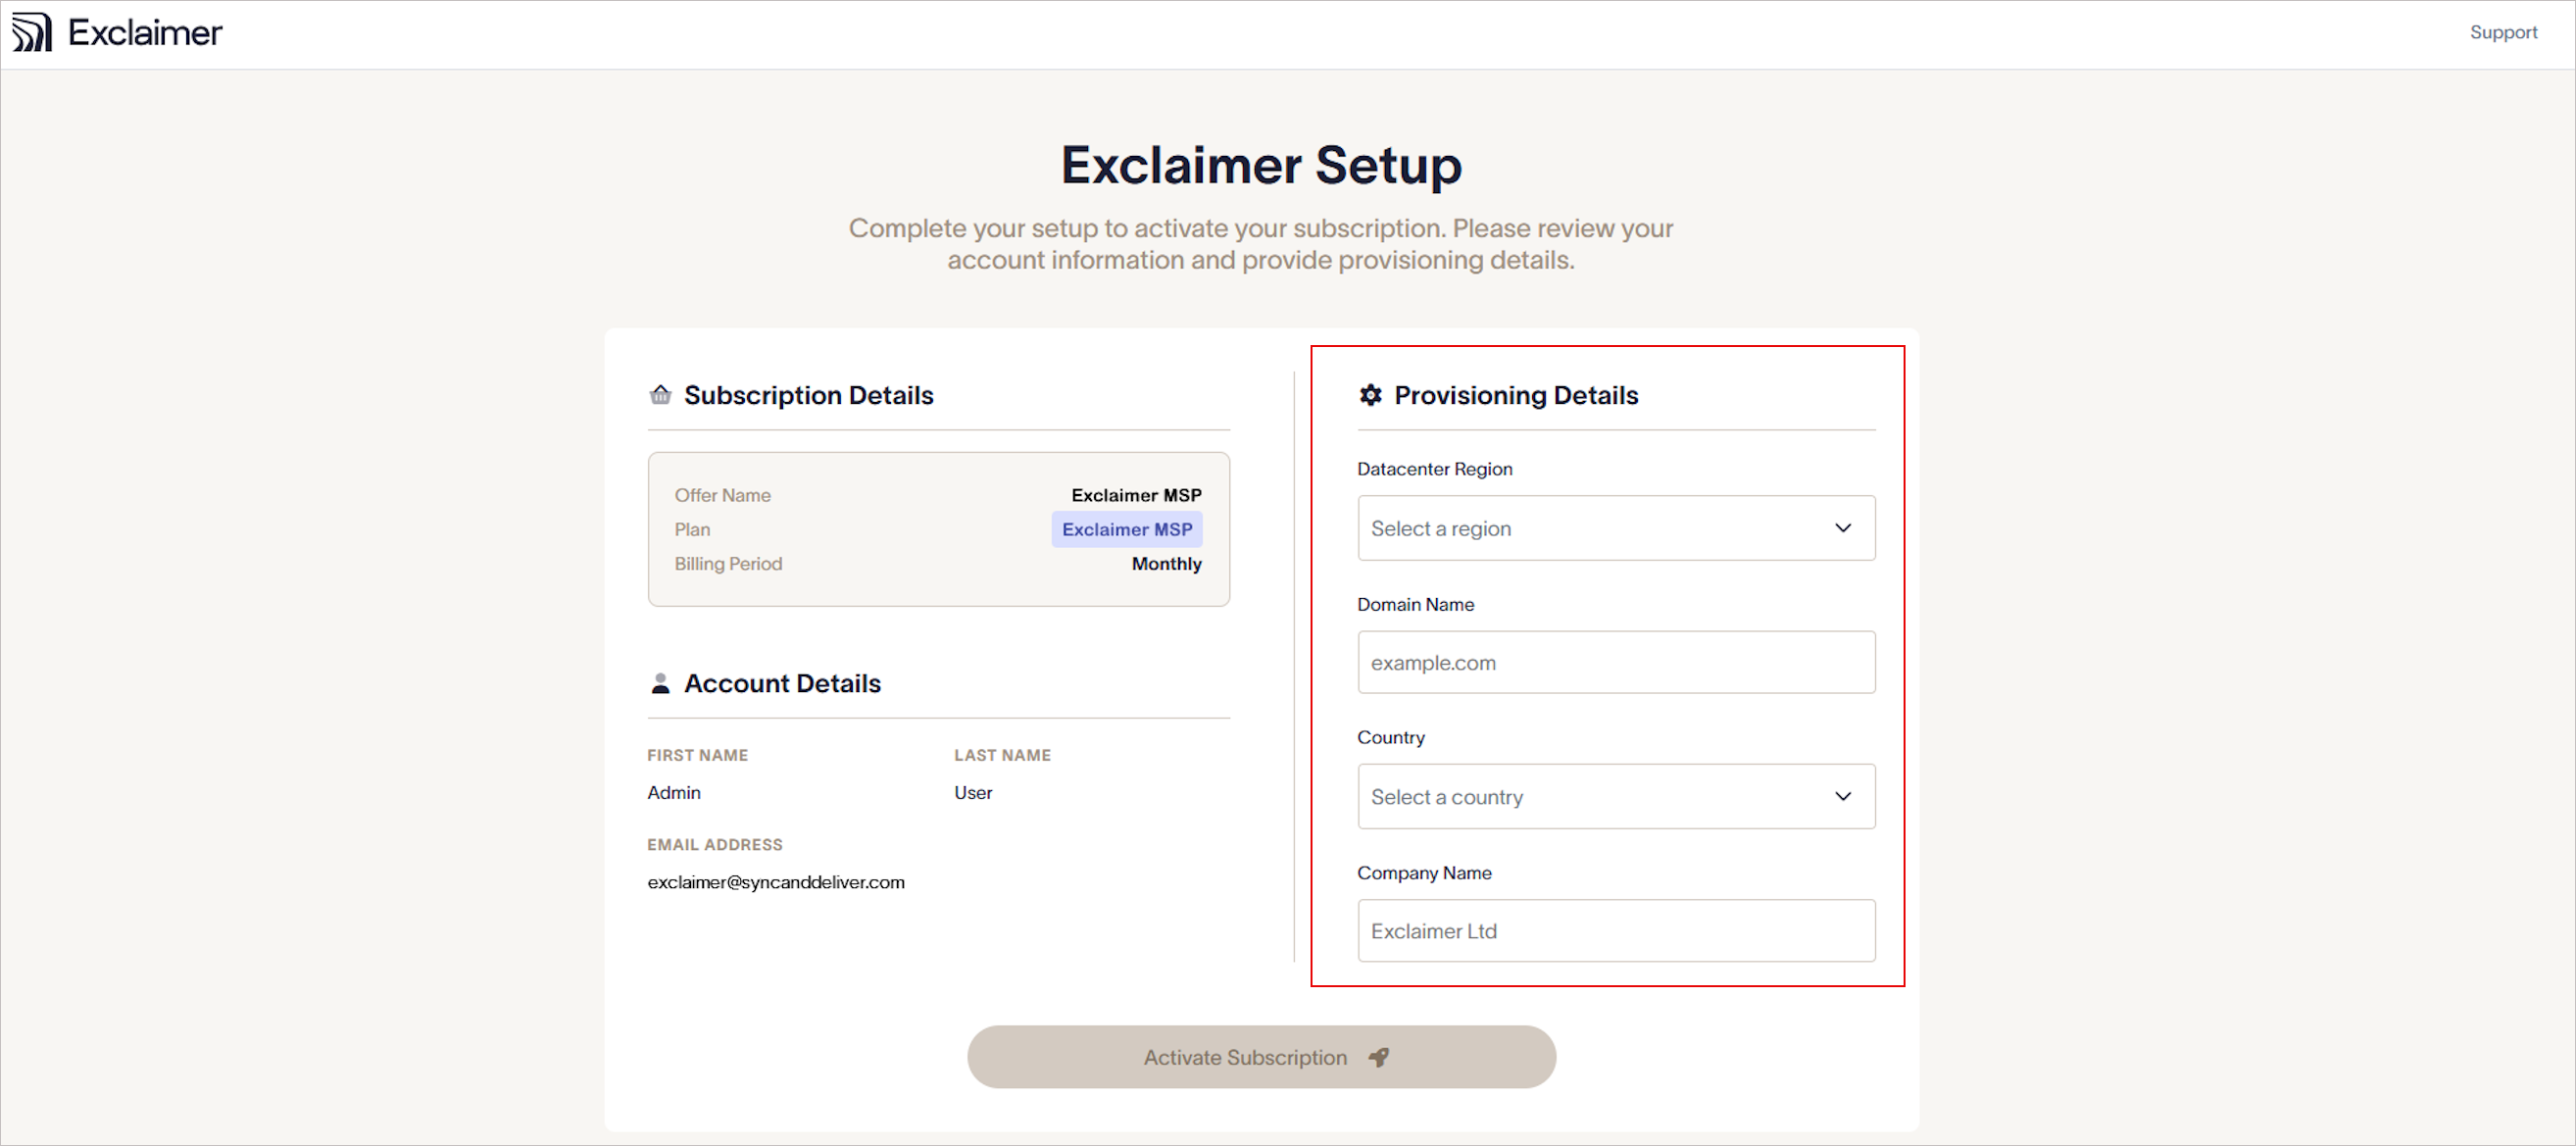
Enter the provisioning details.
-
Datacenter Region: Select the region where the Exclaimer subscription will reside. Use the same region as the customer (end user) Microsoft 365 tenant for best performance.
- Select Activate Subscription.
To ensure the subscription is ready for setup:
- Confirm the subscription status shows as Active.

Confirm your subscription is Active.
- Select Continue to Setup.
To begin configuring the subscription:
- Select Launch.
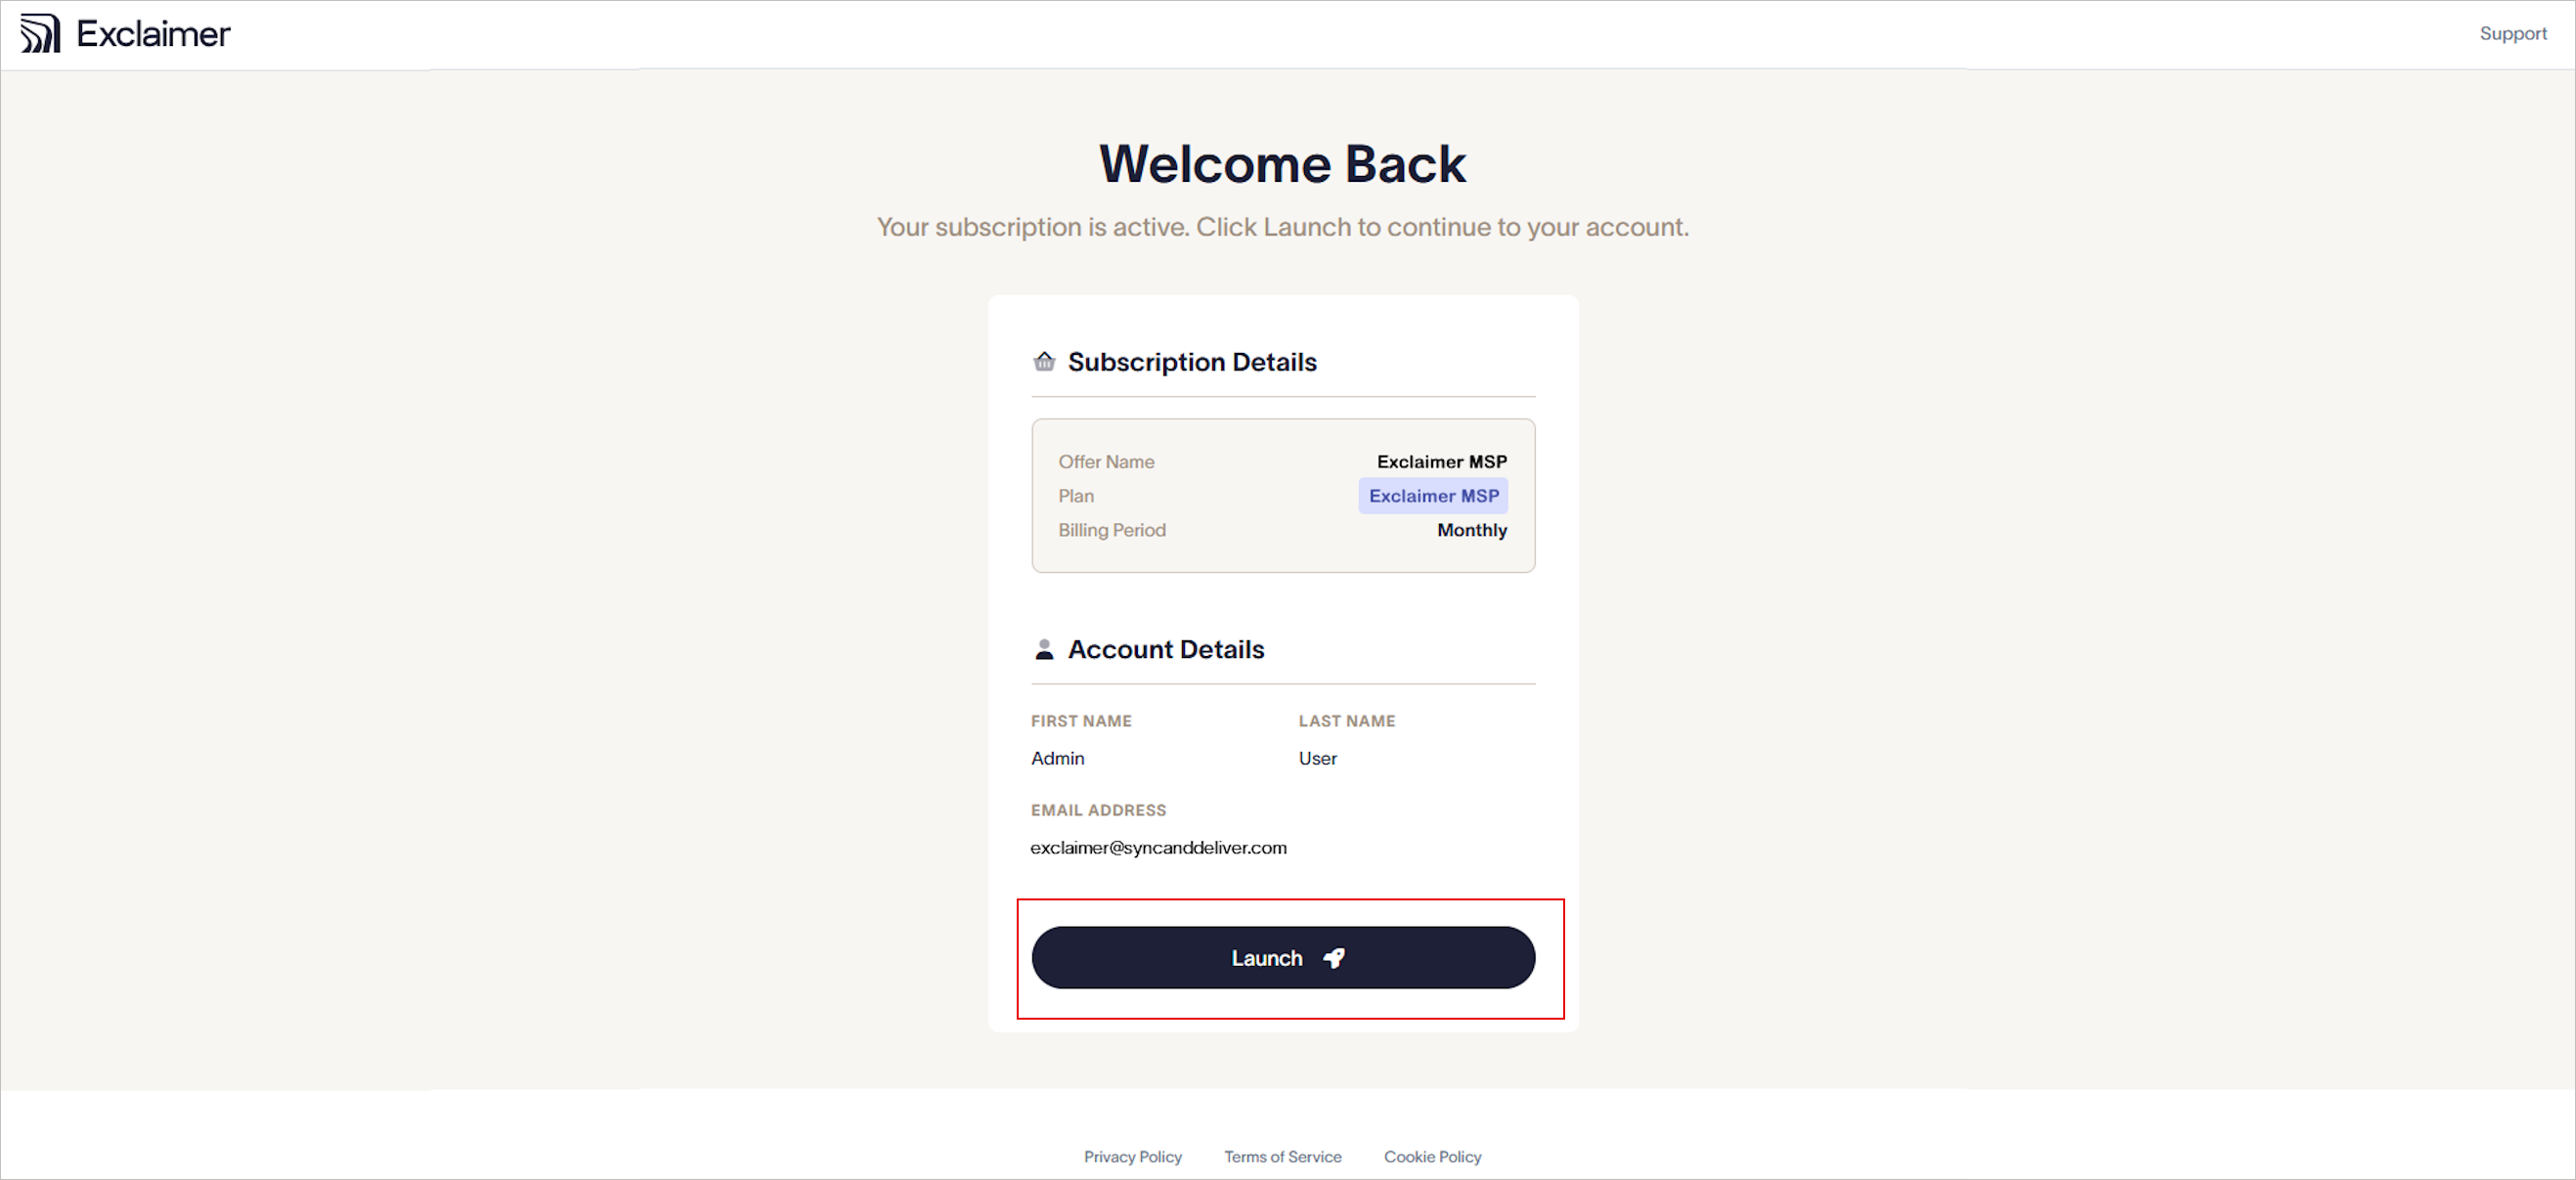
Select Launch.
Select Support to view the Exclaimer Knowledgebase.
Use the links at the bottom of the page to view the Privacy Policy, Terms of Service, and Cookie Policy.
To allow Exclaimer to access directory data:
Select Manage Azure AD Settings.
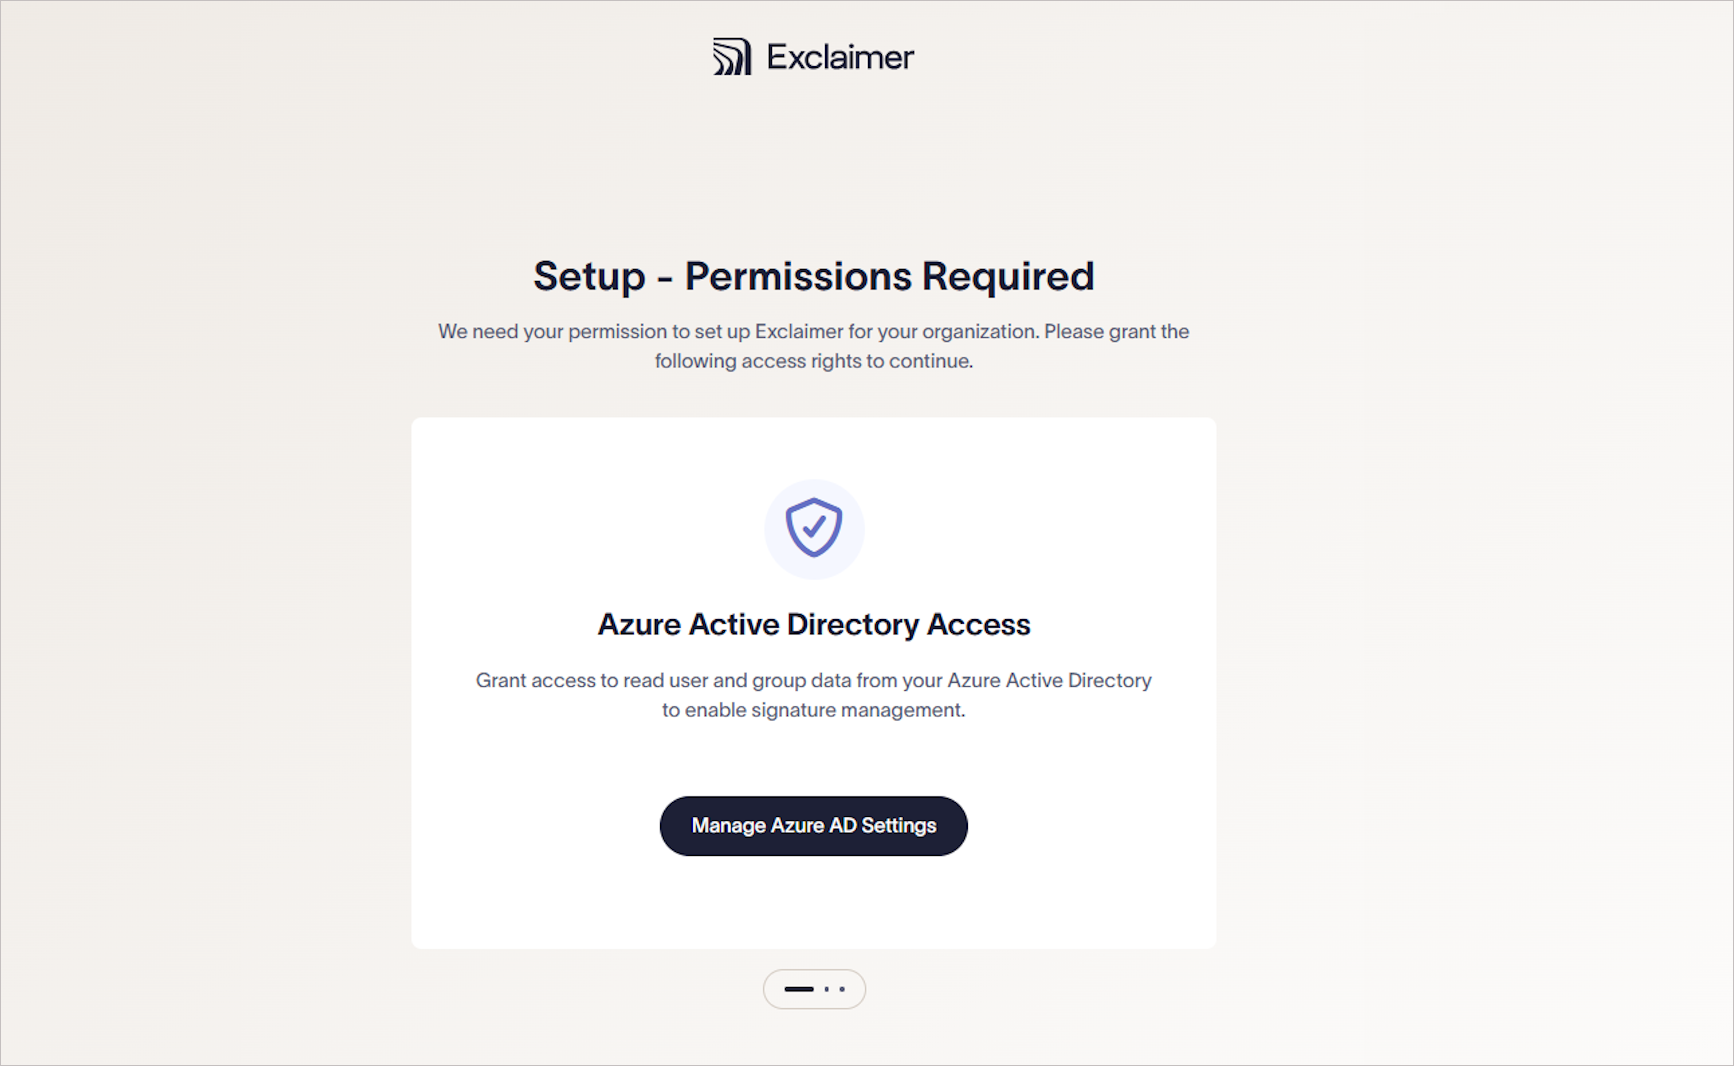
Select Manage Azure AD Settings.
Sign in using a Microsoft 365 Global Administrator account.
Accept the permissions request to allow Exclaimer to access directory data.
To allow Exclaimer to verify your domain ownership:
Select Grant Domain Verification Consent.
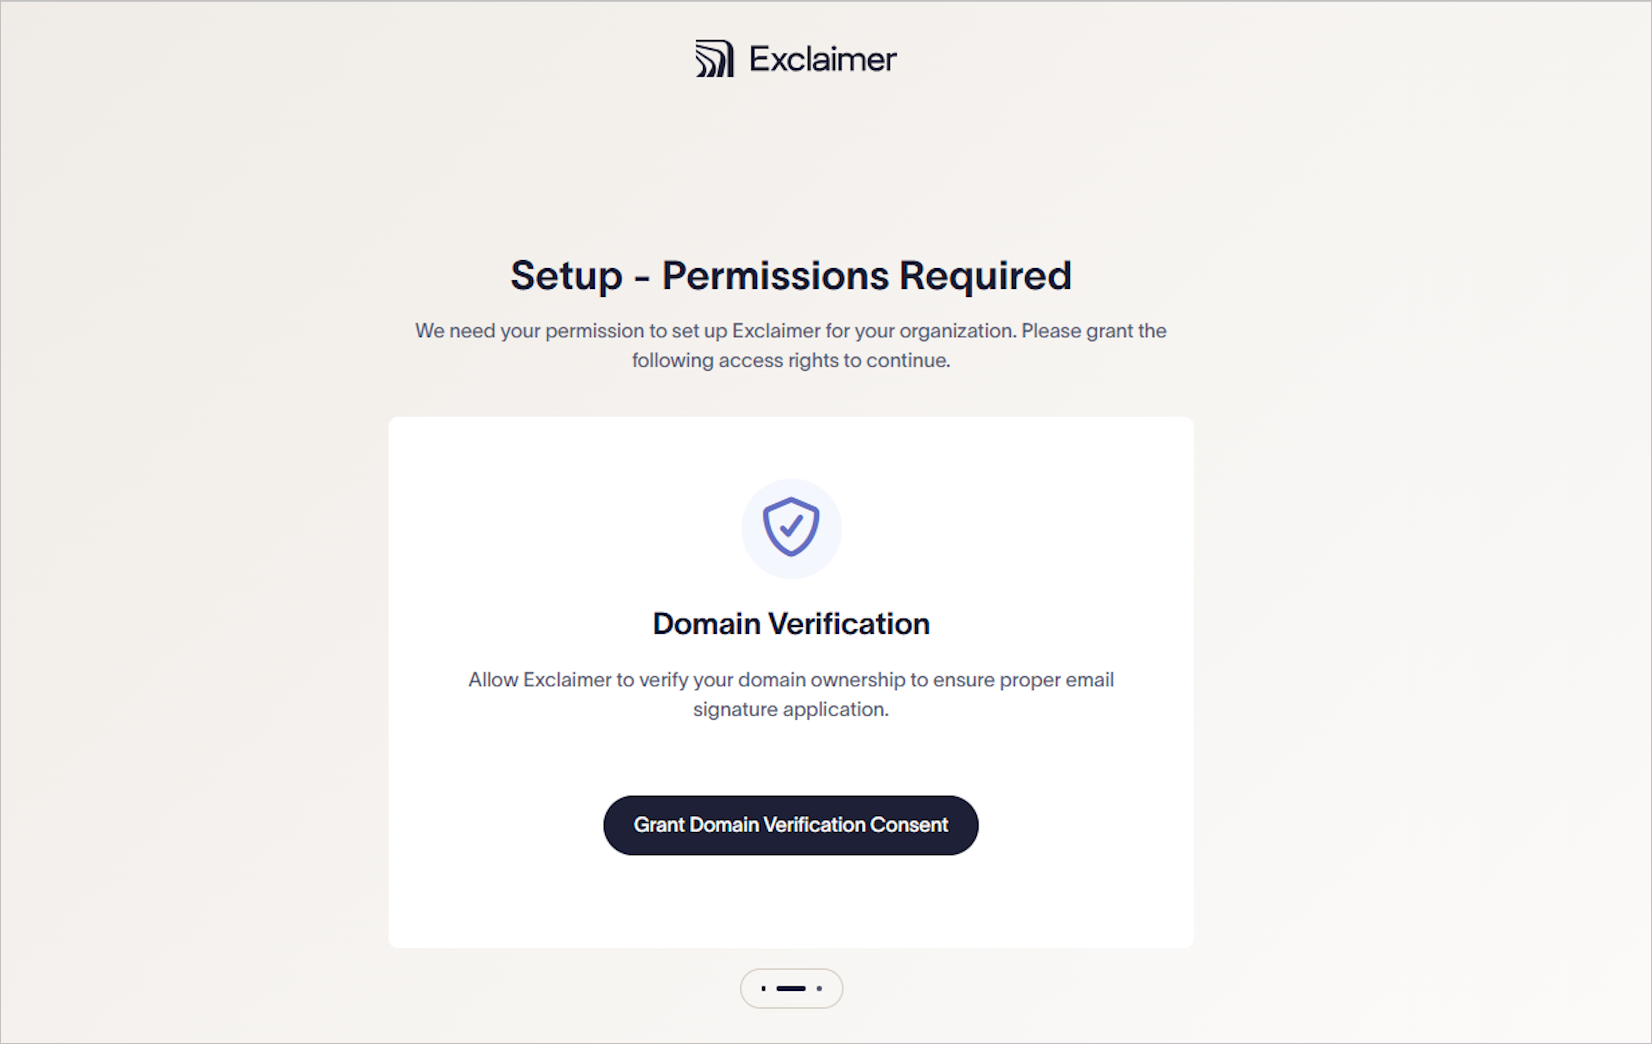
Select Grant Domain Verification Consent.
Sign in using a Microsoft 365 Global Administrator account.
Accept the permission request to allow domain verification.
To allow Exclaimer to configure email routing so signatures can be applied to every email:
- Select Grant Mail Routing Consent.

Select Grant Mail Routing Consent.
- Accept the permissions request to allow Exclaimer to configure email routing so signatures can be applied to messages.
To finalize the configuration:
Monitor the setup checklist as it runs automatically. The setup process completes in under a minute.
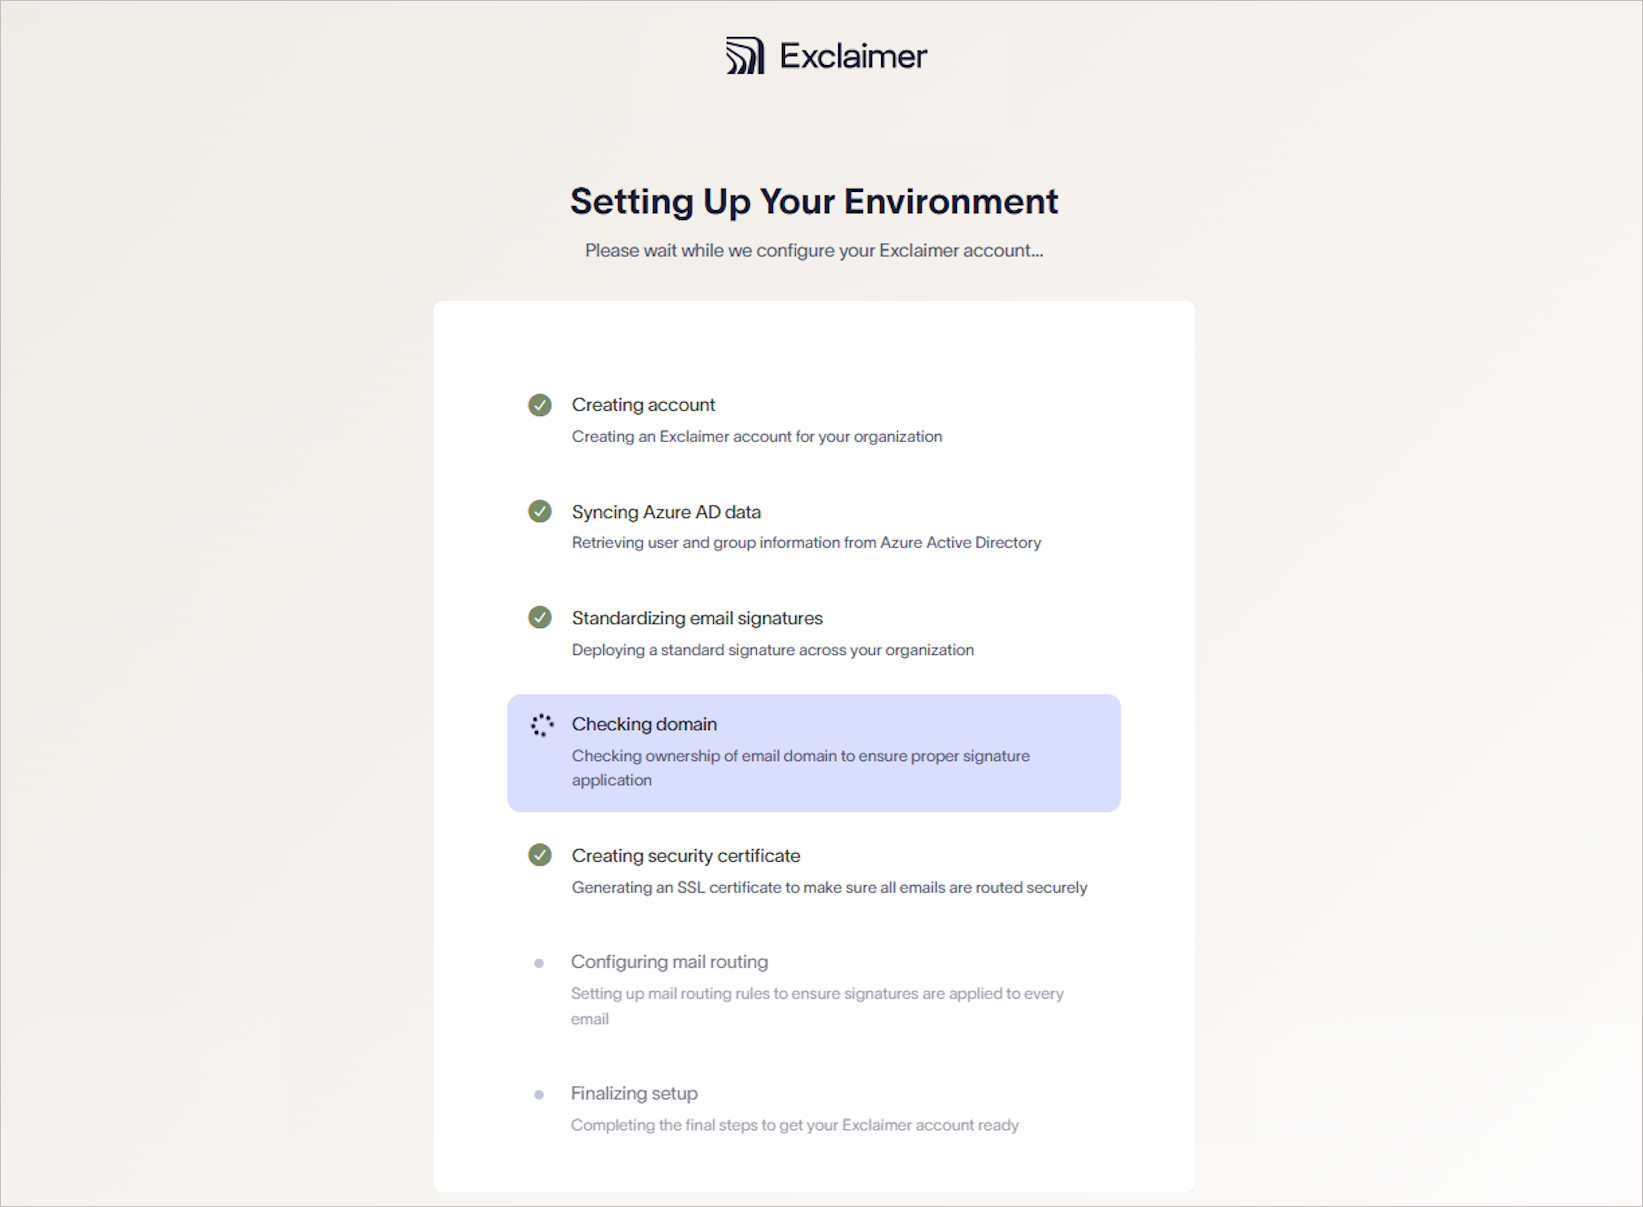
Example image of the Setup checklist.
Update the SPF record. This step is required to ensure email delivery and correct signature application. For more information, see How to update the Sender Policy Framework (SPF).
-
Confirm that the Exclaimer Setup Complete page is displayed.
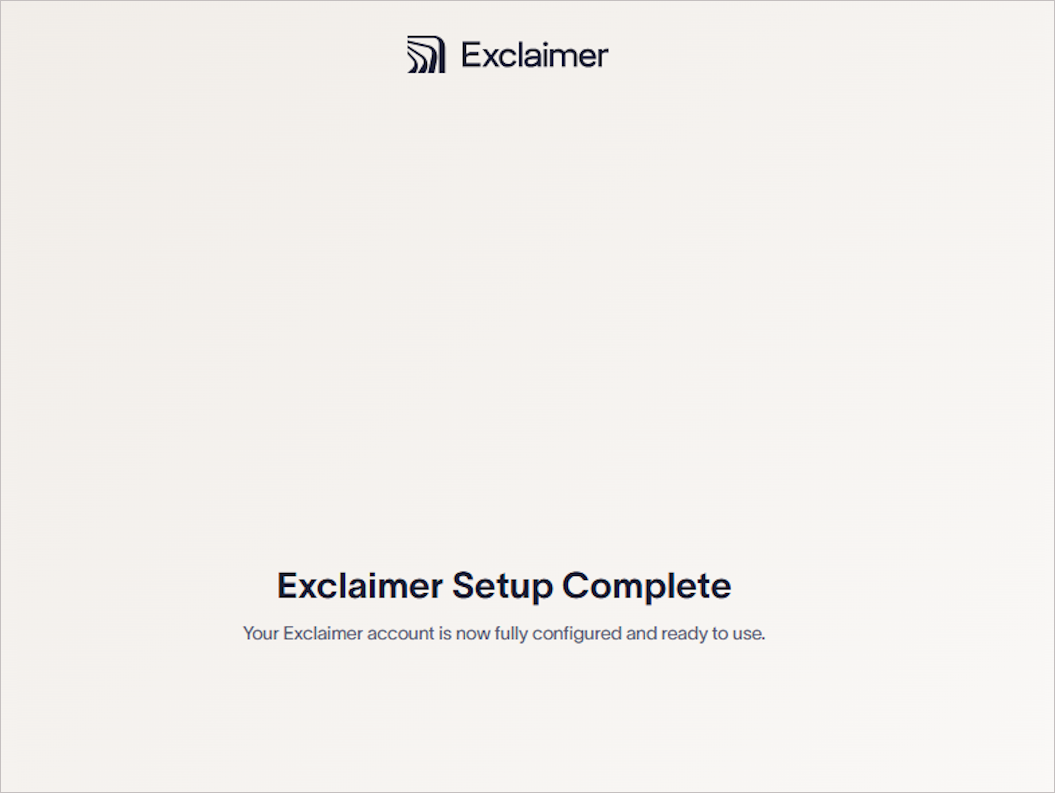
Exclaimer Setup Complete page.Check the following:
- A basic signature is applied to all users by default and can be modified later in the Exclaimer UI.
To confirm provisioning is complete:
- Navigate back to https://msp.exclaimer.net/
- Verify the new subscription appears in Your Subscriptions.
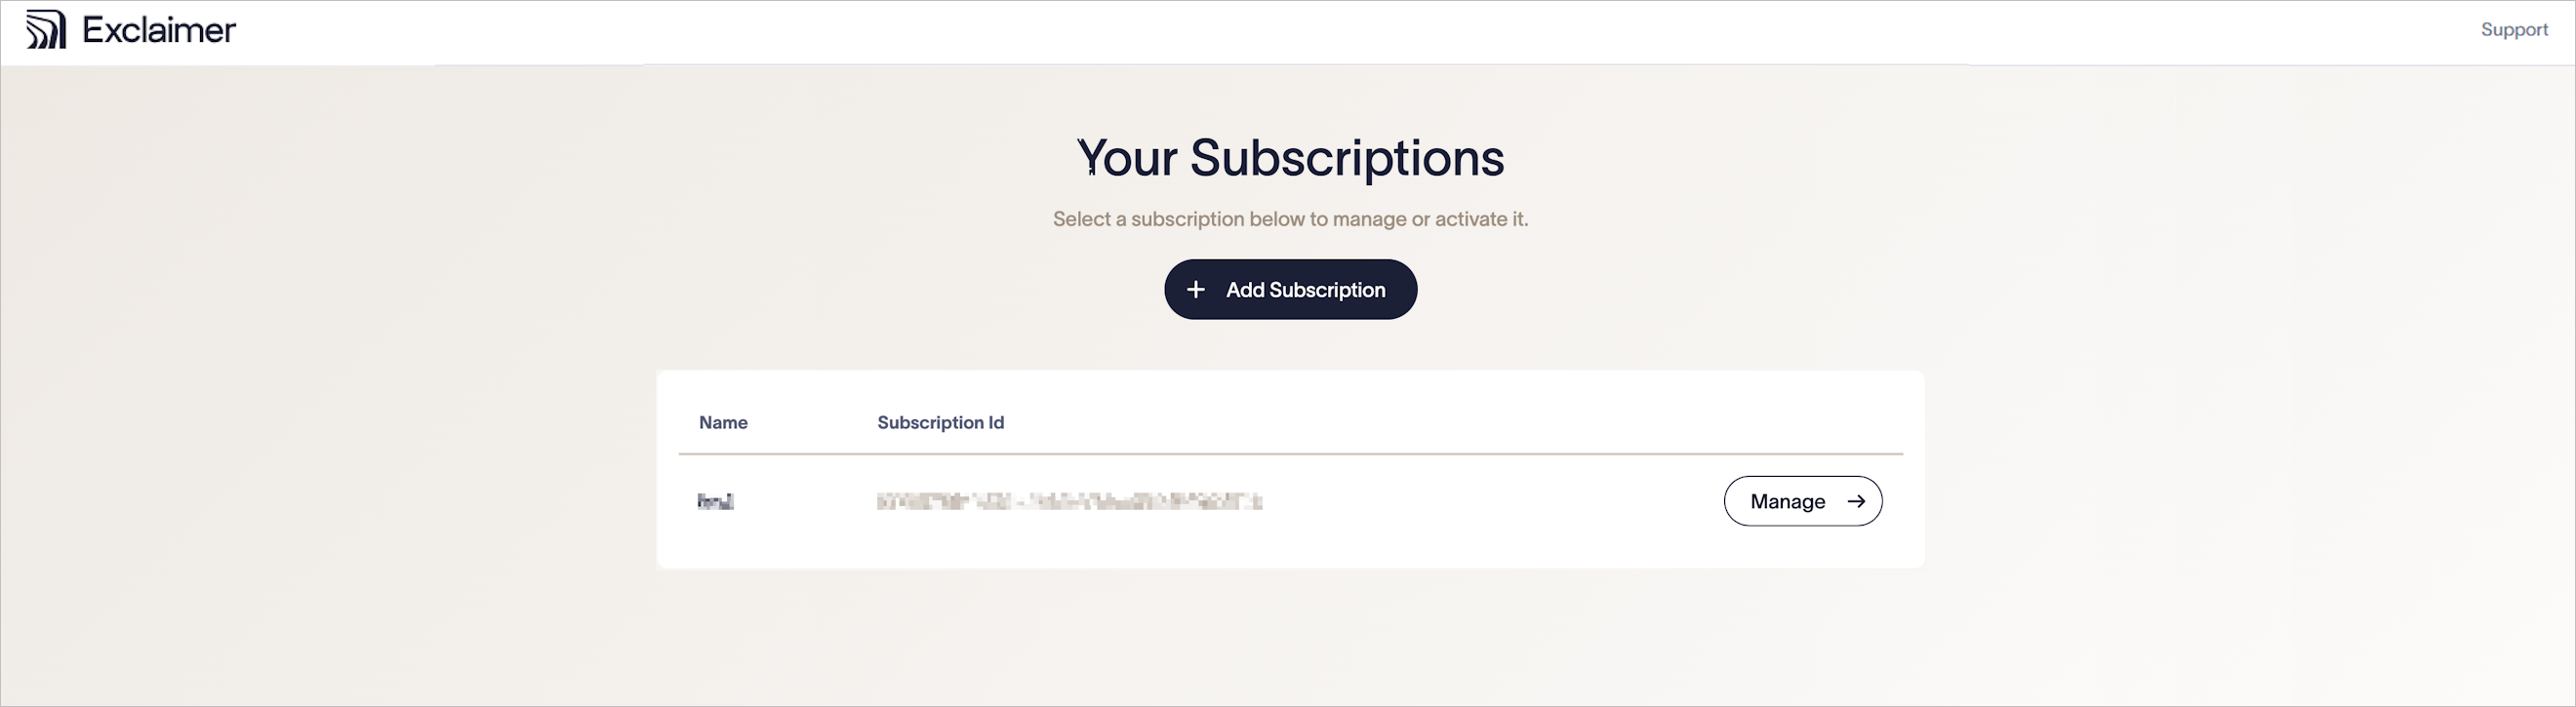
Confirm if your new subscription appears in Your Subscriptions.