
Scenario
You would like to have user photos in your Exclaimer signatures, and you want to know how you can upload the photos to Microsoft 365.
Resolution
Please click on the required options listed below to go through the detailed description:
This option is suitable for Microsoft 365 Administrators to upload photos on behalf of their users.
With this solution, each user photo is uploaded individually, so this is best suited for small numbers of users.
- Navigate to the Microsoft 365 admin center.
- Navigate to Users > Active Users. Select the user whose user data you wish to edit.
The photo is displayed on the right-hand pane.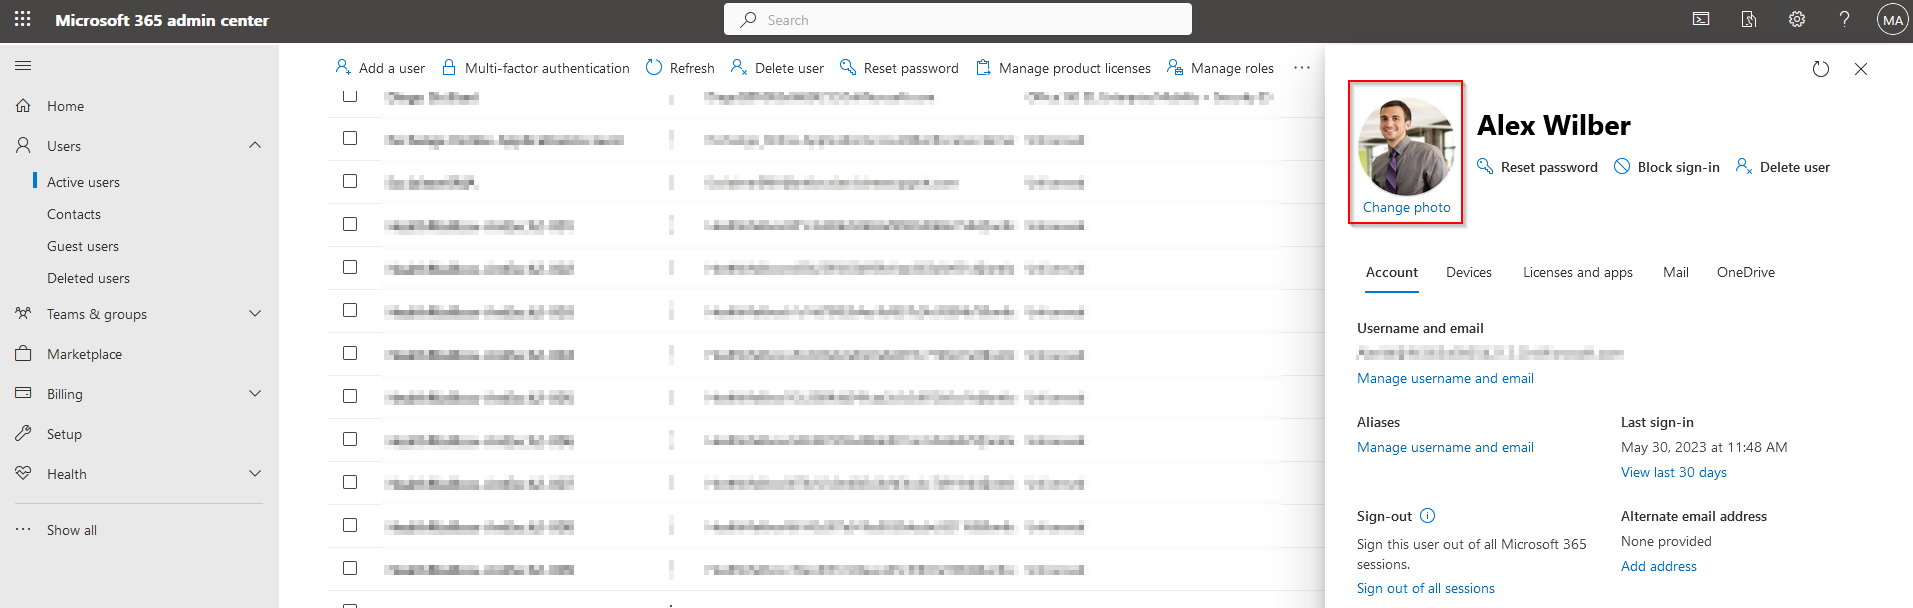
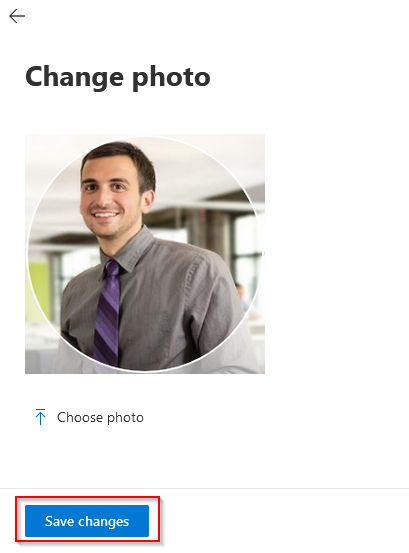
- Click the photo then select Choose photo.
- Select the photo you want to upload, then click Open.
- Click Save changes.
This option is suitable for users.
- Navigate to the Microsoft Entra admin center.
- Navigate to Azure Active Directory > Users > All users.
- Select the required user.
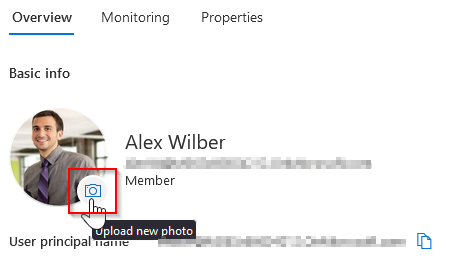
- Within the Overview section, the current user photo is displayed.
- Click on the camera icon.
- Either drag and drop the image file or select Browse for files.
- Select the photo you want to upload, then click Open.
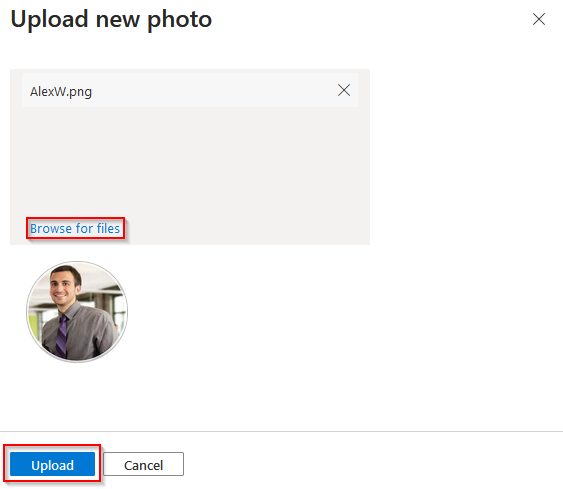
- Click Upload.
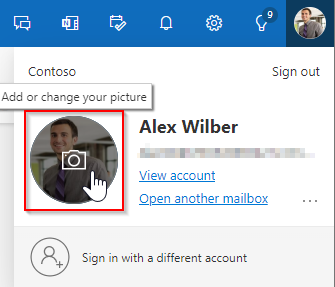
This option is suitable for organizations that want users to upload their own photos to their profile. This may be useful for users who work remotely.
- Navigate to Outlook on the web.
- Select the Account manager button at the top-right of the page.
- Click on the user photo placeholder to add or change the picture.
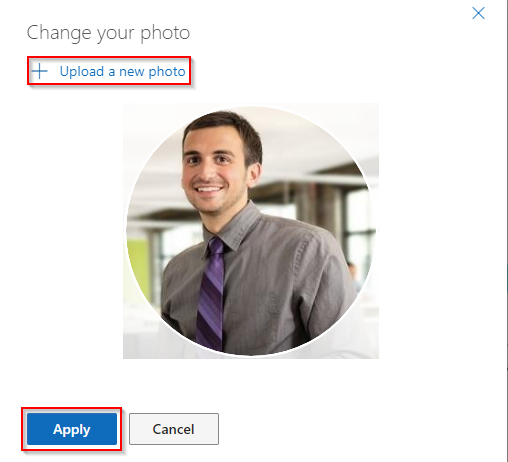
- Select Upload a new photo.
- Select the photo you want to upload, then click Open.
- Click Apply.
This option is suitable for Microsoft 365 Administrators who want to upload user photos in bulk. This is the best option where you need to upload lots of user photos.
- Create a directory of the required user photos with the filename format "<alias>.jpg" (any supported image format can be used).
where <alias> is the part of the user's email address before the @ symbol.
For example: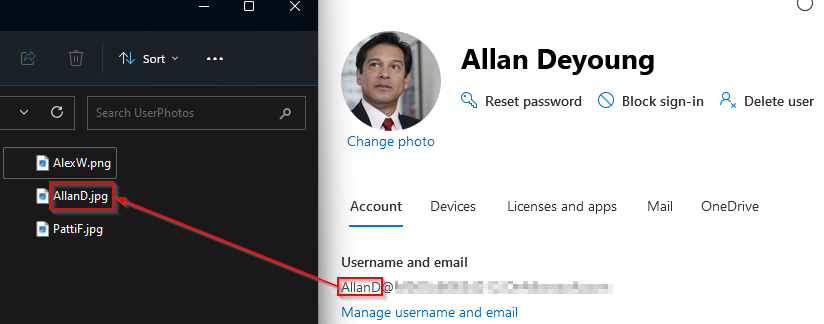
-
Start PowerShell as an Administrator and run the command below:
Set-ExecutionPolicy -Scope Process -ExecutionPolicy Bypass; Invoke-WebRequest -Uri "https://raw.githubusercontent.com/exclaimerltd/Internal-Support-Scripts/master/BulkUserPhotoUpdater.ps1" -OutFile "$env:TEMP\BulkUserPhotoUpdater.ps1"; & "$env:TEMP\BulkUserPhotoUpdater.ps1" - Save the script as a PowerShell (.ps1) file.
- Run the script directly from your code editor (if supported) or else right-click the .ps1 file and then select Run with PowerShell.