
Scenario
You want to temporarily or permanently stop emails from your organization routing to Exclaimer to have Server-Side signatures applied. This may be because you are troubleshooting a mail flow issue, or no longer wish to use Server-Side signatures.
Resolution
You can temporarily disable Server-Side signatures by deactivating the Transport Rule that route emails to Exclaimer for processing. To permanently remove the configuration for Server-Side signatures, you must remove the Transport Rules and connectors.
If you wish to re-enable Server-Side signatures, you will have to complete the configuration process again.
To temporarily disable Server-Side signatures for Exclaimer:
To deactive the Transport Rule:
- Log in to the Exchange admin center using your Microsoft 365 Administrator credentials.
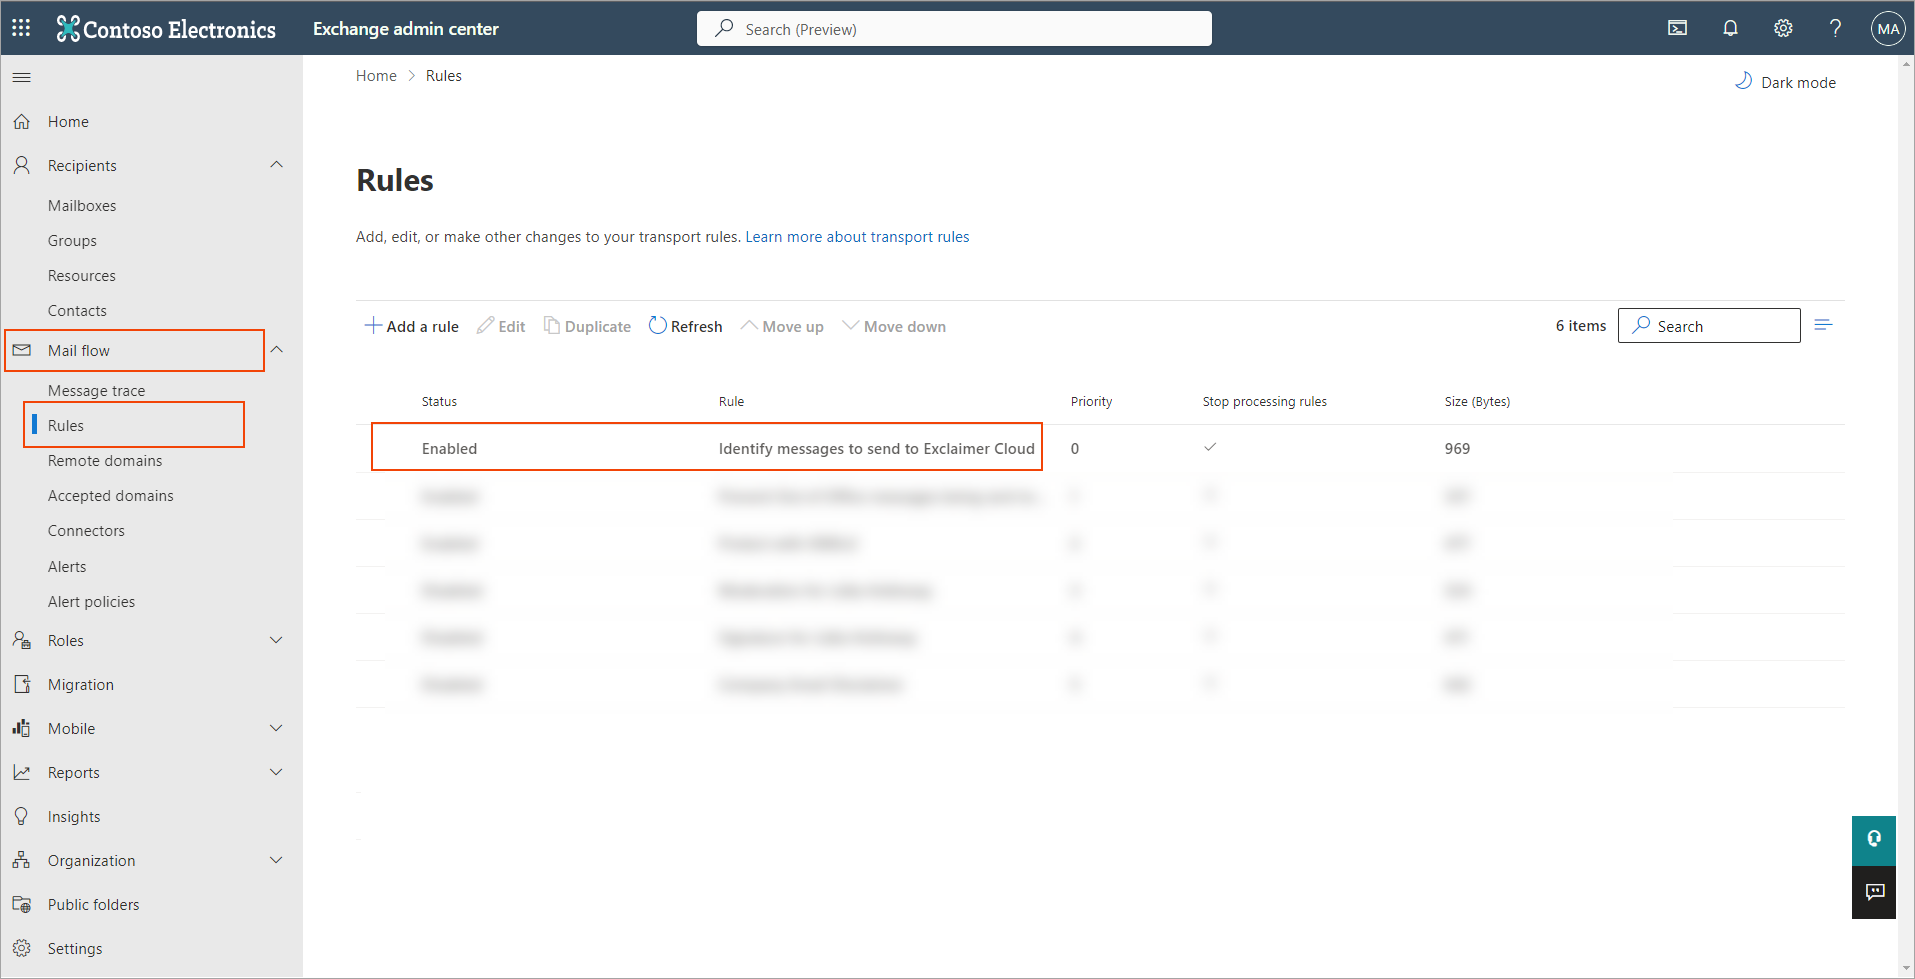
- From the navigation menu, select Mail flow, then select Rules.
- Locate and select the Identify messages to send to Exclaimer Cloud rule from the Rules list.
caption
- Select the Enable or disable rule toggle to set it to Disabled.

caption
This may take a few moments to update.
To reactivate Server-Side signatures after disabling, set the toggle to Enabled.
To uninstall Server-Side signatures for Exclaimer:
To permanently delete the Transport Rules:
- Log in to the Exchange admin center using your Microsoft 365 Administrator credentials.
- From the navigation menu, select Mail flow, then select Rules.
- Locate and select the Identify messages to send to Exclaimer Cloud rule from the Rules list.
- Select the transport rule, then select Delete from the Rules menu bar.
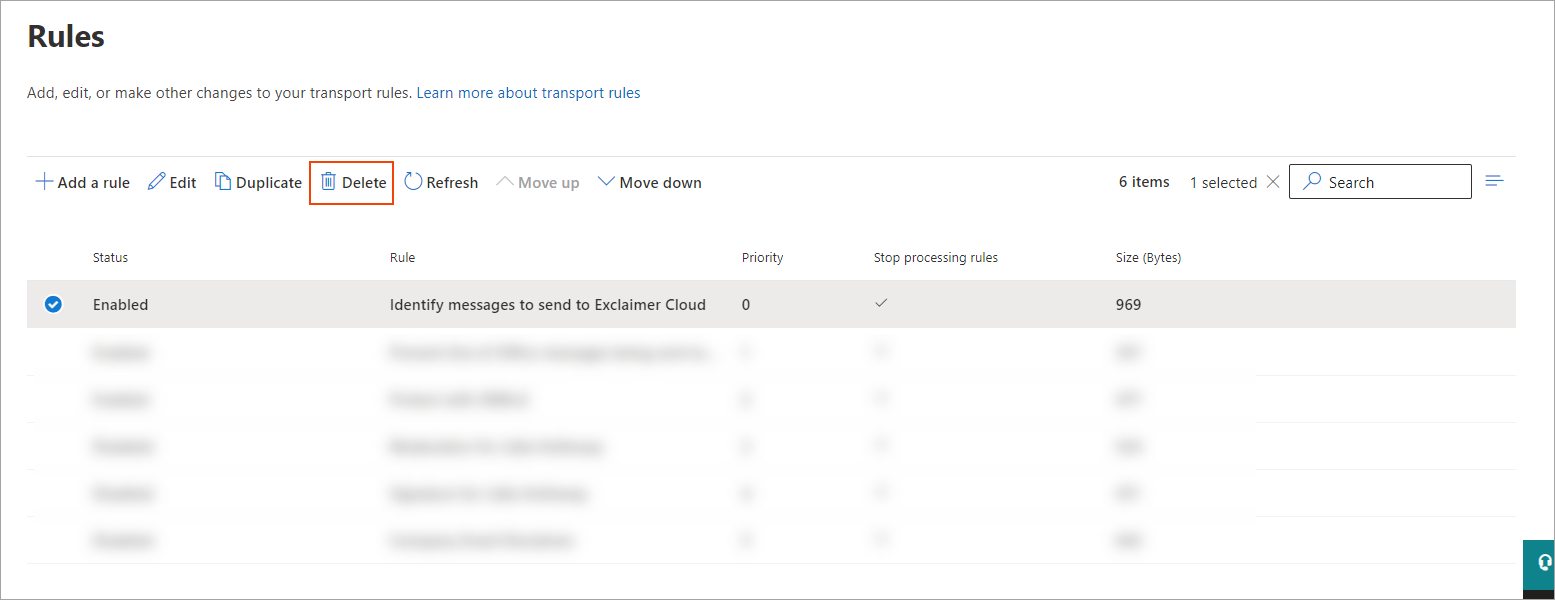
- In the confirmation pane, select Confirm to permanently delete the Transport Rule.
- Repeat Steps 3 to 5 for the Prevent Out of Office messages being sent to Exclaimer Cloud rule.
To permanently delete both Microsoft 365 connectors:
- From the navigation menu, select Connectors.
- Select the Receive connector.
- In the details pane, select the bin icon.
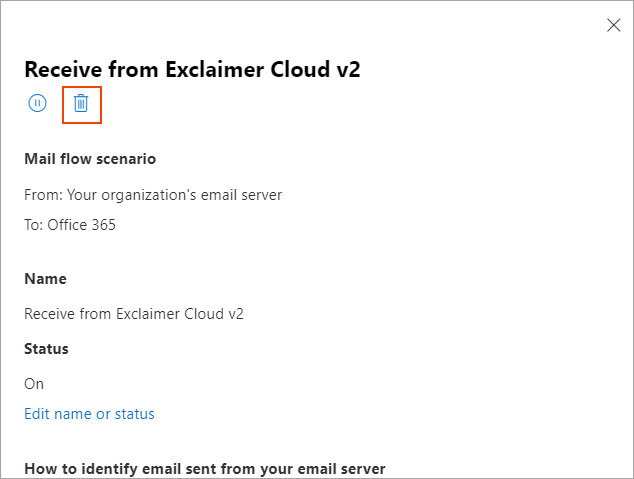
- In the confirmation pane, select Confirm to permanently delete the connector.
- Repeat the process for the Send connector.
Once the transport rule and connectors are removed, your emails will no longer be routed to Exclaimer and signatures will not be added to any emails.