
Description
Authorizing allows Exclaimer to read user details from your Entra ID (formerly Azure AD)/Microsoft 365 directory and maintain a replica in an Exclaimer database. This data is used to populate the contact details in your signature and can be used to control which users get which signature.
How to access it
To access the Authorize option:
- From the header bar, select the cogwheel icon, then select Sender Management.
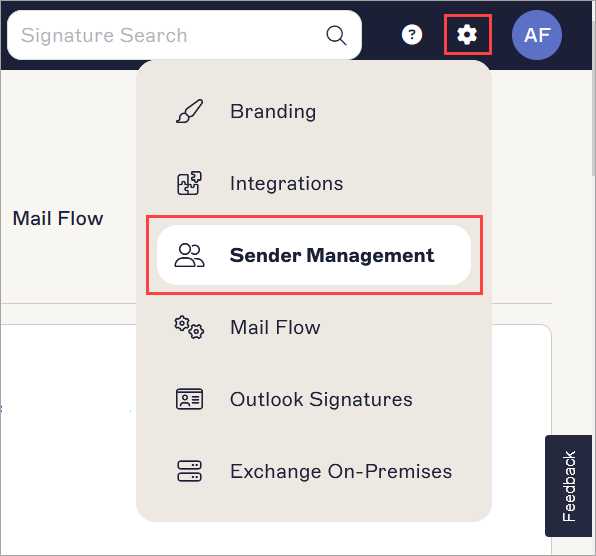
The Settings menu is found under the cogwheel icon.
- Navigate to the Enable Azure AD Access section.
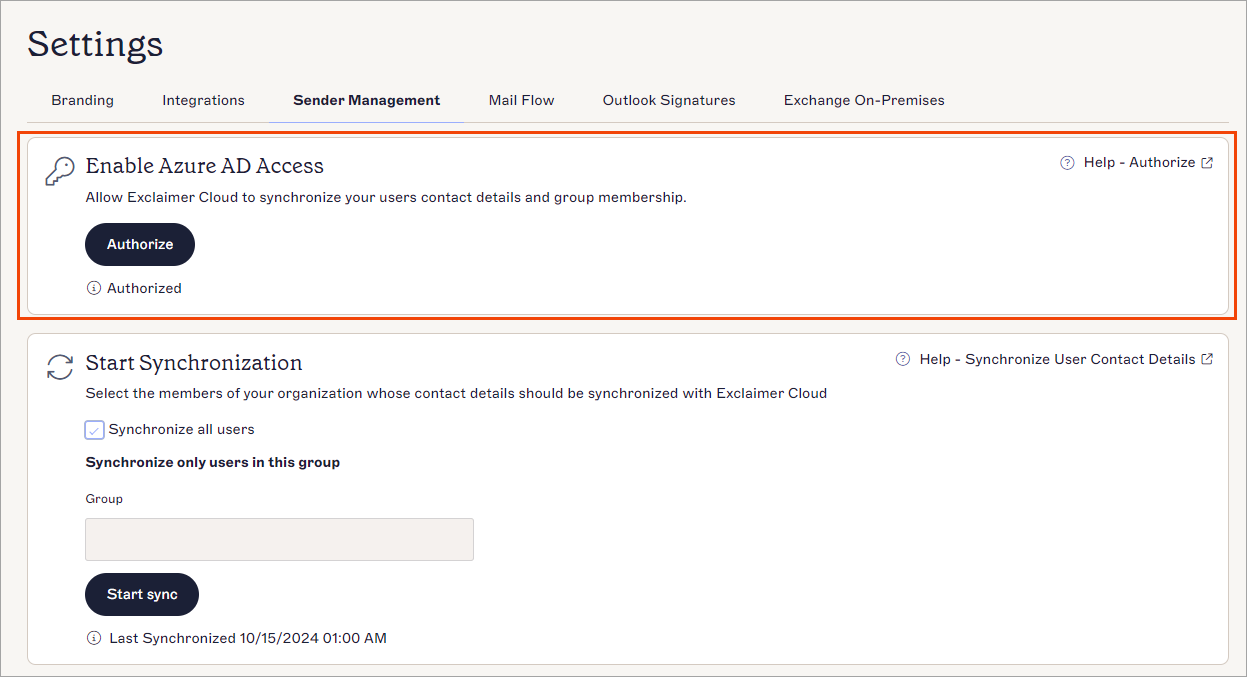
The Enable Azure AD Access section.
Authorizing permissions
REQUIRED! You need Microsoft 365 Global Administrator credentials to configure your subscription.
To authorize Exclaimer to read user data from your directory:
- Select Authorize.
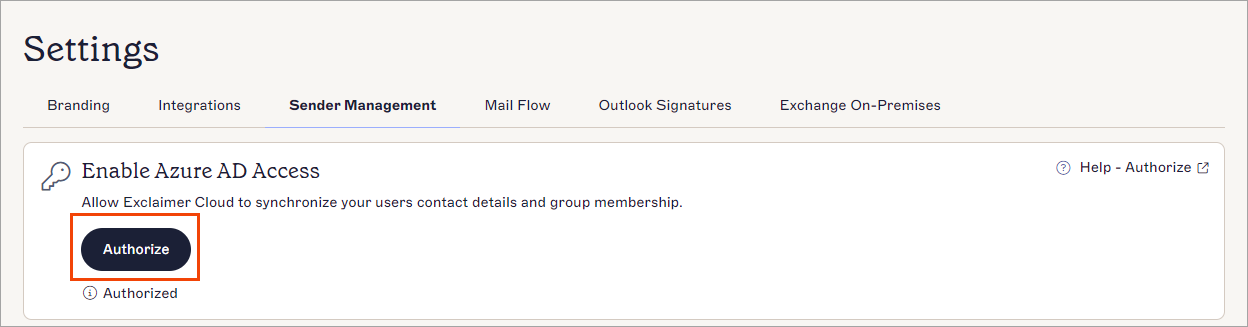
Select Authorize.
- Sign in to Microsoft 365 as a Global Administrator.
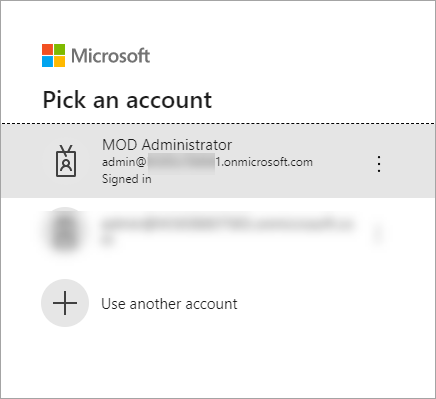
You must use a Global Administrator account to proceed with this process.
- In the permissions window, select Accept.
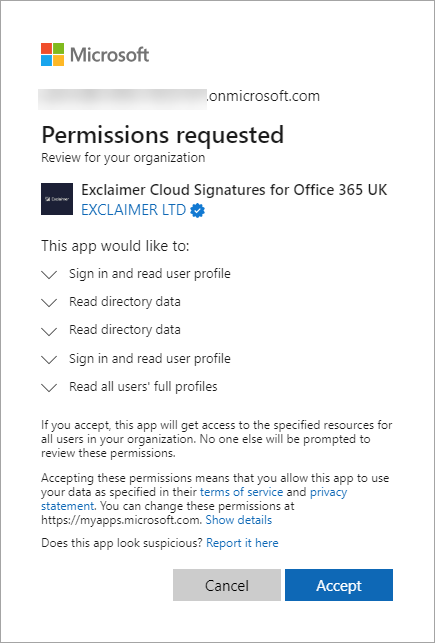
The list of permissions.
- Wait for the process to complete. When completed, the Authorization Successful message is displayed.
Next Steps: Once you have completed the authorization, you must synchronize user data with Exclaimer.
Have you got a question? Take a look at our Frequently Asked Questions page.
Have you got a question? Take a look at our Frequently Asked Questions page.